This post may contain affiliate links. Please read my disclosure policy.
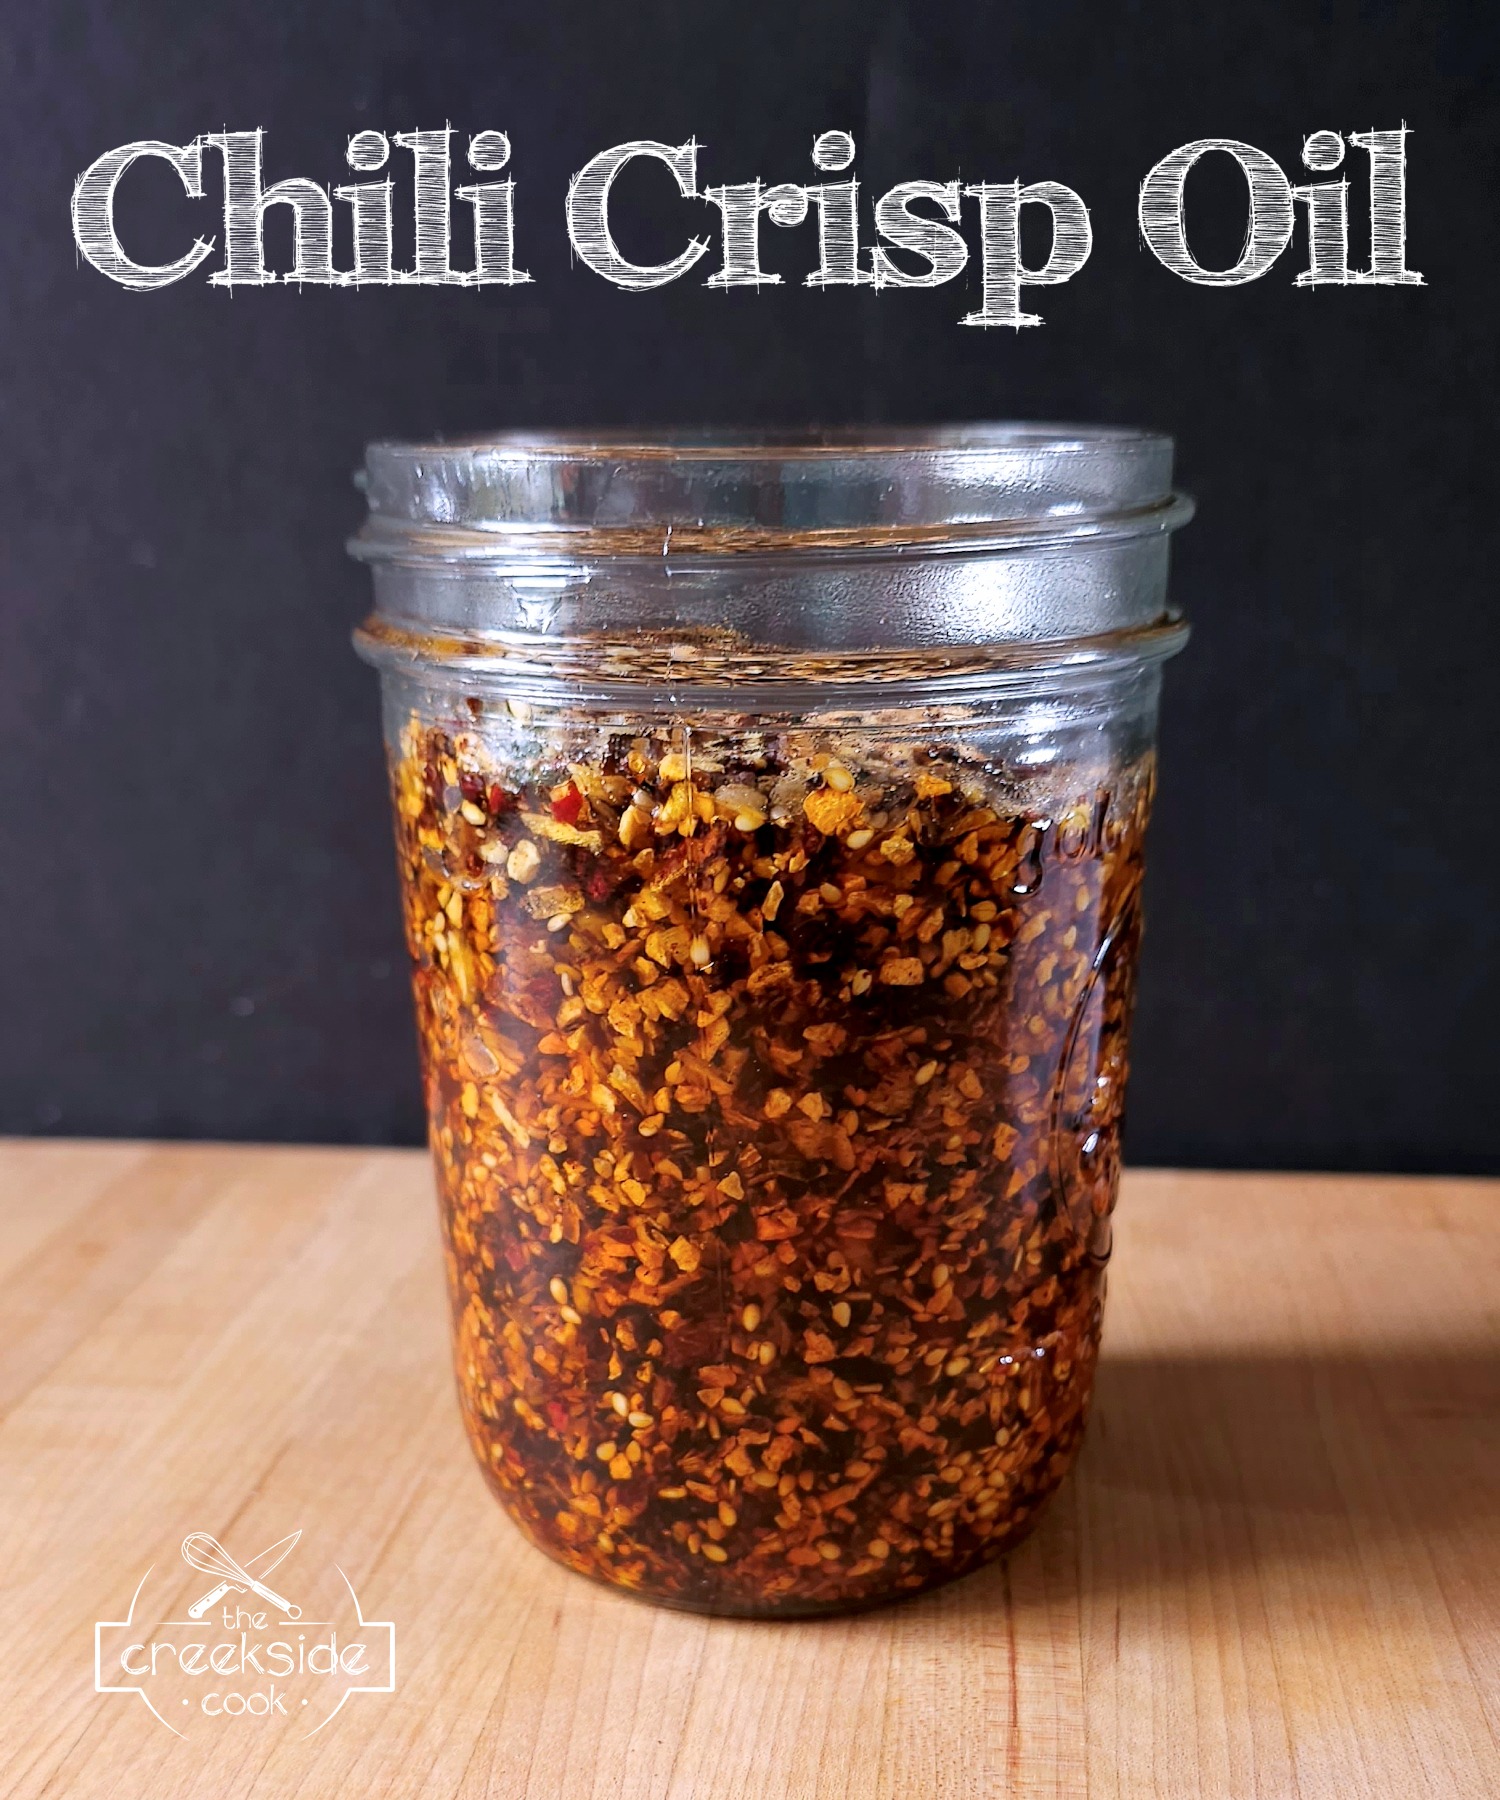
You really NEED Chili Crisp Oil
Alright, I admit you can probably live quite a long time without Chili Crisp Oil. I did – for a whole lot of years. But once I had it for the first time earlier this year, I felt like my entire life had vastly improved. Scroll on to find out why, and how you can make Chili Crip Oil yourself.
What is this stuff?
The first chili crunch or chili crisp oil that I had was store-bought. It was on sale, and I was curious, so I bought a jar. It was really good – little crispy bits of savory ingredients, an underlying smokiness, and a good kick of spice. For all, that, there was a sort of flatness about it. And it was expensive.
Questionable Ingredients in the store-bought Brands
And, when I read the ingredients, it contained some stuff I am not happy to have in my diet. Seed oils and MSG were at the top of the list of no-nos for me. Plus soybeans, sugar and depending on the brand, preservatives that I avoid if possible. Chili Crisp Oil is exactly the kind of thing that I am sure I can craft at home and do a much better job than a factory. And so can you!
You can make Chili Crisp Oil with raw ingredients
I didn’t in this recipe, but you can go full-on Asian chef and start with mainly raw ingredients. The ingredients have to be carefully fried in hot oil until they are very crisp, and then other seasonings are mixed in. Obviously, this does involve standing over a pan of very hot oil, while you carefully stir around things like raw onion, garlic, shallots, and whatnot. Those kinds of ingredients tend to send some hot oil flying around as the moisture cooks out of them. It’s not impossible, but not exactly an approachable method for the ordinary home cook.
You can use all dried ingredients and cold oil
With this method, all of the ingredients are combined at normal room temperature. They sit together for a period of time to allow the flavors to meld and infuse the oil. This takes a while – a few weeks at least. This method is easier and probably safer than cooking it all in hot oil. But, the flavor will never develop to the same extent and there won’t be as much crunch. Crunch is important to me.
My Chili Crisp Oil “hybrid” method
I’m not intimidated by the idea of frying stuff in oil. But if I can avoid standing over a hot pan for a long time, I prefer that. So I decided to combine these two ideas, to come up with a method that is easier [and safer!], but still results in a deeply flavored, crispy result. Chili Crisp oil is so good that I want to find a way for you to be able to make it without a lot of hassle. The key is to begin with dehydrated garlic, shallots and onion. Dehydrated ingredients are already kind of crunchy, so that gives you a leg up when it comes to making a nice, crispy chili oil. I still use hot oil, but my method is much less complicated and safer.
It’s not cheap
Whether you buy it at the store, from an online retailer, OR if you make it yourself, this is not an inexpensive endeavor. Buying it already made though, is much more expensive. And, while it is not cheap to buy these ingredients the first time you make this, these supplies will make a lot of batches of Chili Crisp Oil, not mention a host of other recipes. So, it actually isn’t very expensive per batch, though the initial cost is a bit high. Scroll down for a list of ingredients I used, which are linked to my Amazon Store.
Why I chose the ingredients I did.
My Amazon Chili Crisp Store – for the entire list, or scroll down for individual links
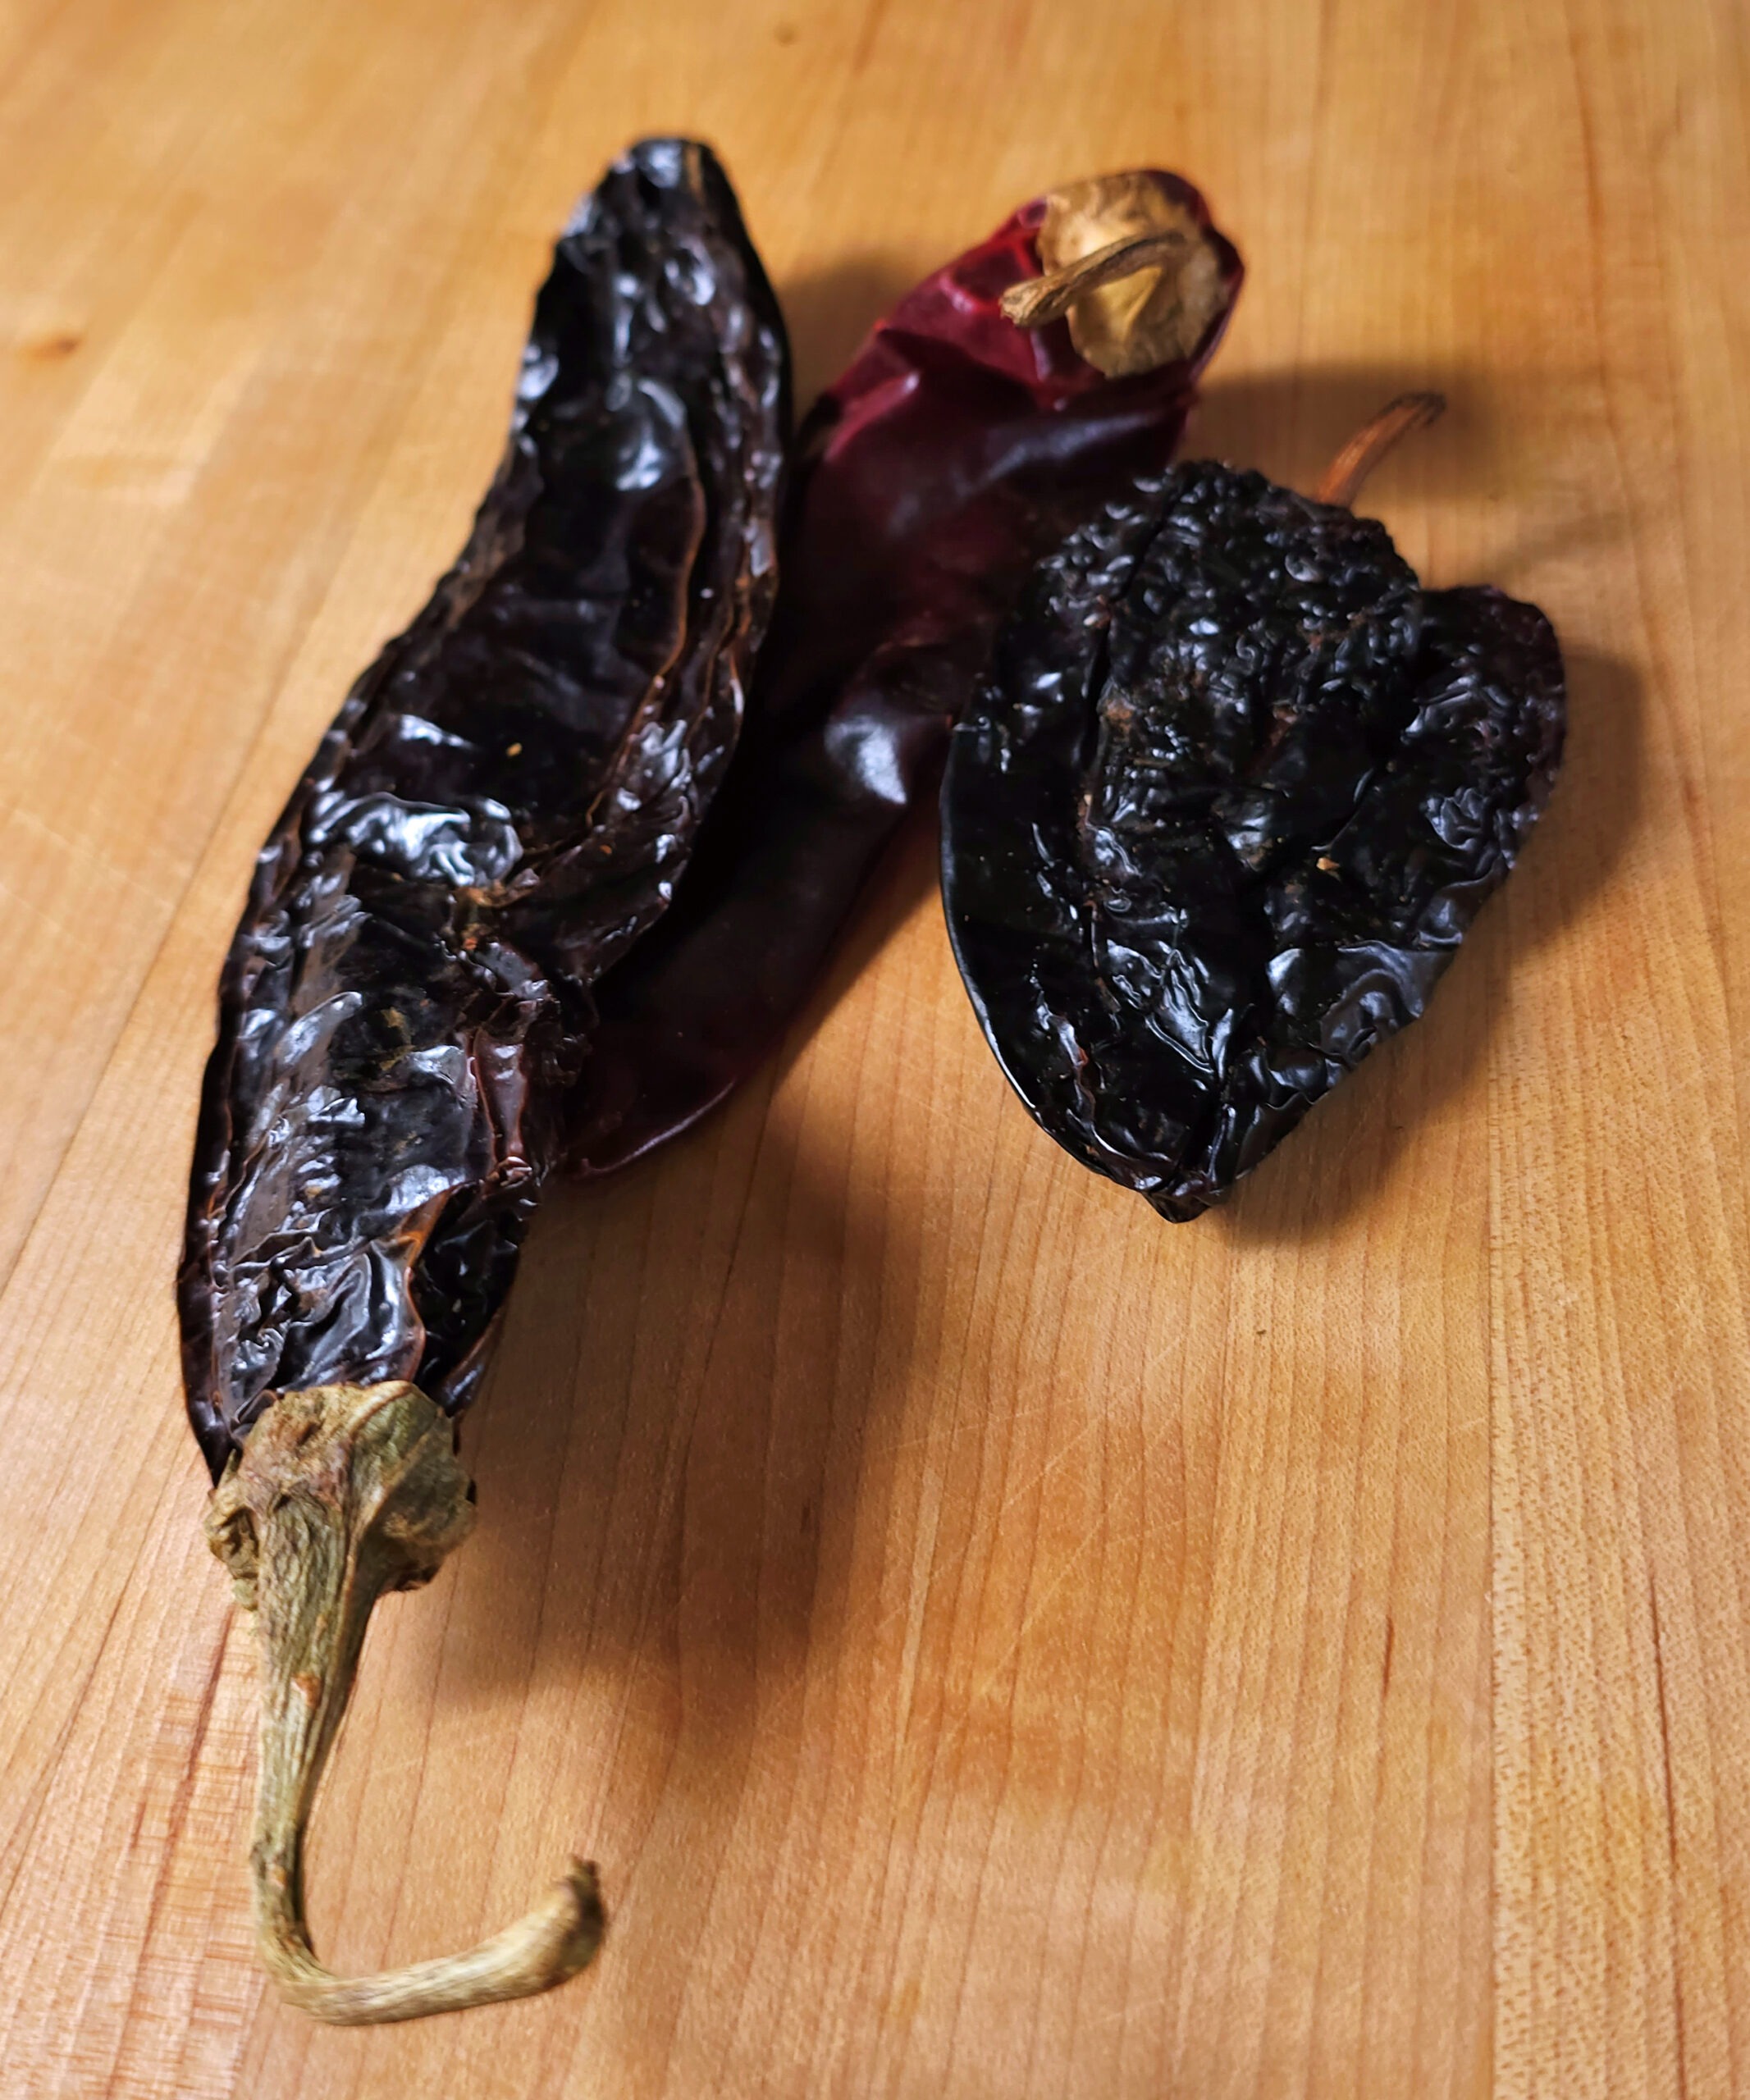
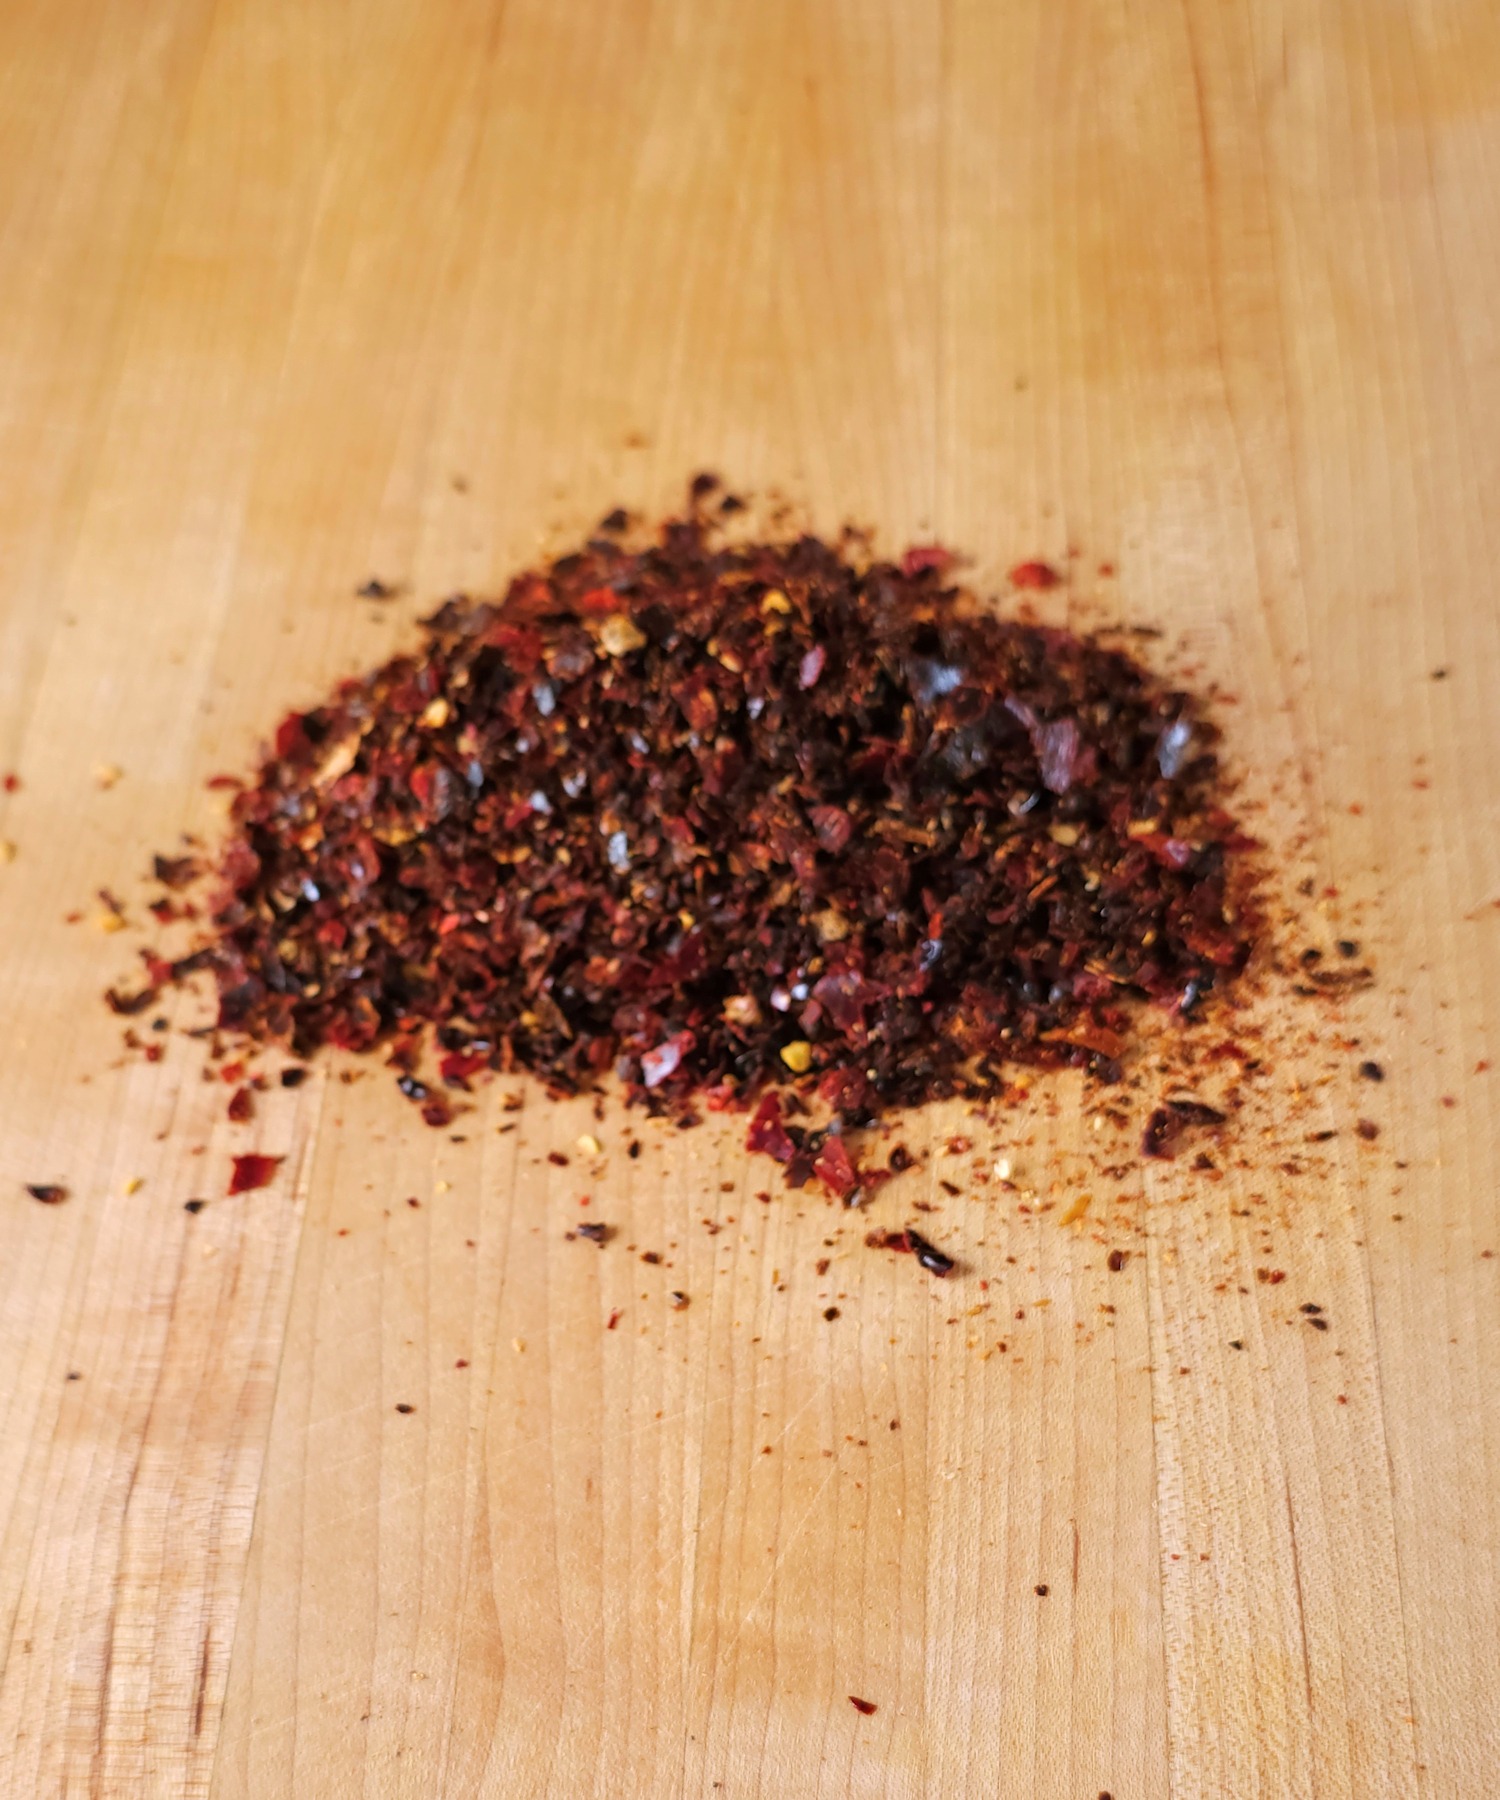
As I already mentioned, dehydrated aromatics make this recipe considerably easier than other methods. I do like to break the shallots down a little bit, because I think they get crispier, but you can use them right out of the bag if you like. The onions and garlic are already small enough. And while you can use dried chili flake, I prefer to use whole dried chilis.
Whole dried chilis are something I use a lot anyway [like in my Chuck Steak Chili], so it’s an ingredient we use up pretty quickly. You can use ordinary crushed red pepper, but the flavor is definitely not as good. This package of Dried Chilis contains three varieties. You can usually find bags of dried chilis at places like Walmart, especially if you live in an area with significant ethnic communities. That is a cheaper option for sure.
No MSG
Some people eat MSG their whole lives with no ill effects. But it can cause inflammatory reactions for others, so I prefer to avoid it. The Umami Powder listed below is made from shiitake mushrooms and add the same savory note that you get from MSG. If you already use MSG with no problem, then by all means, go with that. I think the shiitake mushroom powder tastes better, but it is pricier than MSG. You only use a little bit for each batch, so the package will last quite awhile.
Shallots, dried garlic and onions
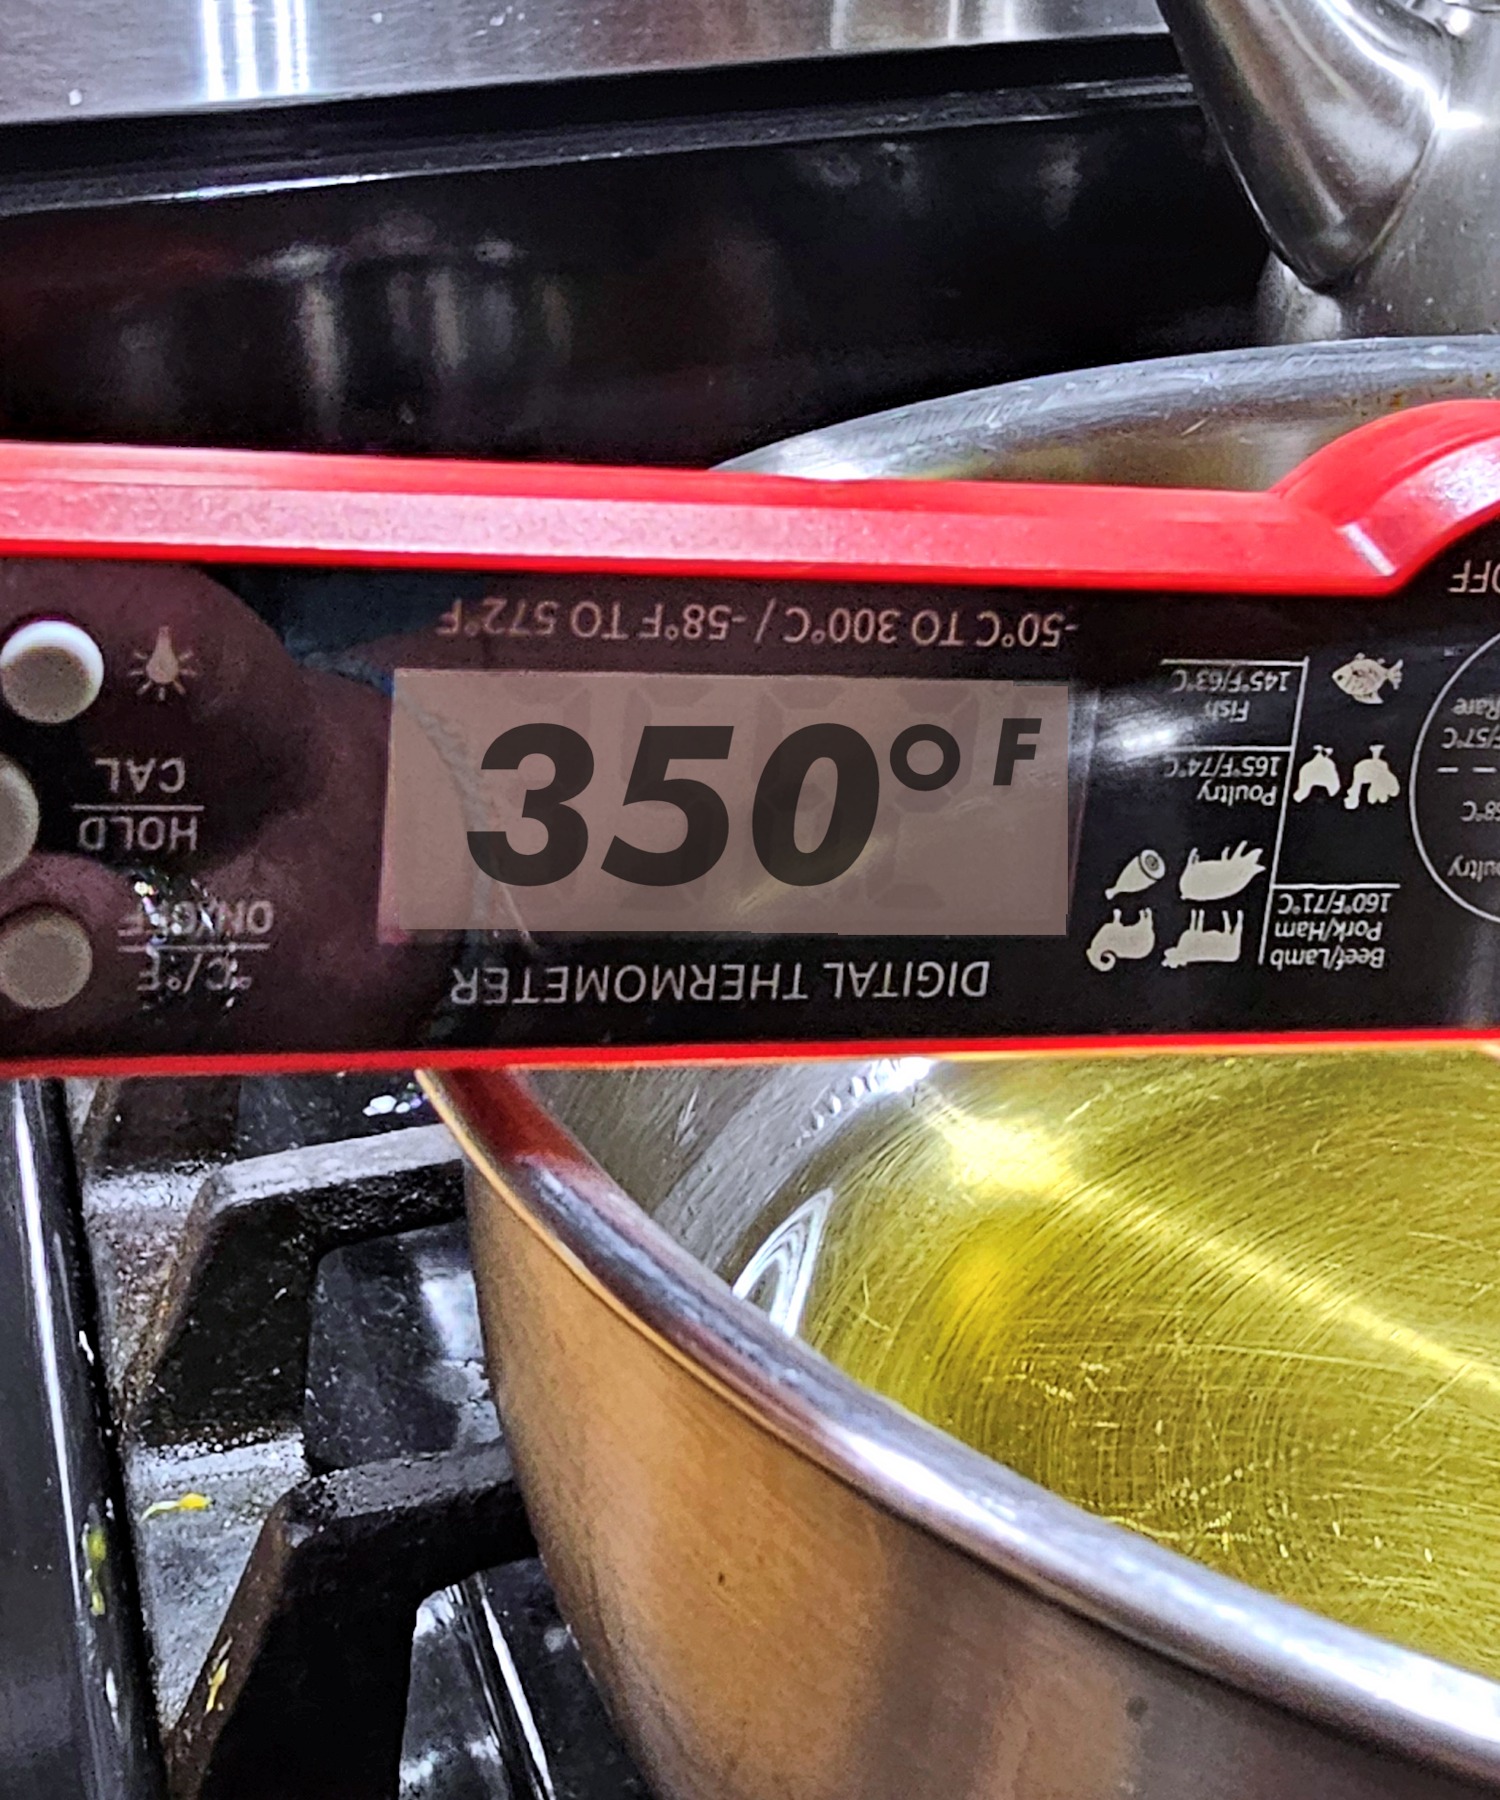
These 3 ingredients make up the bulk of Chili Crisp Oil and are also the main sources of flavor and crunch. Dried ingredients are already crunchy, so you only have to heat the oil to 350°F to finish off the extra crunch. As I already mentioned, the garlic and onions are already pretty crunchy. The shallots, at least the ones I have found, are usually in bigger pieces than I want. I like all of the ingredients to be around the same size, so I whizz up the shallots a bit in the same Nutri-Bullet that I use for grinding the chilis. It just takes a few pulses to reduce them down enough.
Avocado Oil
You can use other types of oil for Chili Crisp Oil. Certainly, if you are purchasing it, you will find other types of oil being used. I like avocado oil for the clean flavor it has and the high smoke point. You could use olive oil, but you will have to watch it more carefully because the smoke point of olive oil kicks in at right around 350°F, which is approaching the temperature where we want the oil for this recipe. The smoke point for avocado oil is upwards of 500°F, which gives you plenty of leeway when making this. It is very easy to lose track of the temperature for a few moments and scorch olive oil which will not give you a good result.
Unlike recipes where you have to fry fresh ingredients until they crisp up, with my hybrid method, you only have to heat the oil up to 350°F before adding to the other ingredients. This will help meld the flavors and intensify them, without having to fiddle around with a lot of hot oil for an extended amount of time.
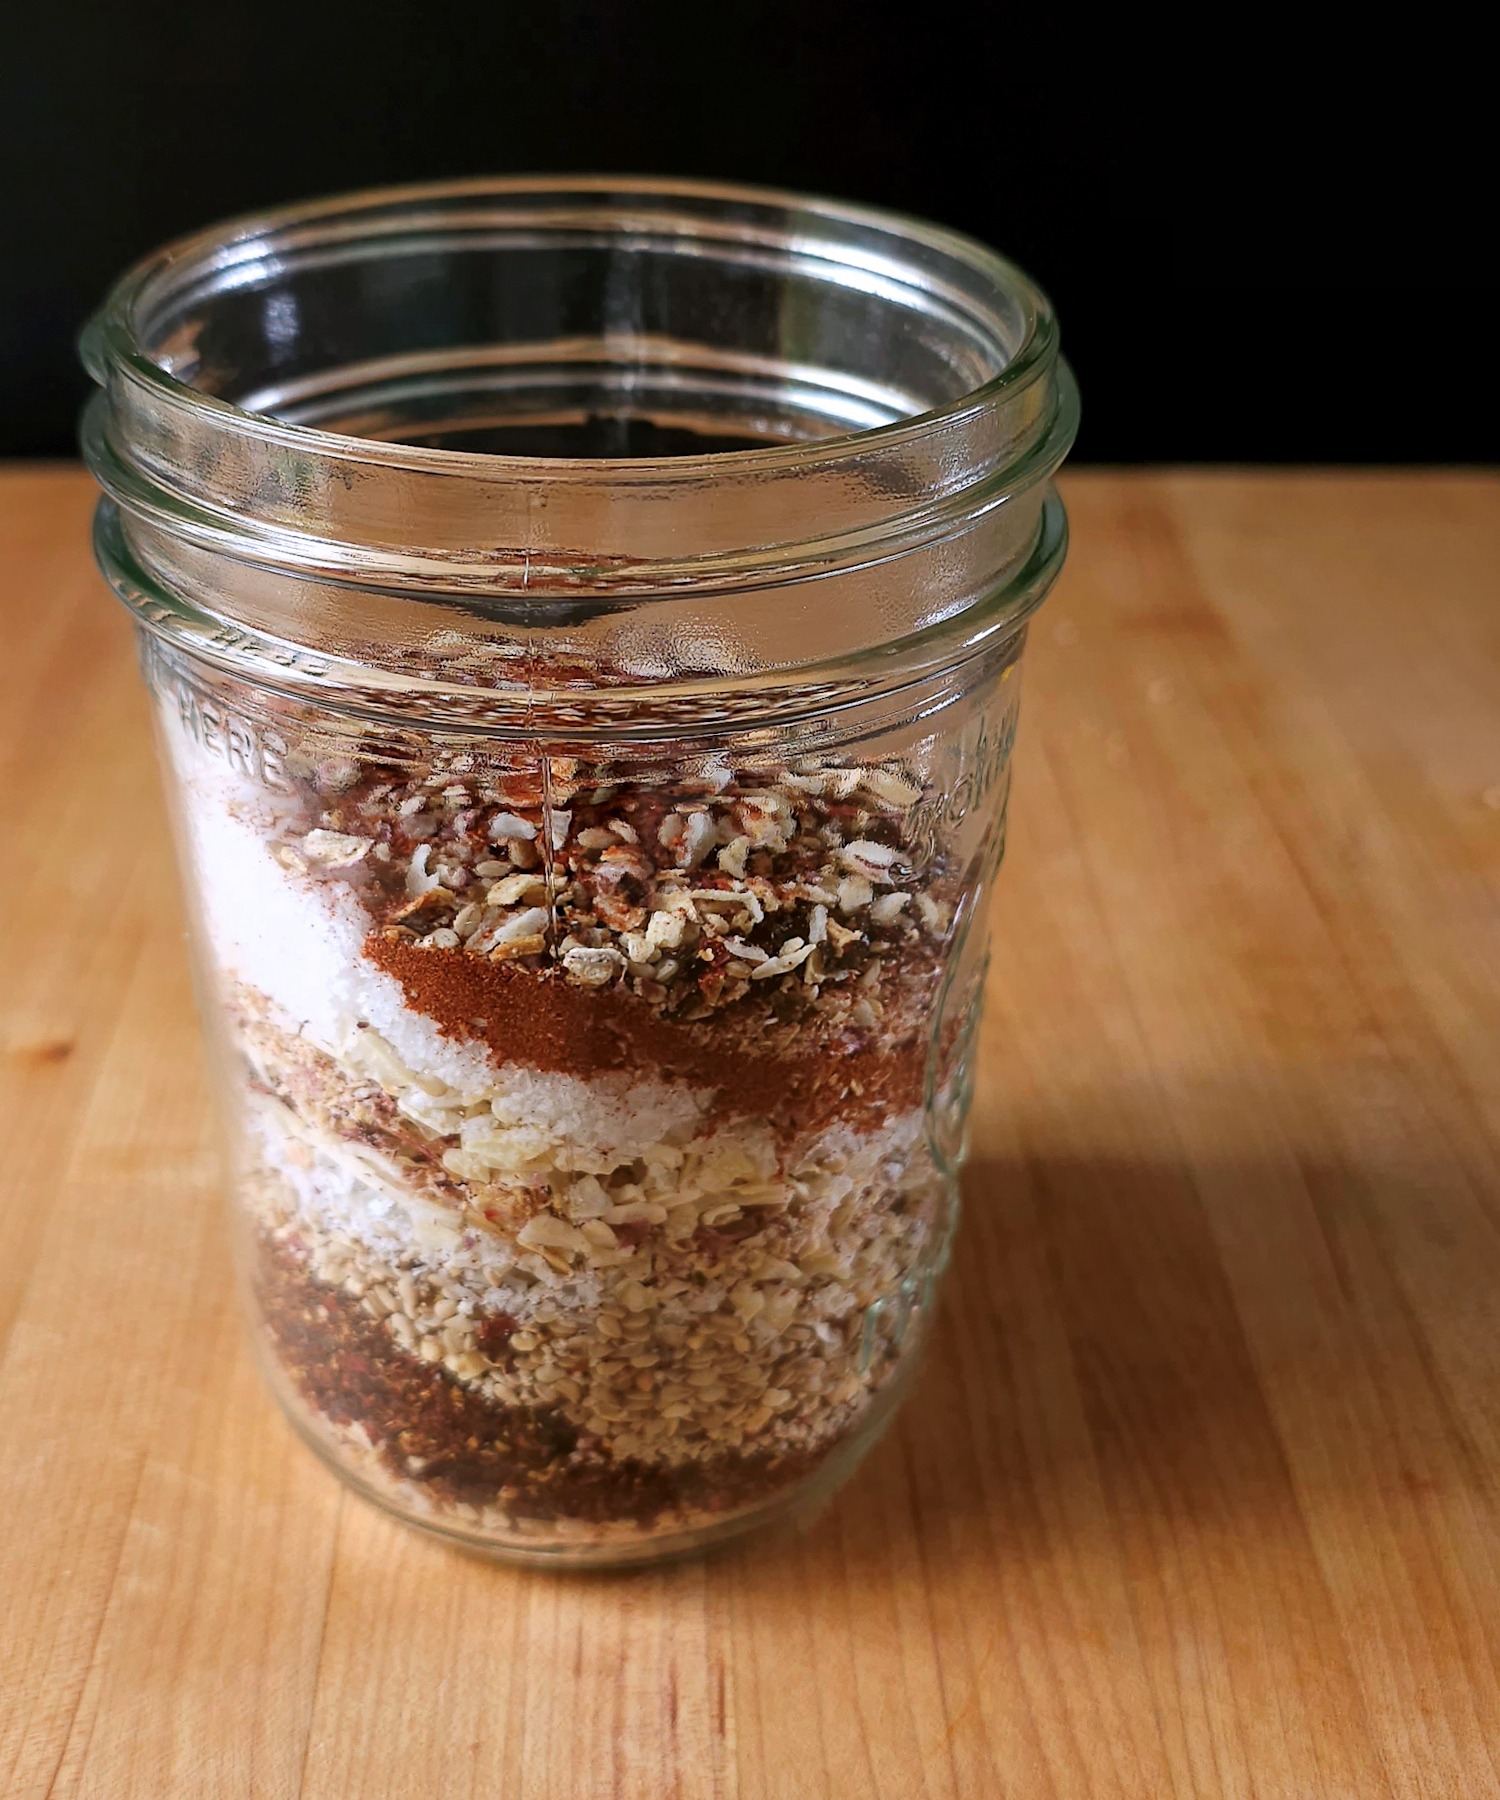
Raw ingredients in the jar, just to make sure they will fit – don’t add the hot oil to a glass jar.
How to make Chili Crisp Oil
Chili Crisp Oil
Equipment
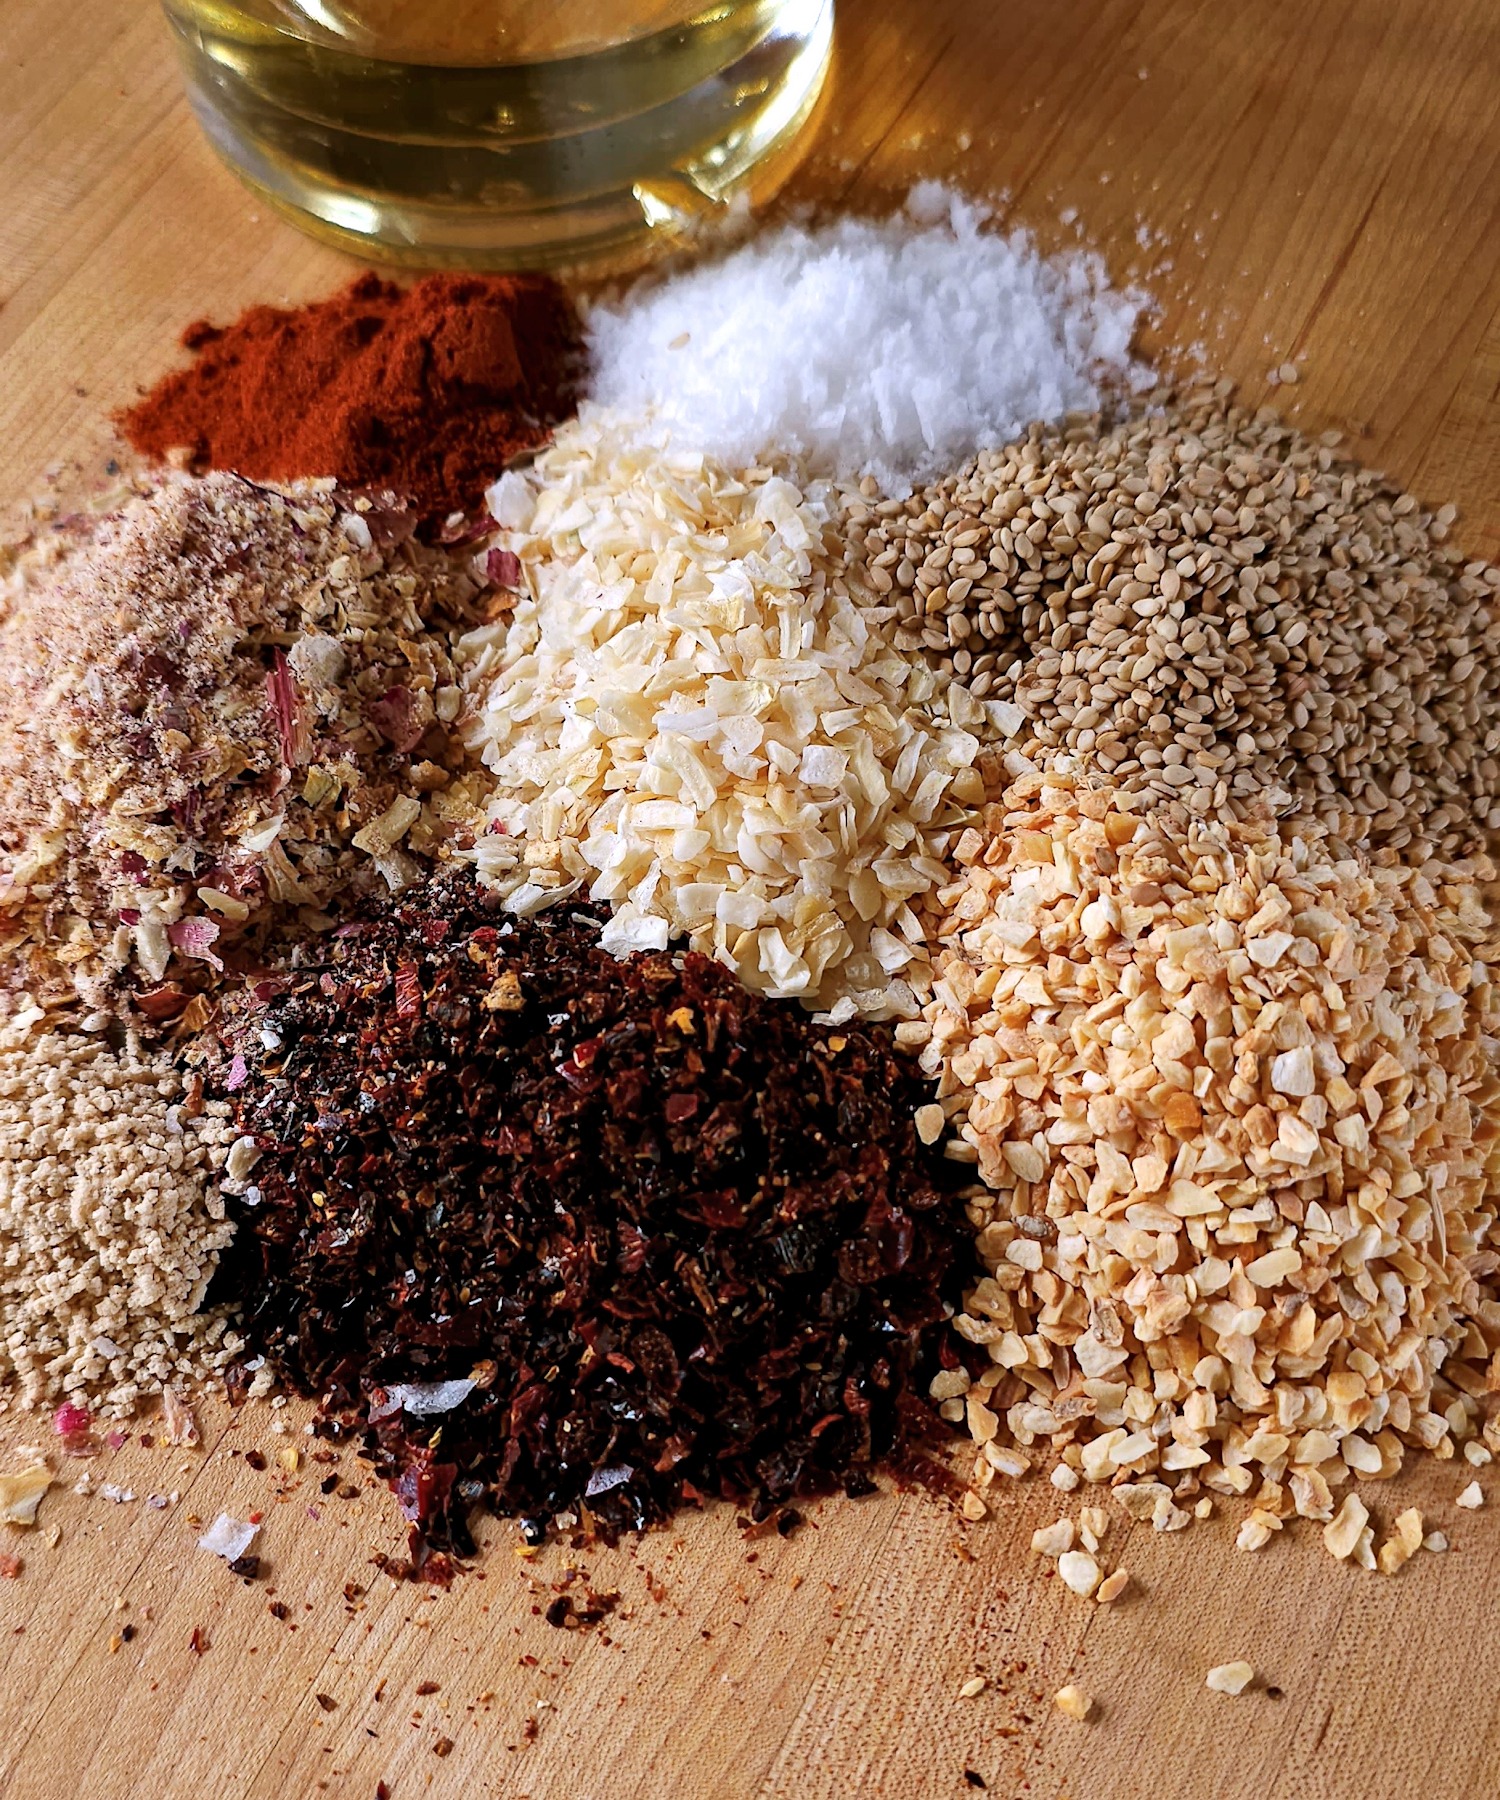
Ingredients
- 1 cup avocado oil
- 1 -3 dried chilis [see notes for substitutes]
- 4 tablespoons dried shallots
- 4 tablespoons dried onions
- 4 tablespoons dried garlic
- 2 tablespoons sesame seeds
- 1 tablespoon flakey salt
- 2 teaspoons smoked paprika [sweet or hot]
- 1 teaspoon umami powder
- 1/2 teaspoon chipotle chili powder [optional, see notes]
Instructions
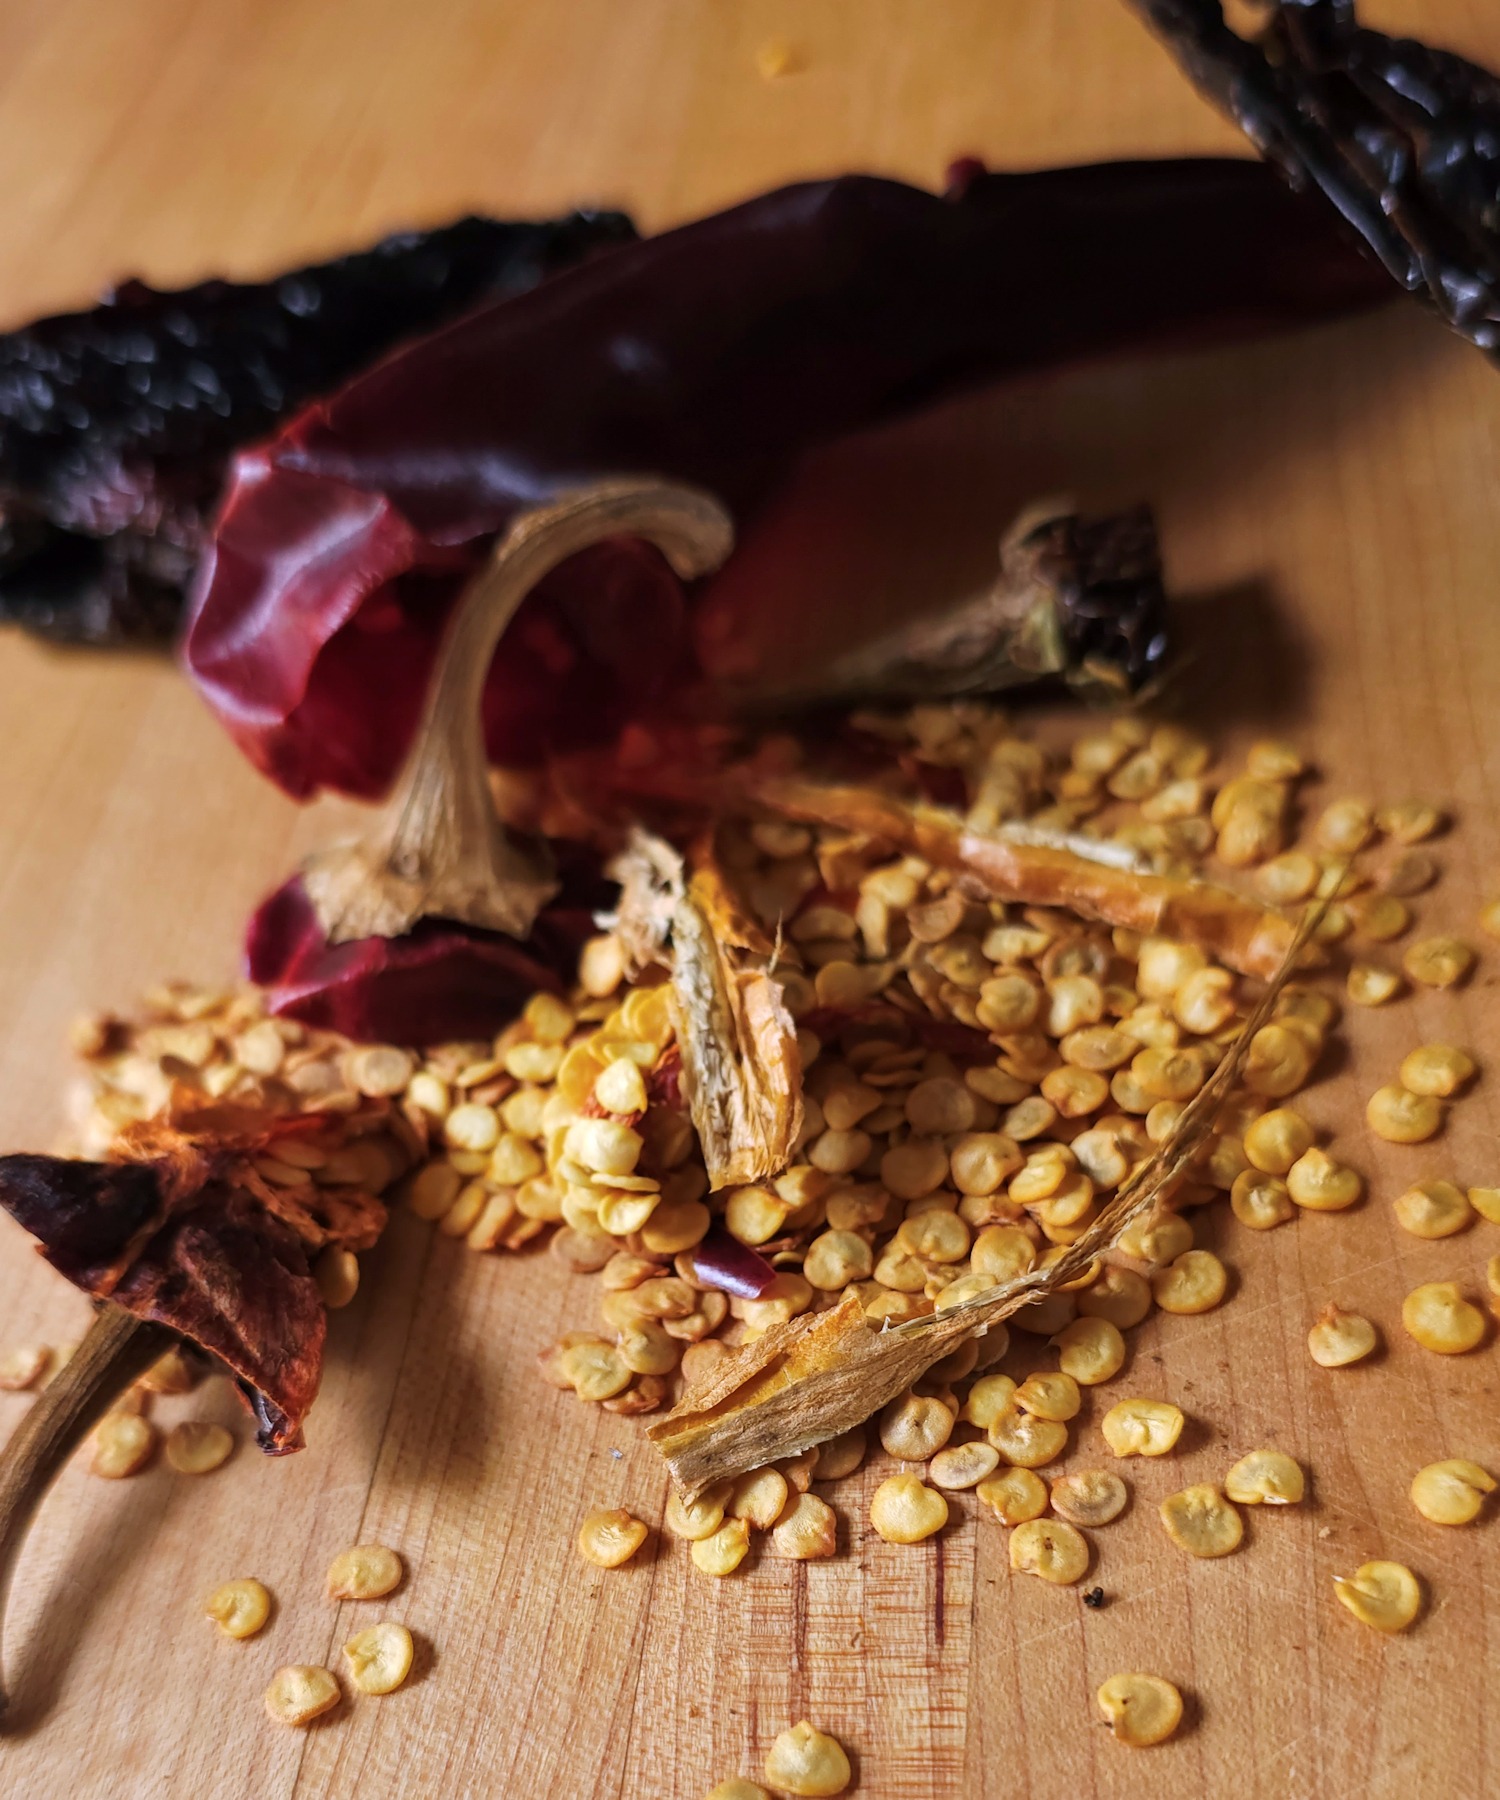
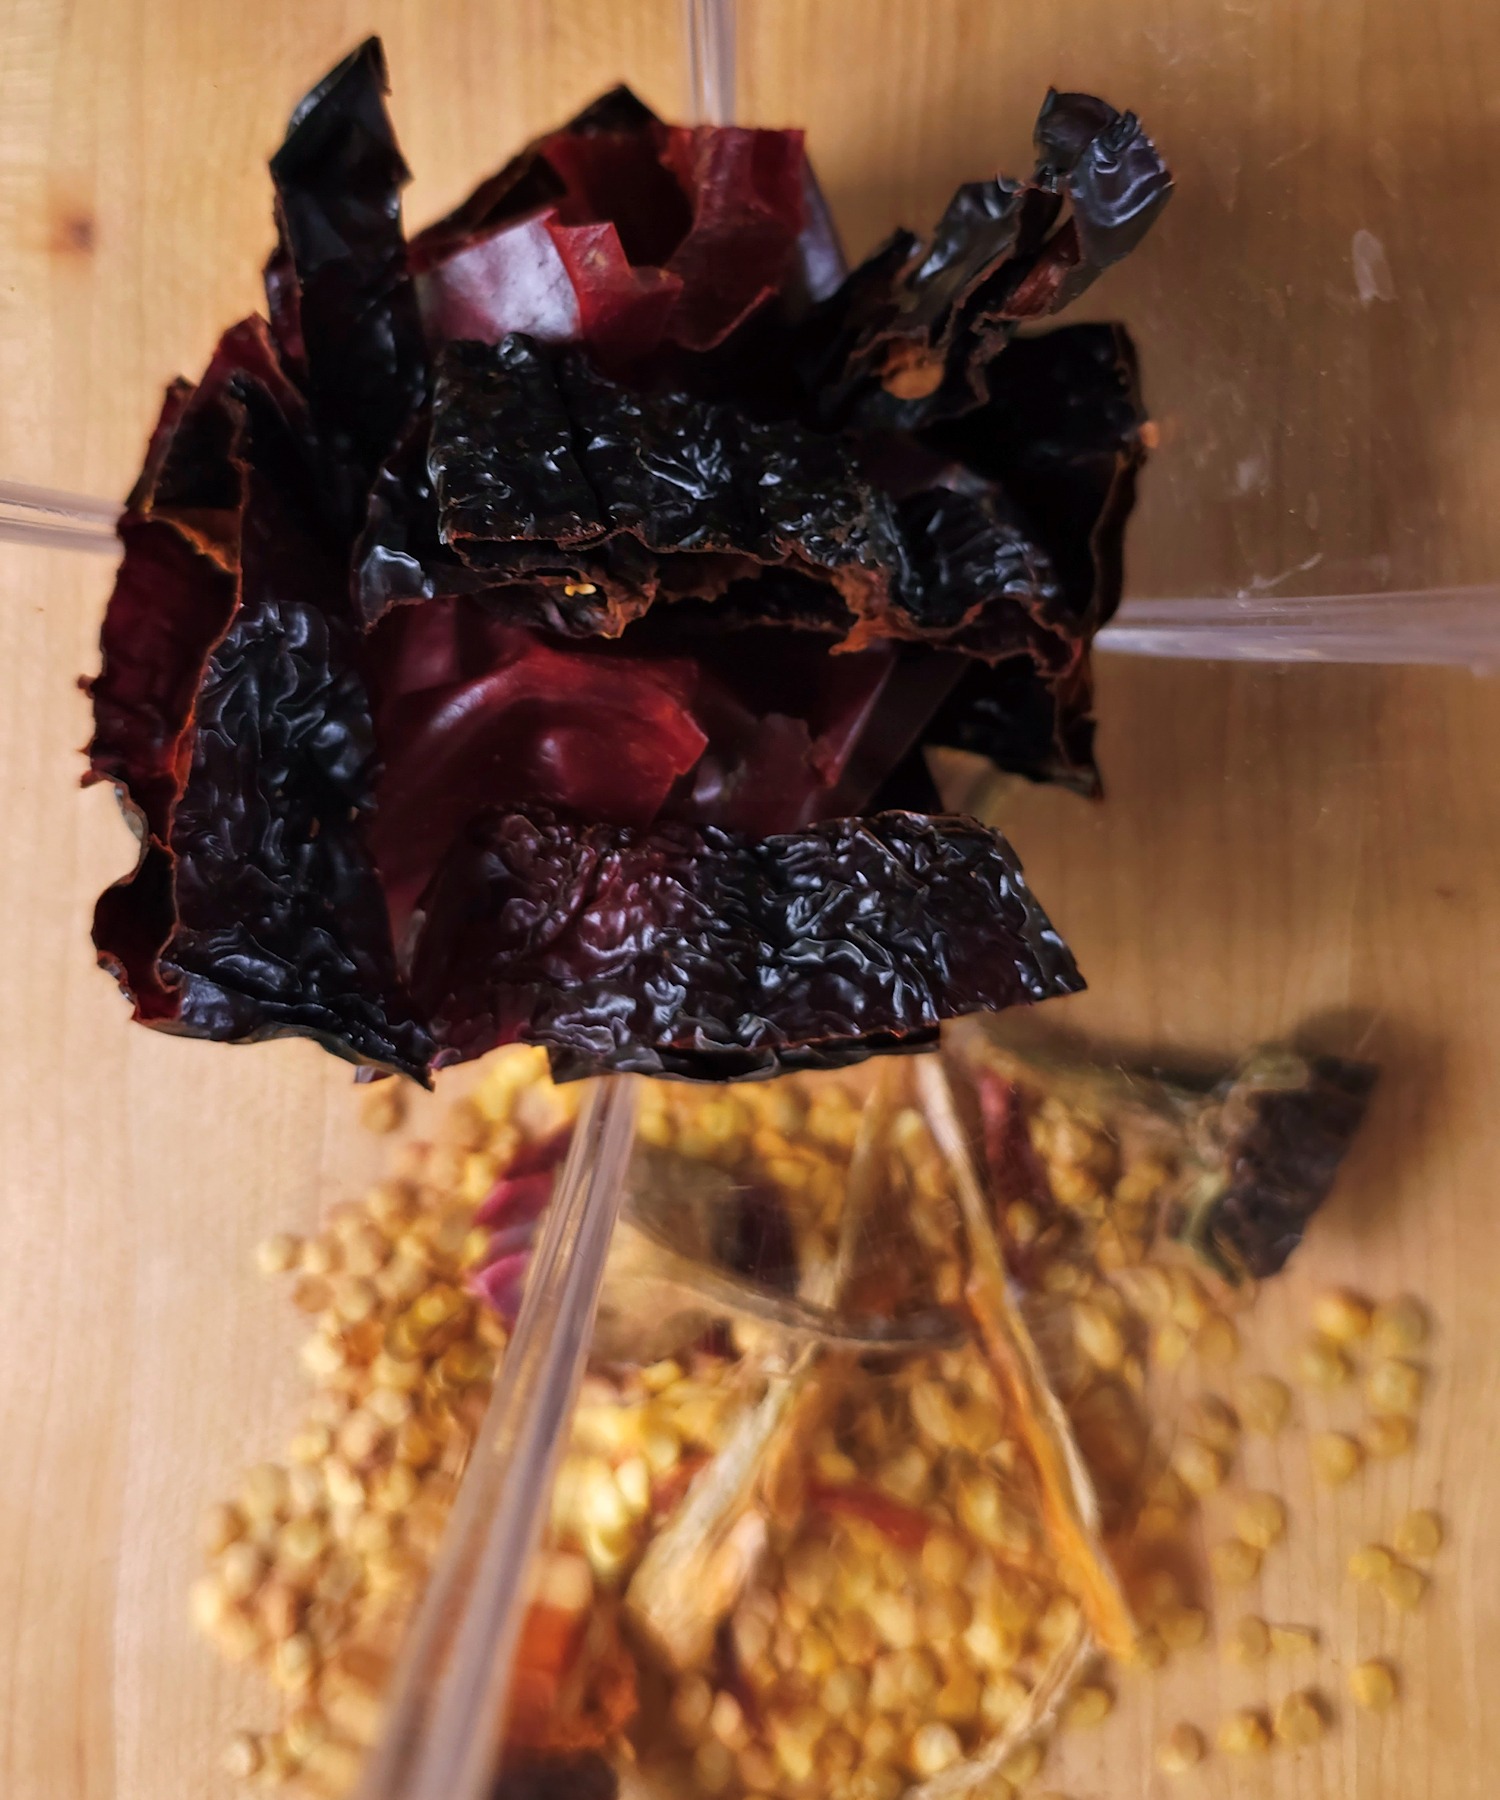
- If you are starting with whole, dried chilis, and I recommend that you do, use sharp kitchen scissors to remove the stems. Dump out the seeds, and cut the chilis into about 1 inch pieces. Using a small food processor of some kind [like a Nutri-Bullet], grind the chilis until they are in small pieces, but not powdered. OR - use dried red pepper flake. Empty the chilis into a heavy metal bowl.
- Using the same processor or Nutri-Bullet, break the dried shallots down a bit - to about the same size as the dried garlic. Empty into the same bowl.
- Measure the avocado oil into a heavy sauce pan - 3 quarts is a good size. Turn the heat to medium.
- While the oil is heating, measure the remaining ingredients into the heavy metal bowl. Stir them together.
- Place the bowl on a wooden cutting board, or other heat-proof surface, and have it sitting right next to the stove.
- Watch the hot oil carefully, and check the temperature with an instant read thermometer - you want to have oil right around 350°F You don't need to stir it - just let it heat. It won't take long.
- When the oil gets to 350°F, turn off the heat.
- Carefully pour the oil over the ingredients in the metal bowl. Take your time - no need to risk splashing the oil around - just pour it in a steady stream. Everything is going to bubble around a bit, as the oil cooks the other ingredients just a bit.
- Leave the chili crisp oil to cool for about an hour. You can stir it to ensure everything is well combined.
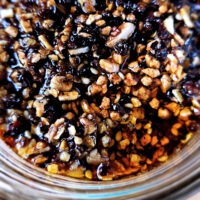
- Pour the Chili Crisp Oil into a jar [it will fit perfectly in a 1 pint canning jar] with a lid. It is ready to use, but the flavor will deepen over the next few days and weeks.
Notes
There you have it – the best condiment I think I have ever made. You can make it as I have, or switch things up to make it all your own.
How to tweak Chili Crisp Oil to customize the flavor
One of the main things you might consider changing is the amount of heat in the final result. As written, this is not terribly spicy. It is very savory, with a depth of varied flavors.
To spice it up, I suggest either increasing the number of spicier whole chilis in step 1 above or add some chili powder. Chipotle chili powder is available in most supermarkets these days, and it will add a good amount of smoky heat. Ordinary chili powder is as spicy, but will still add some heat.
Some people like to add cumin seeds, mustard seed, ground ginger, coriander seeds – all will bring their own unique qualities. If you aren’t sure what you will like, I suggest trying the recipe as written and then branching out to other flavors. If you find a flavor you think goes particularly well in this, please let me know in the comments, below.

My Amazon Chili Crisp Store – for the entire list
Links to individual ingredients I used for this Chili Crisp Oil:
Dried Onion ~ Dried Shallots ~Dried Garlic ~ Umami Powder [shiitaki mushrooms] ~ Dried Chilis ~ Crushed Red Chili ~ Sesame Seeds ~ Smoked Paprika ~ Chipotle Chili Powder ~ Maldon Sea Salt ~ Avocado Oil
How to use Chili Crisp Oil
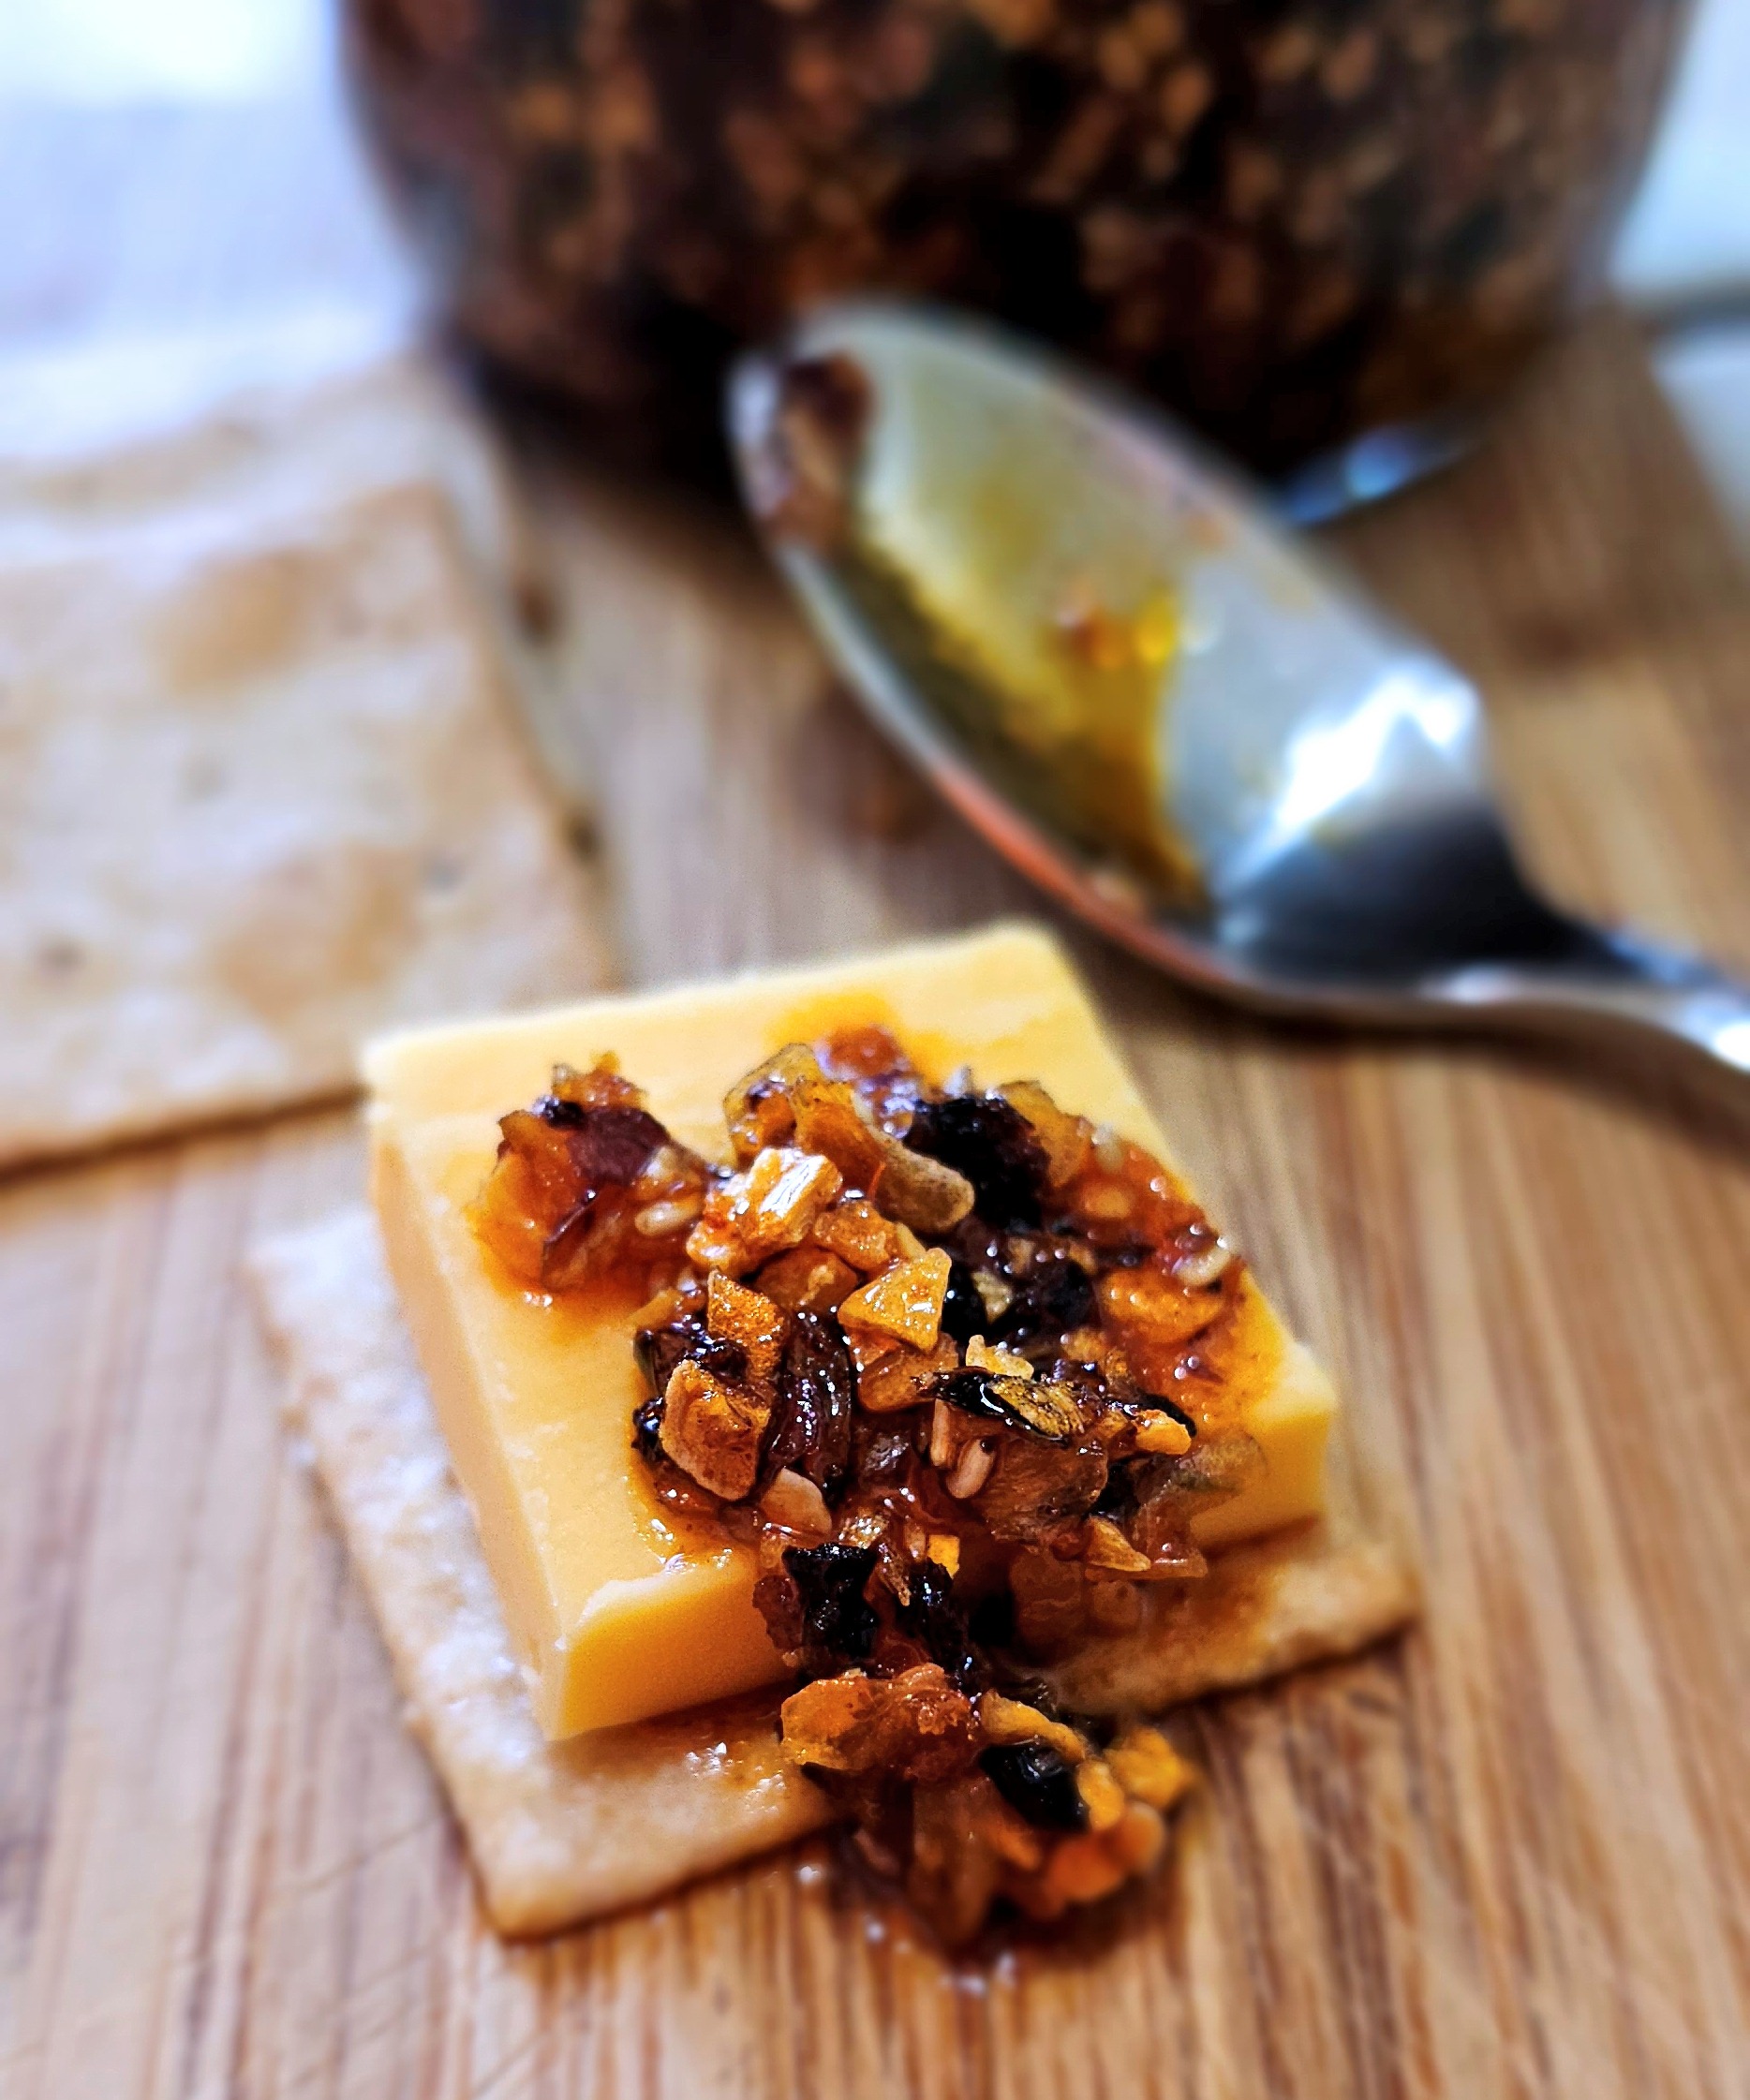
There are about a million ways to enjoy Chili Crisp Oil. Cheese and crackers with Chili Crisp Oil is a favorite of mine. It is also good on eggs, avocado toast, burgers, sandwiches, fried potatoes, sauteed vegetables, mixed in sour cream for a dip, grilled chicken, steak and a whole lot more. I go through a pint of this stuff in about 10 days usually. ‘Cause it really is good on everything!
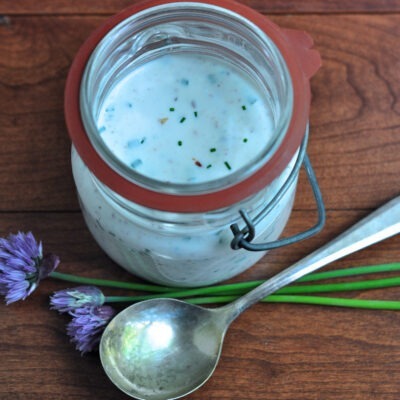 Chive Bacon Ranch Dressing
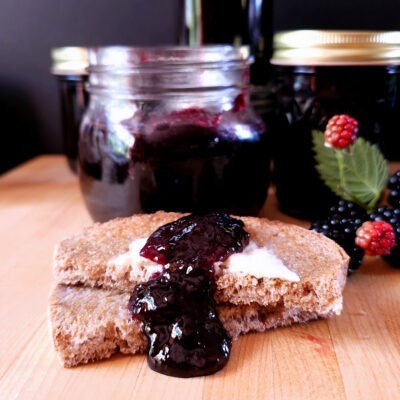 Seedless Blackberry Jam {no pectin recipe}
 Basil Pesto
 Quick Pickled Radishes
 Tomato Jalapeno Jam
 The Best Turkey Gravy
 Creme Fraiche – Homemade
 Garlic Scape Pesto
 Homemade Apple Sauce
 Asiago Herb Spread
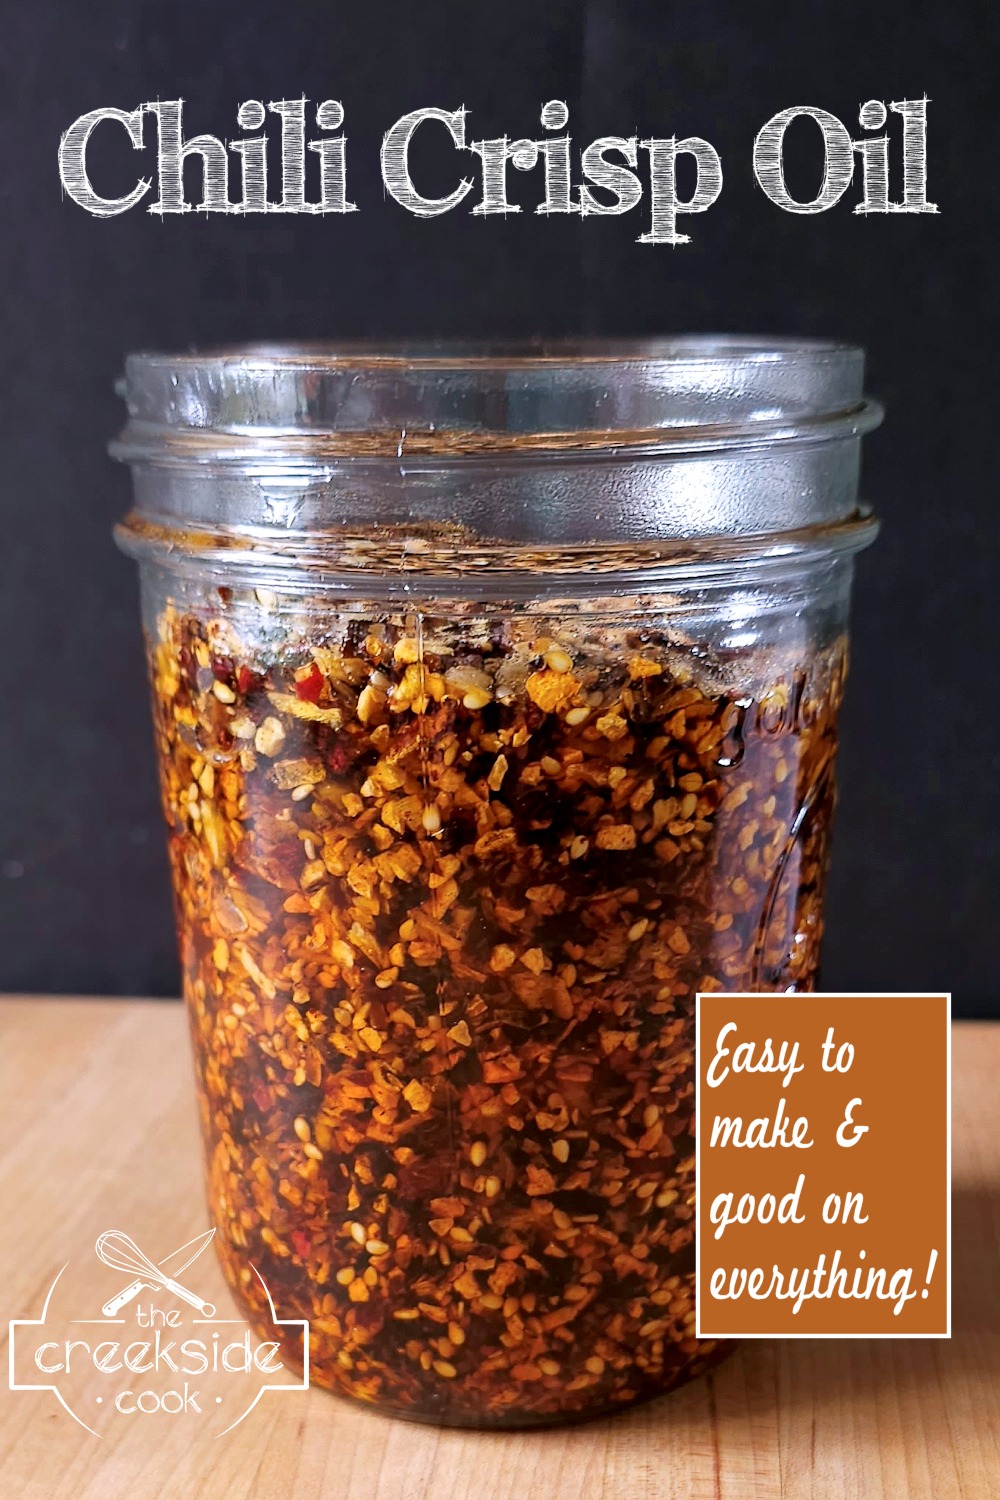
Ooooohhhh, looks so good!!! Gotta try this for sure.
I hope you love it – a favorite of ours now!