This post may contain affiliate links. Please read my disclosure policy.
Tuscan Herb Salt preserves the flavor of summer
I utilize a lot of ways to save all that we grow through the summer. Canning, freezing, pickling, fermenting and dehydrating all serve to hold on to the flavor and nutrition of the things we grow. Tuscan Herb Salt is a way to preserve the bright freshness of summer herbs. Not to mention garlic!
Growing herbs to preserve them is a great idea
As I have mentioned lately here on the blog and on social media, I like to keep some pots of herbs growing on the sunny parts of our front porch. This keeps them close by to add to whatever I am cooking, but they’re very happy there and reward me with enough to save for winter too.
Like anything you make or grow yourself, you know what you’re getting
There are plenty of ways to preserve summer herbs. I dehydrate a lot of them every year. This saves me some money at the grocery store [organic herbs are expensive and you don’t want to think about where the regular ones might be coming from!], but the flavor is also much better , if you do things the right way. I have this dehydrator, which is just a cheapy, but serves us well enough. It does produce very fine dried herbs and I use it for that a lot.
SALT HELPS HANG ON TO MORE FLAVOR
But adding salt brings things to a whole other level. The flavor of the herbs in this mix isn’t just preserved,, it’s actually intensified. The period of time after the herbs and salt are combined allows the salt to actually absorb a lot of the volatile compounds and oils from the herbs. Regular dehydration allows some of that to dissipate into the air and be lost, along with some of the flavor.
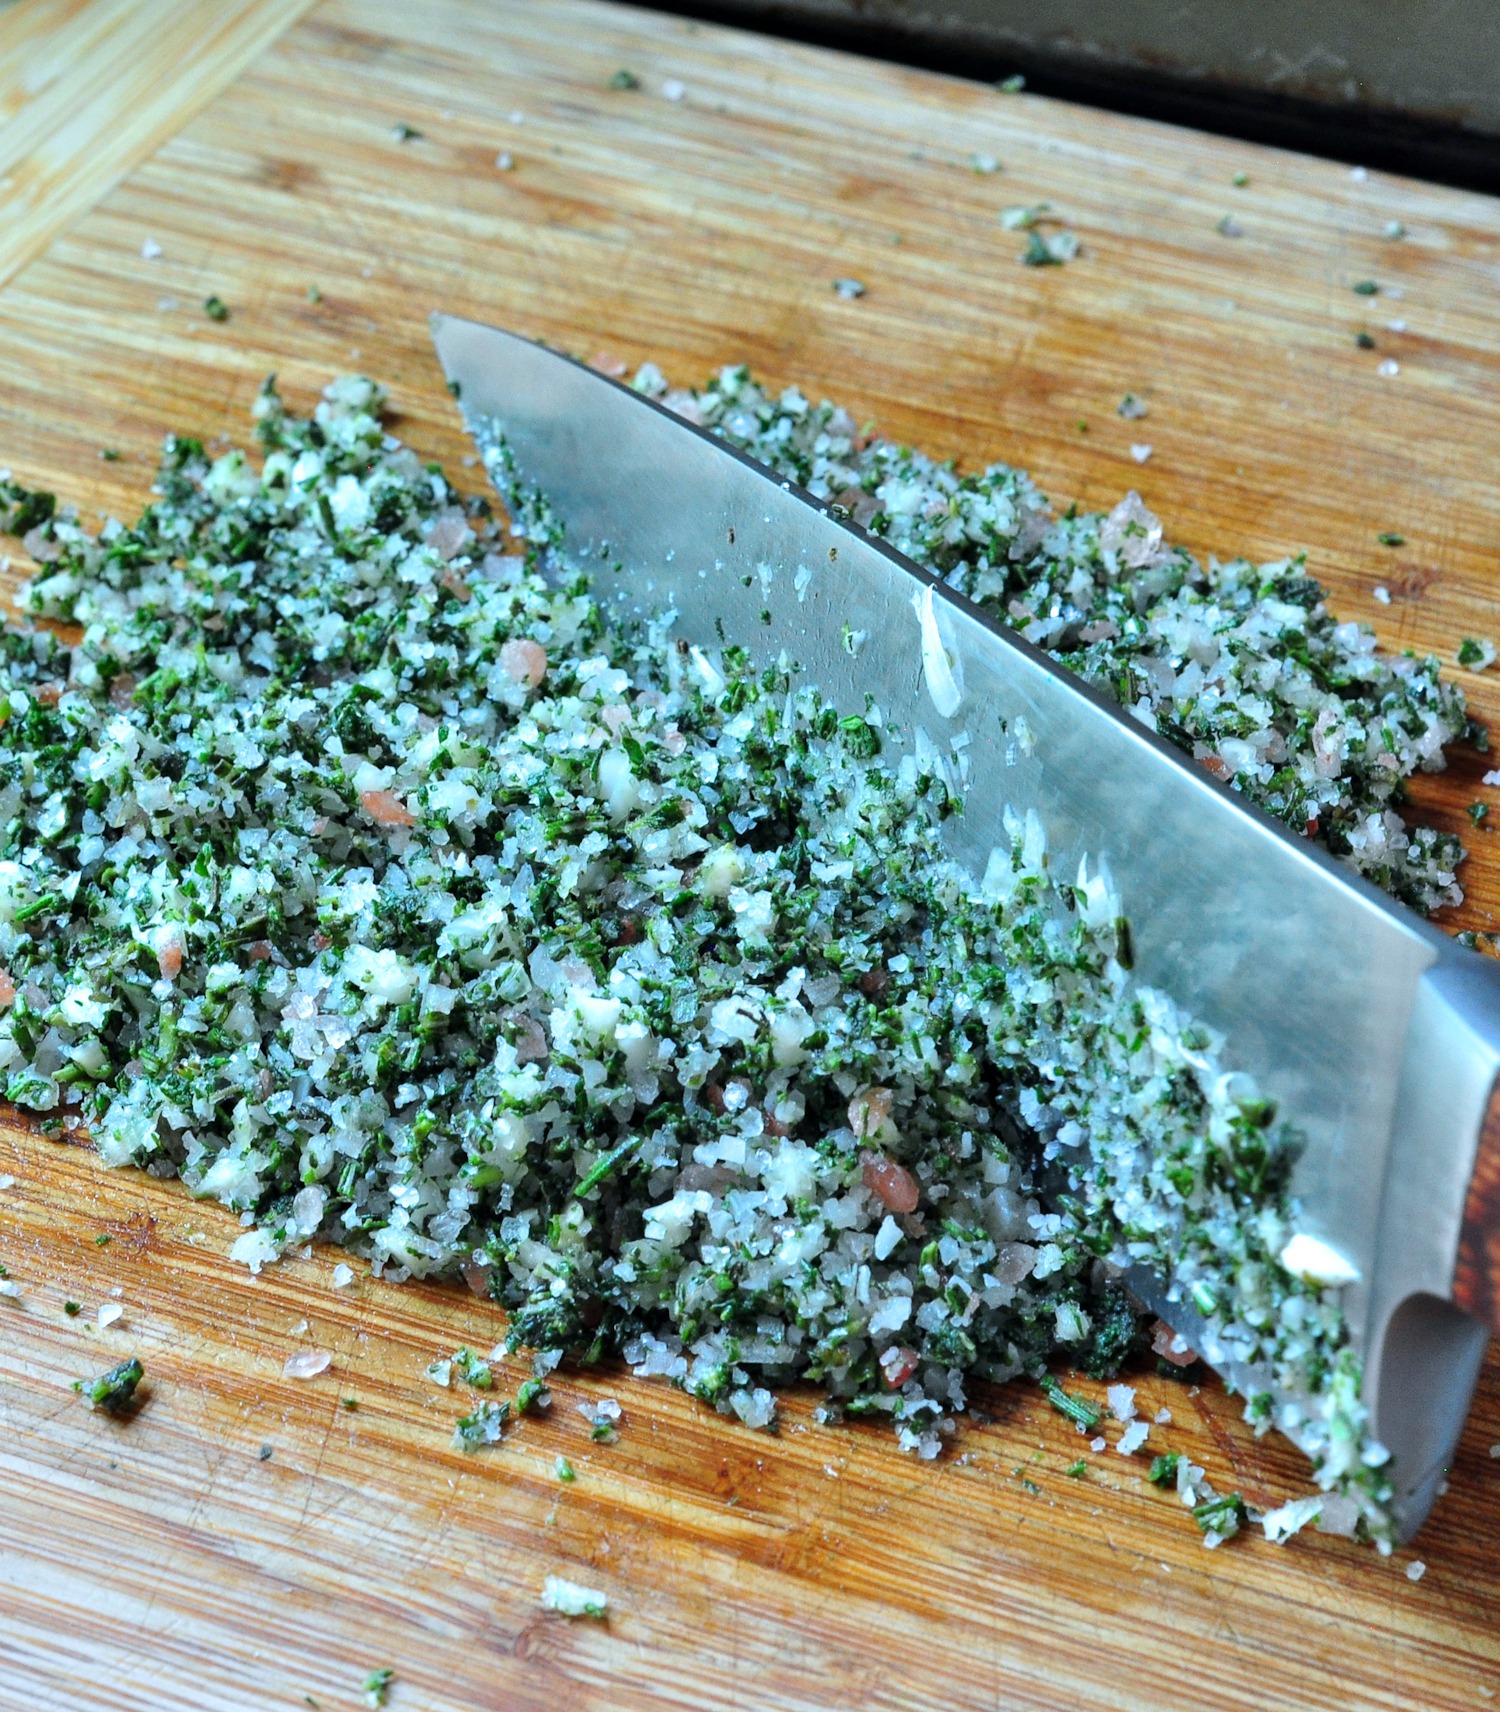
There’s more than one way to combine the salt, garlic and herbs
For this batch of Tuscan Herb Salt, I used a chef’s knife. I have pretty good knife skills from my years of working in restaurants, and I enjoy the contemplative nature of prolonged chopping. But if that may not be true for you. If I am in a hurry, a food processor works very well, and with less effort. But, I wanted to demonstrate that no special equipment is necessary, so long as you have some patience.
What kind of salt should I use for Tuscan Herb Salt?
I’ll begin by saying that you should NOT use regular table salt for this. Table salt is already pretty fine. It also has a higher sodium content than these other types of salt. You can use ordinary kosher salt, with good results. Kosher salt is quite readily available in supermarkets now, so you should not have trouble finding it. I used a combination of different salt for this batch, mainly because I ran out of Celtic Sea Salt, which is what I most often use.
More recently, I have been using Redmond salt. This is an American product, and unrefined mineral salt contains trace elements that we sometimes lack in the standard American diet. All of these salts are going to be more expensive than ordinary supermarket table salt, but they are worth it in my opinion.
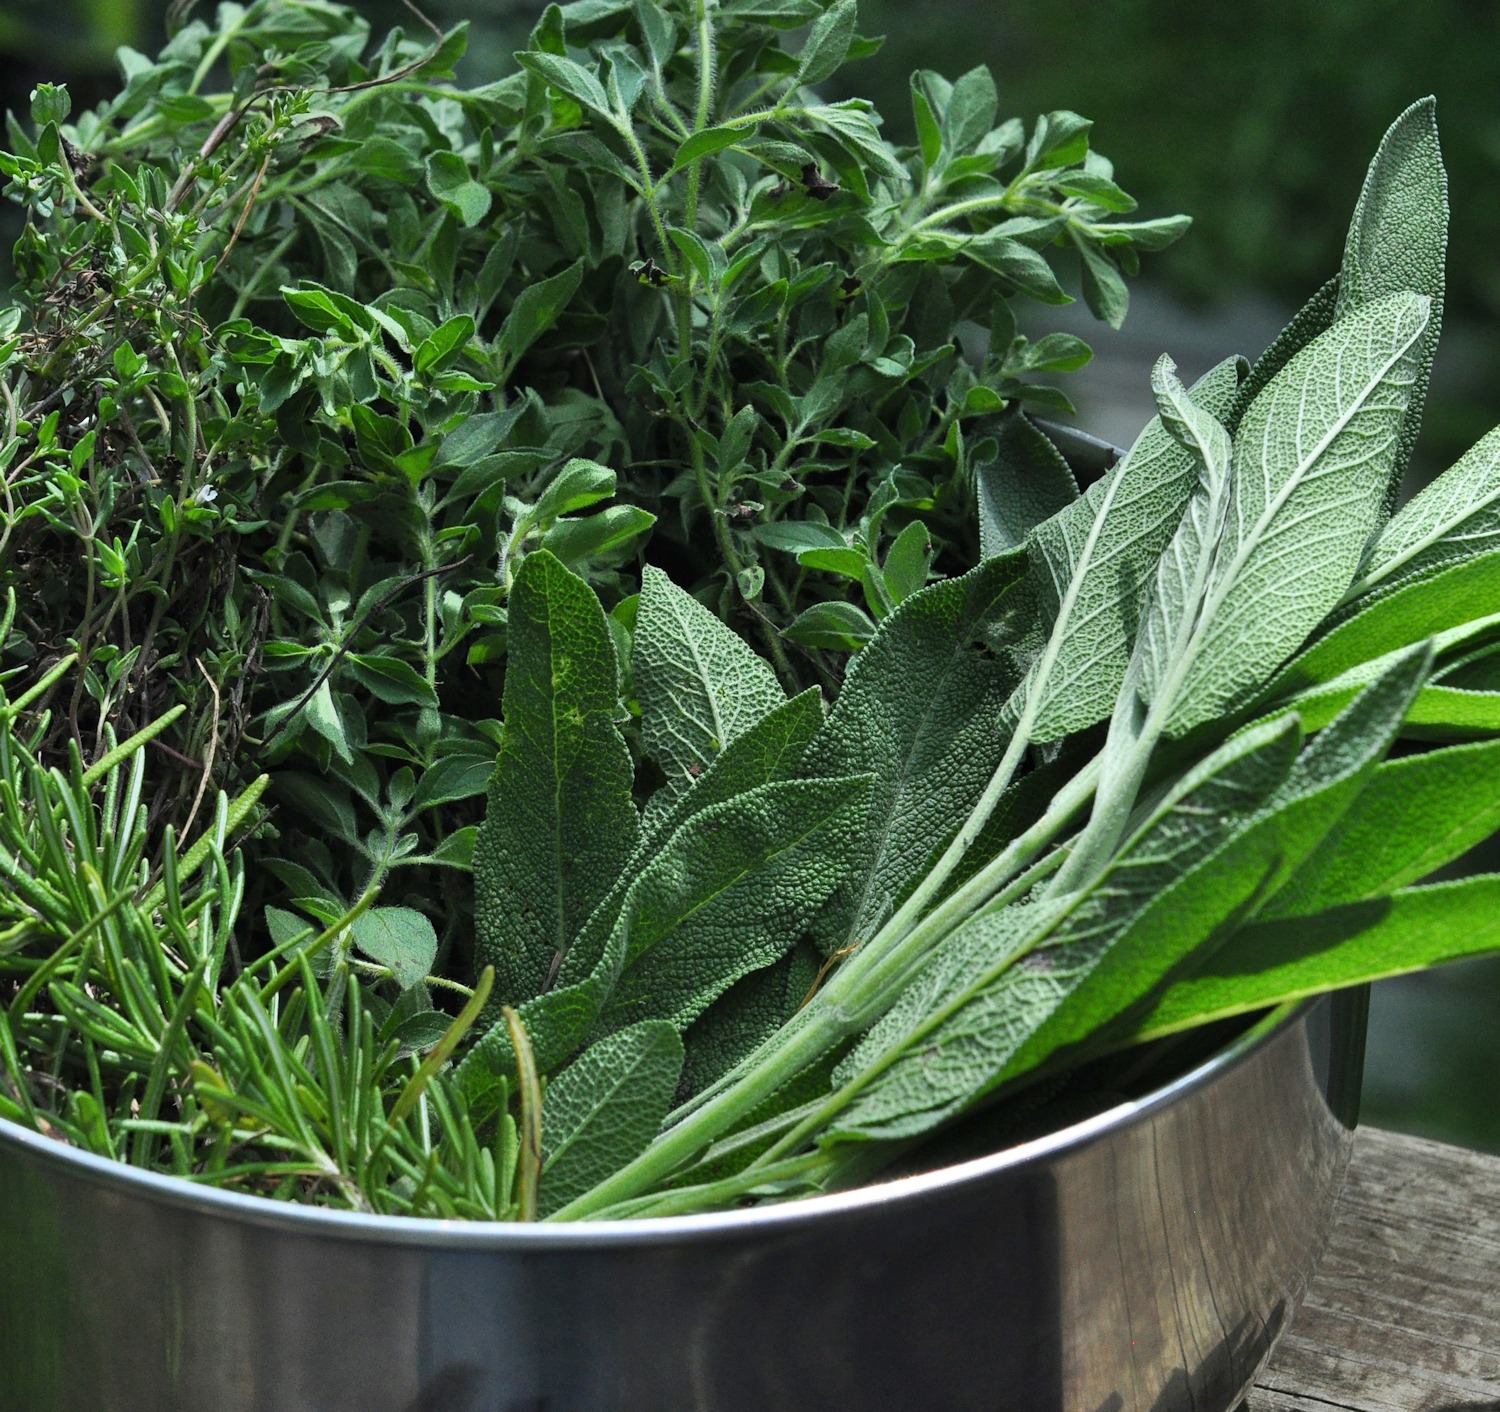
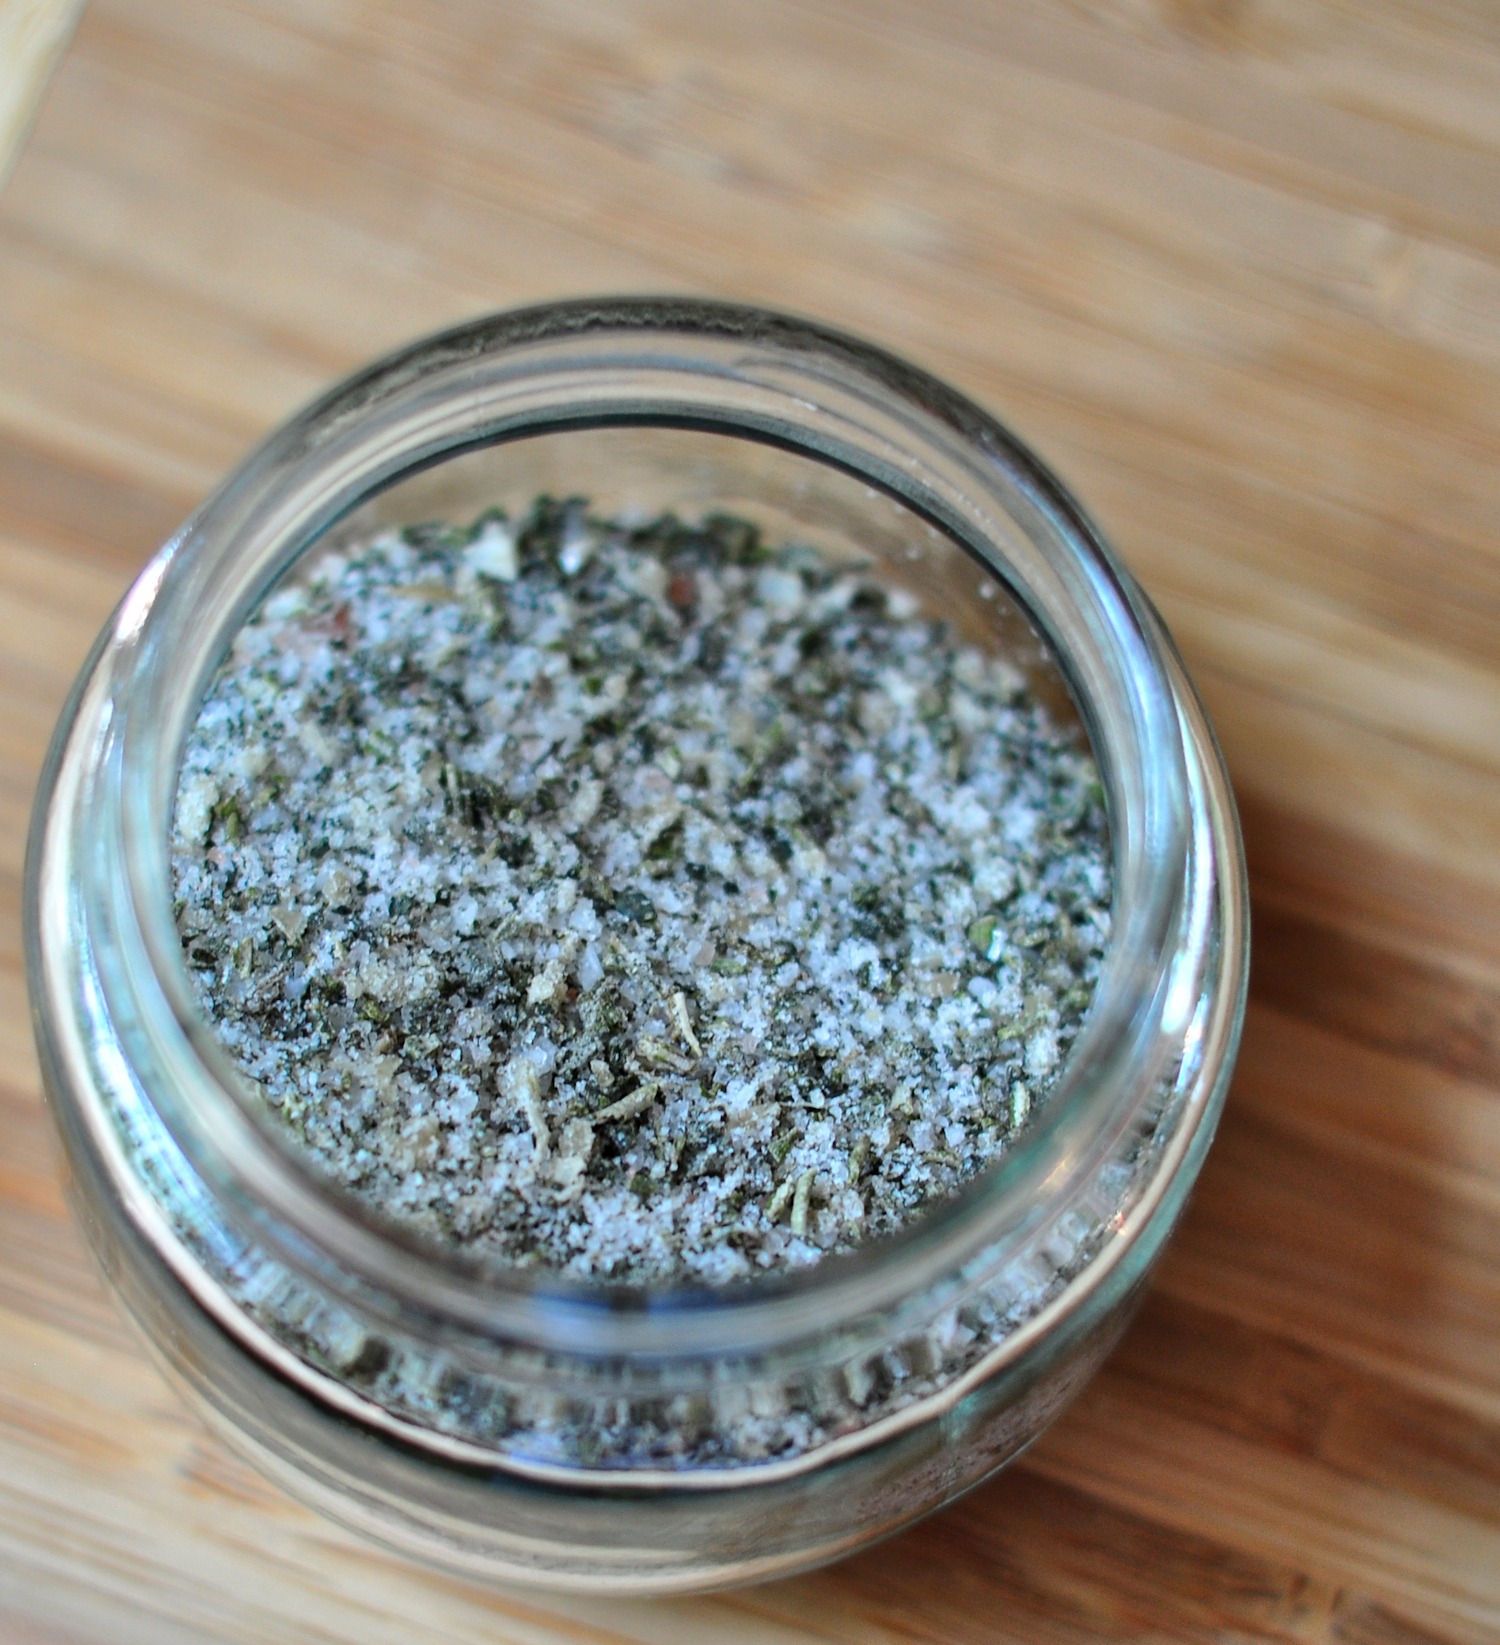
Use the herbs you like in Tuscan Herb Salt
Most of the time, I like to use a pretty good variety of herbs. This batch has thyme, parsley, rosemary and sage. I tend to preserve basil frozen with olive oil, because I think it gets too licorice-tasting when it is dried. If you like the flavor of dried basil, then you will likely enjoy it in this salt.
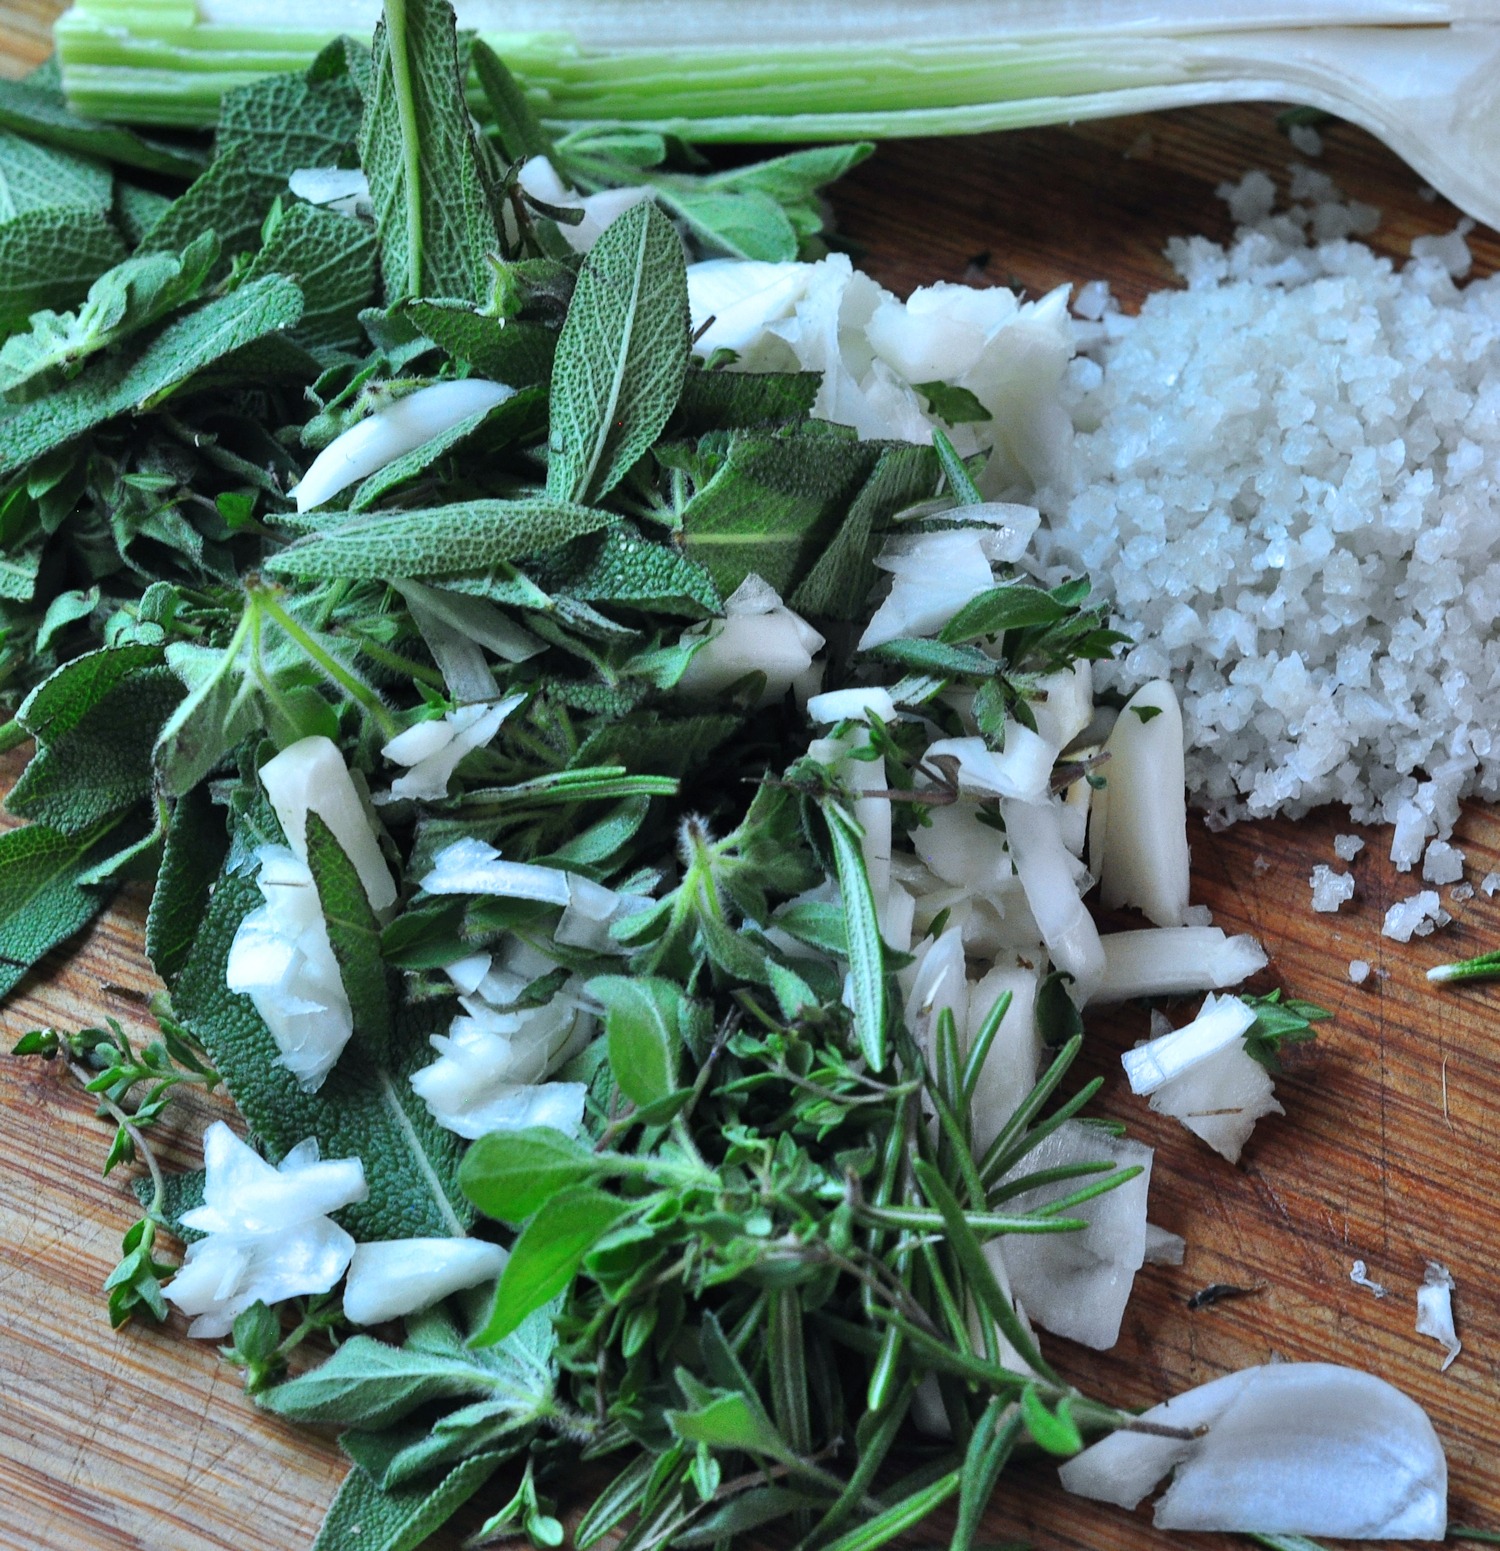
What’s up with that garlic?

It’s still early in the summer here, so our garlic isn’t yet mature. This is what we call green garlic, which means that it hasn’t matured with more distinct cloves yet. You can use the entire head with this kind, but if you find garlic that is more mature, use just the cloves. And because you’re going to chop it all very fine, even a bit of the green stem can be included. This gives it a flavor that I can only describe as being “green”. If green had a taste, this would be it. It’s good!
Garlic is easy to grow
I’m not going to interrupt this post to detail exactly how to grow garlic, but it is one of the easiest things in the world to grow. It can be as simple as plunking unpeeled cloves in a pot with good soil under a grow light in your living room. We have a customer who studs it all over her flower beds every year. You can easily Google how to grow garlic and other details for your exact area. I just want to encourage you to consider it – anything you can grow yourself loosens the grip of depending on the distribution grid. That’s a good thing.
Other herb combinations to try
If you have enough herbs [or buy enough at the Farmer’s Market!], you can try just about any combination. I make another version with cilantro and lime zest that is great for Tex-Mex cooking [or the rim of a margarita glass!]. Lemon zest, garlic, and rosemary is very good on pork or veggies. Sage, rosemary, garlic and lemon is great on chicken. Chives, parsley, and salt make a great combo for eggs. Any combo of flavors is worth trying, because you never know how it’s going to hit. You need to grow more herbs!
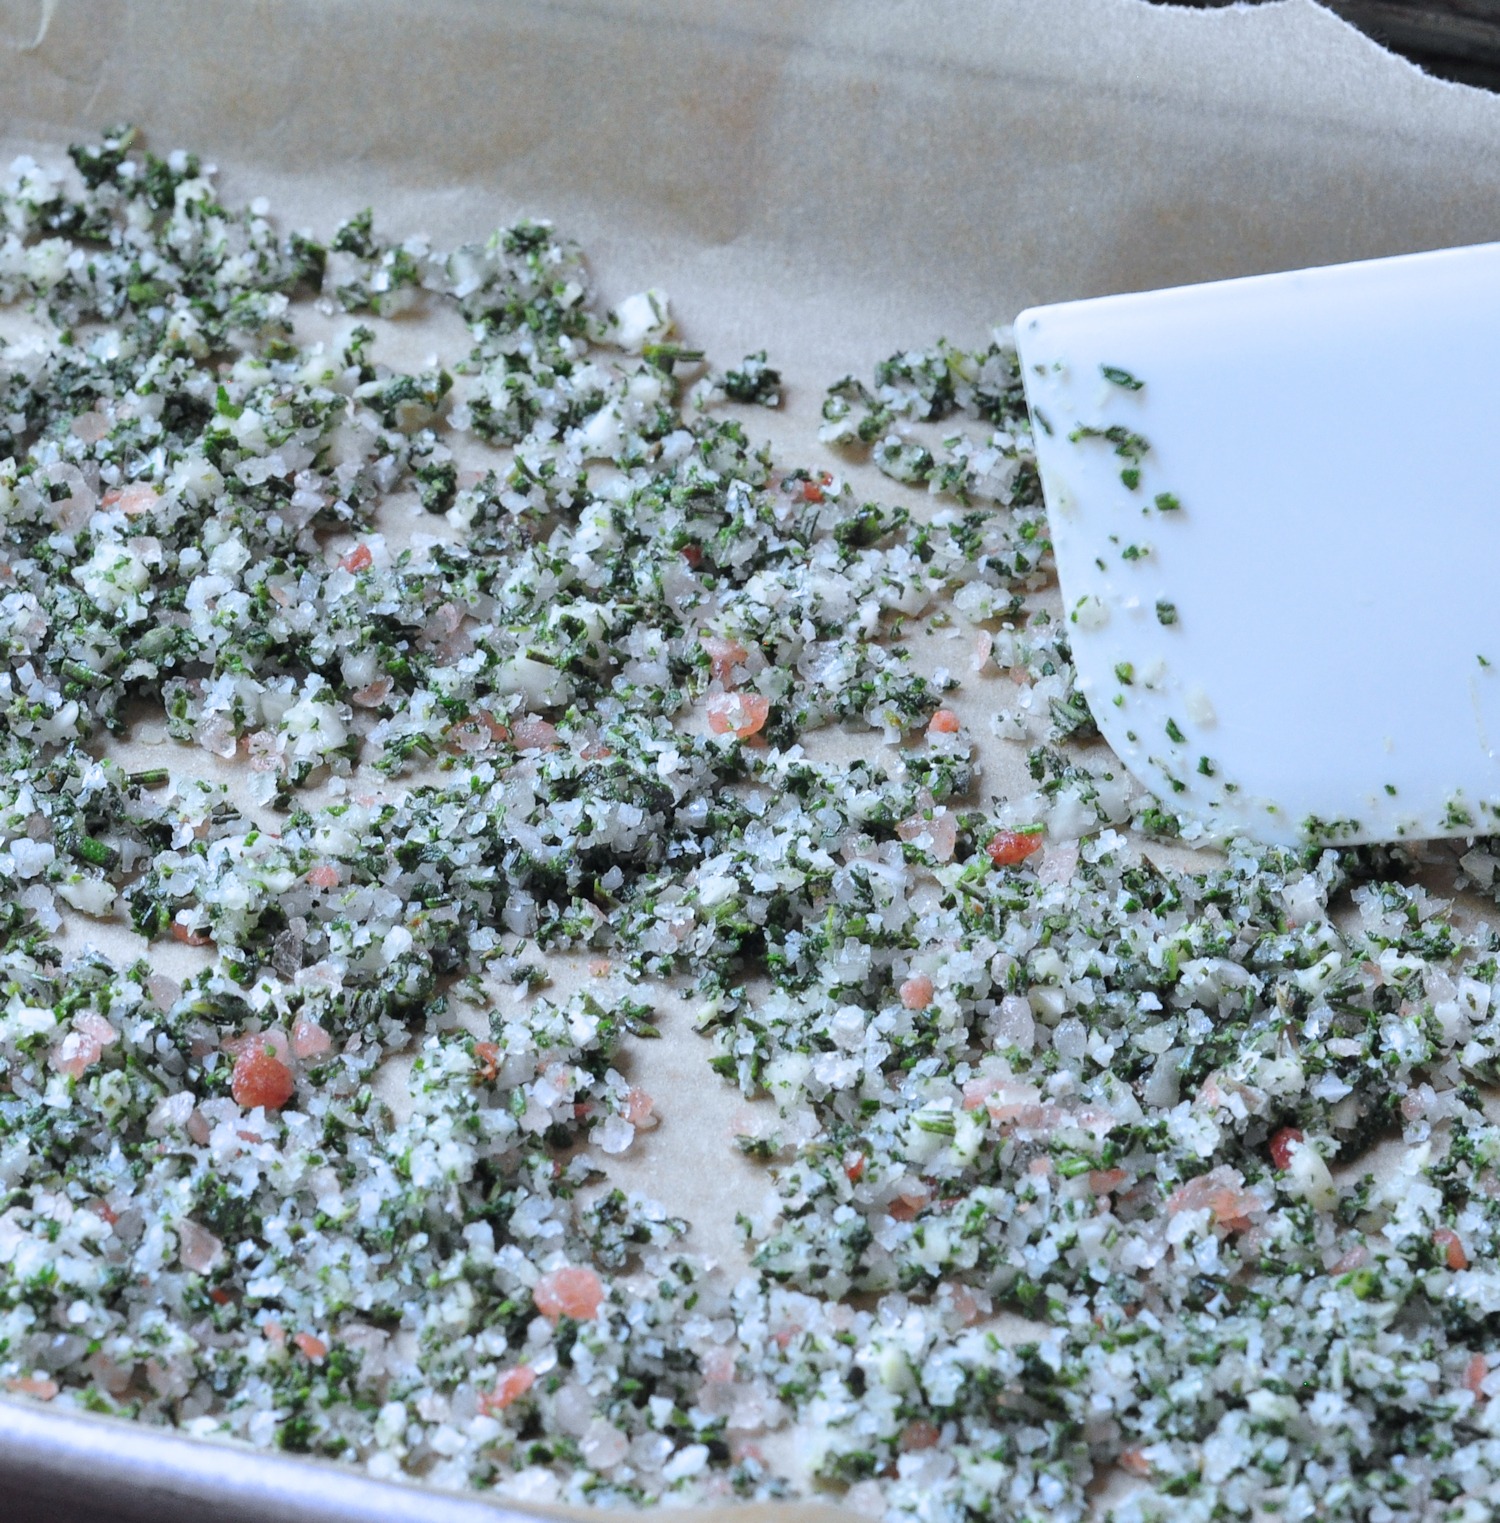
Let it dry out a bit before storing
You can use it as soon as you make it, but for longer storage, you must let it dry out pretty well, before sealing it up in a container. I lined a baking sheet with parchment paper and spread the salt out on it in a thin layer. Often, I just stash the baking sheet in the oven for a few days [with a note on the control panel, so I don’t forget and turn it on], but in very humid weather, it can be dried in the dehydrator. These silicone sheets are handy to keep it from falling through the grates. You can usually find them to fit whatever dehydrator you have.
How to make Tuscan Herb Salt
Tuscan Herb Salt
Equipment
Ingredients
- 2- 3 large cloves of garlic
- 2 cups fresh herb leaves - see nots or the post for ideas
- 1/4 cup coarse Celtic sea salt or kosher salt or a mixture [NOT table salt]
Instructions
Food Processor Method
- If using a food processor, put everything into the bowl, in the order given and pulse multiple times to get things beginning to blend together. Once the herbs have broken down some, you can run the processor on a medium speed, until you reach the desired consistency. You may need to stop and scrape down the sides.
- When the salt mixture has reached a uniform texture, proceed as below, under drying.
Using a Chef's Knife
- Peel the garlic cloves and chop fairly finely on a large cutting board
- Add the salt
- Clean and dry the herbs, removing tough stems, yellowed leaves and mid-ribs on larger leaves.
- Pile the leaves over top of the garlic and salt.
- Using a large chef's knife, chop through the mixture with a rocking motion, first in one direction, then turn the board and chop in the other direction.
- Use the blade of the knife, or a bench scraper to scrape the mixture back into a pile, and chop through everything again.
- Repeat the scraping into a pile, and chopping over and over, until you have finely minced herbs.
- The garlic and salt will also get chopped as you go along, but it is the herbs that you want to get into very small bits - then the rest will be the right size too. This will take around 6 to 10 minutes, depending on how fast you are.
Drying
- Whichever way you make it, the salt needs a few days to get dried out.
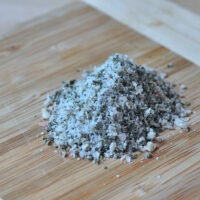
- Line a baking sheet with parchment paper, and spread the mixture in a thin layer to dry, which will take 2 to 5 days, depending on the weather. If you used Celtic salt, it will still feel a little moist, which is fine.
- Put into a resealable container - will stay fresh for several months
Notes
How to use Tuscan Herb Salt
There is virtually no limit to how Tuscan Herb Salt can be incorporated into your cooking. It is great as a finishing salt, and some cooks limit its use to just that. You can sprinkle it over sauteed veggies, on eggs, or a steak hot off the grill.
I like to use it before cooking too. Sprinkle it over a skinless boneless chicken breast about 30 minutes before cooking, and the flavor will bloom and help keep the meat juicy. The same is true of steaks, chops, burgers, or fish. You can do the same 24 hours prior to cooking, [refrigerate of course] and the flavor will be even better. It’s a lovely addition to vinaigrettes, salad dressings and marinades as well.
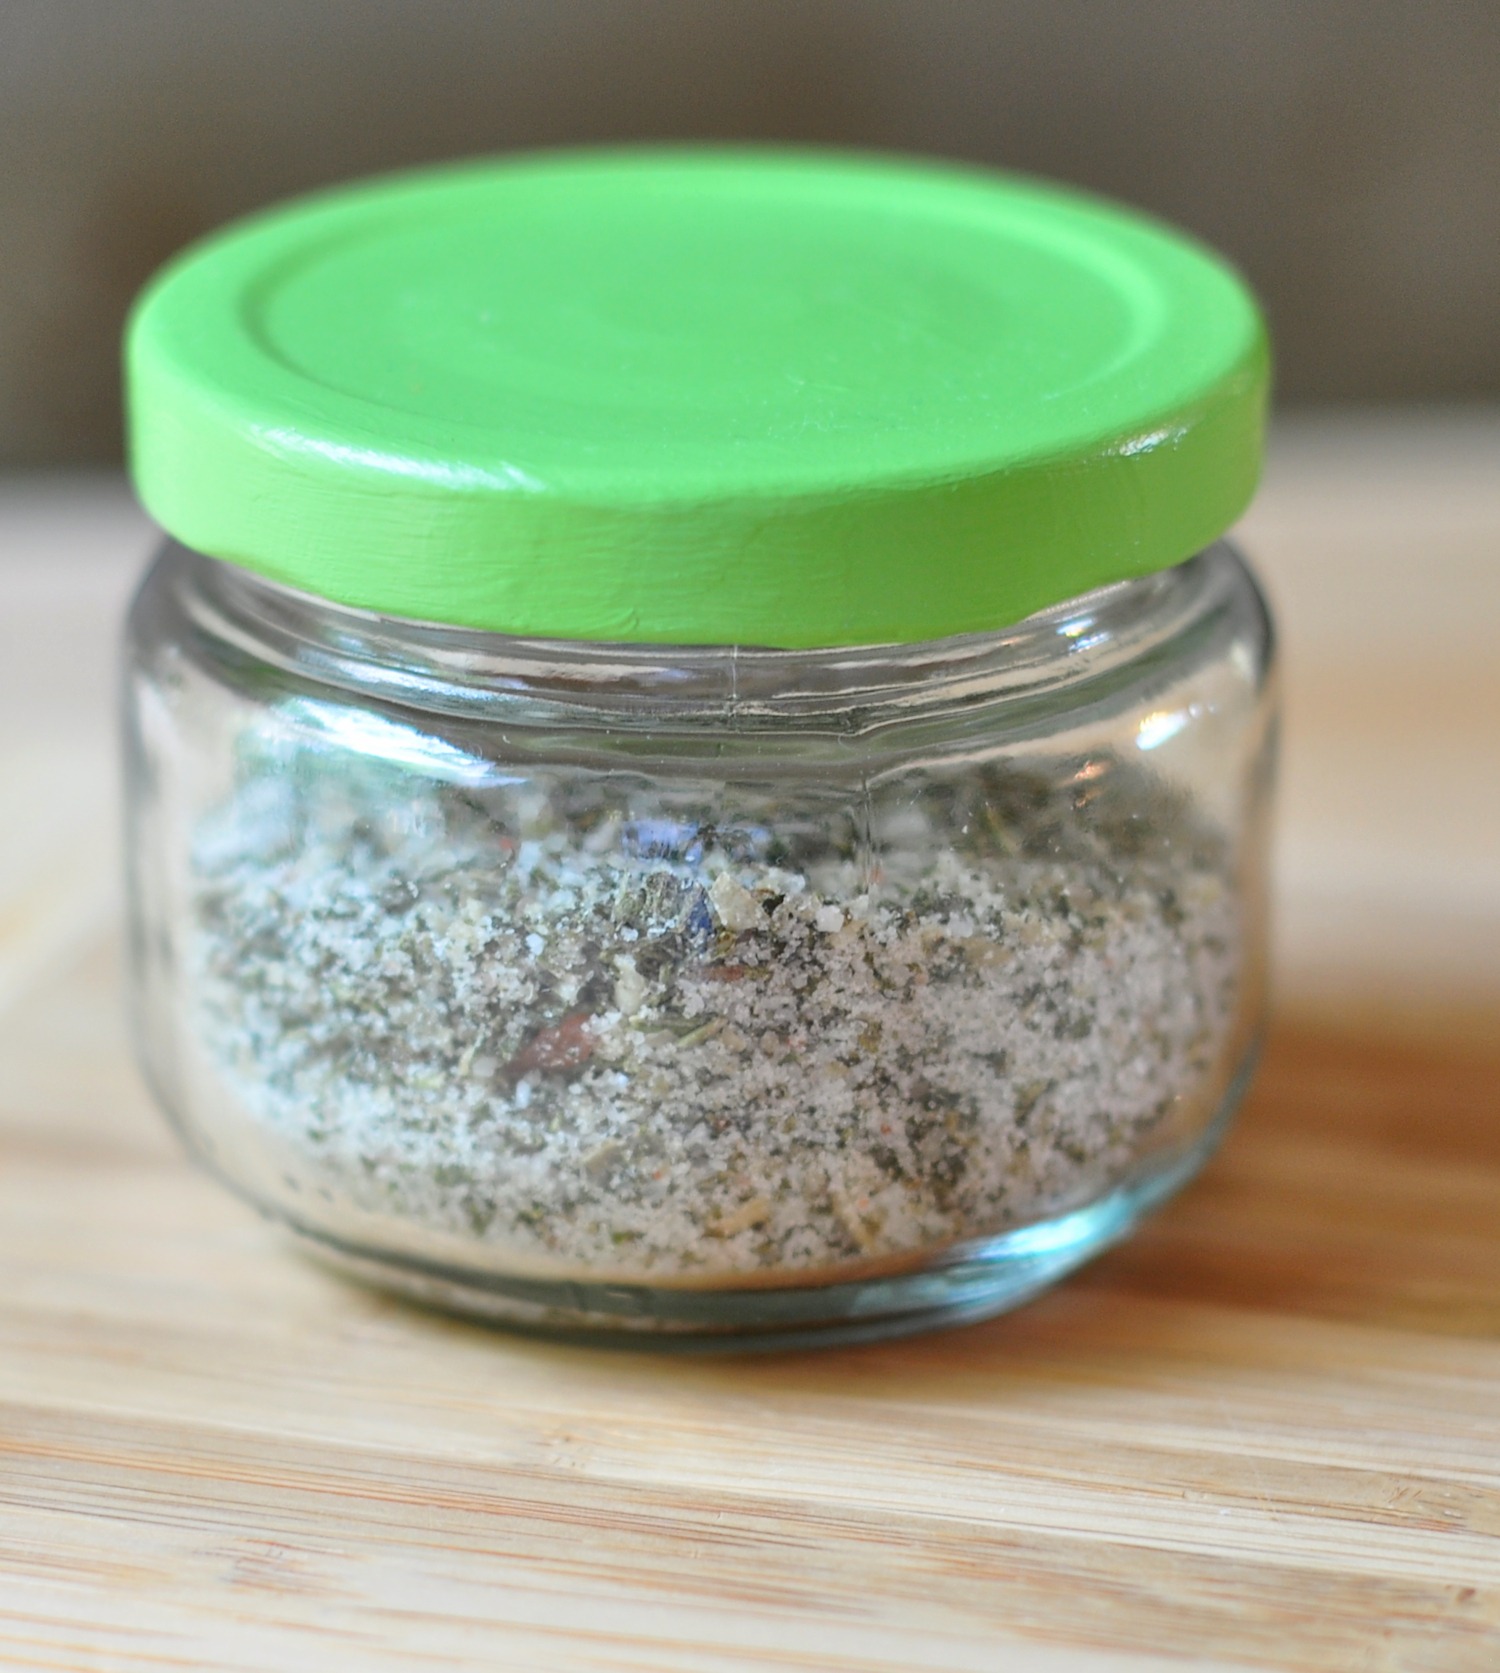
Store in an airtight container
I list some of my favorite kitchen supplies for storage in the recipe carb, above. Once dried out, this really does need to be stored in a sealed container. It will keep for several months without losing any flavor.
If you like this idea, you might want to also check out my Lemon Garlic Salt recipe!
This post was originally made in July 2013, updated in August 2016, and updated again in June 2024
 Brown Butter Rhubarb Cake
 Homemade Corn Tortillas
 Savory Chive Cream Cheese Scones
 Chive Lemon Vinaigrette
 Apple Ginger Green Smoothie
 Lemon Garlic Roasted Cauliflower
 Blueberry Sugar Doughnut Muffins
 Homemade Greek Yogurt
 Green Tomato Jalapeno Salsa
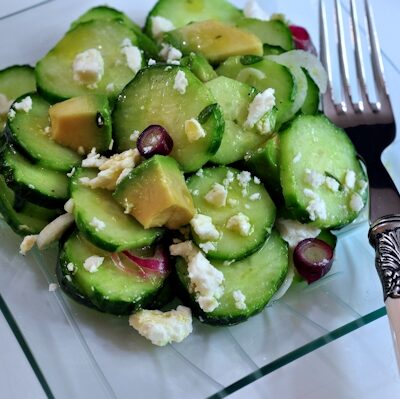 Cucumber and Avocado Salad with Feta
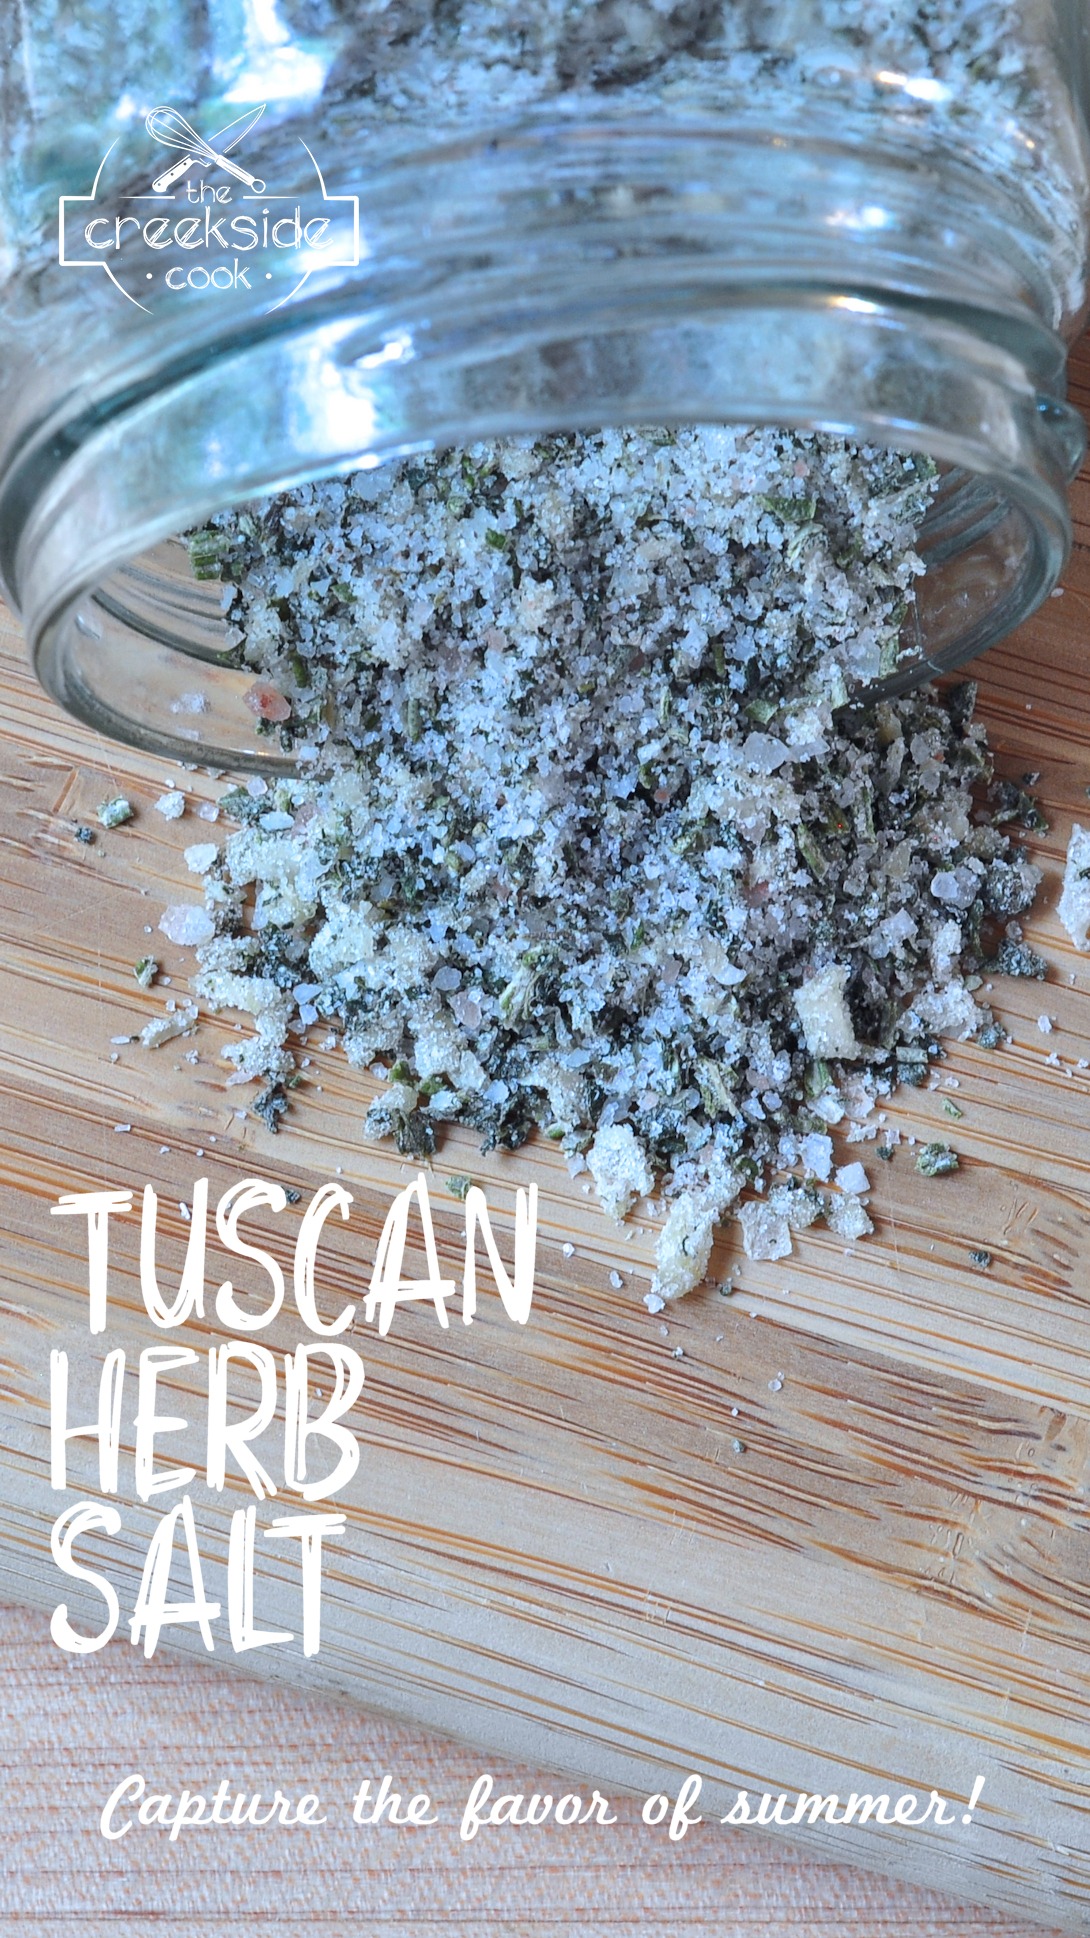
I love this idea, and I can think of a million ways to use it, so thank you! I;m so glad I found your Facebook page when a friedn told me about it. I love coming to see what you are working on next.
thanks again – Abigail
Thank you Abigail – so glad to meet you!
What a great way to enjoy summer herbs all year round! This would make such a great gift for my mom. Her birthday is in early August. Thank you for sharing it with us!
You’re very welcome Monet – I have a feeling a lot of people I know are going to be getting some soon too!
I was thinking exactly what Monet was, I’ll be making this for my Mom’s birthday next month! It sounds so delicious!
Thanks Suzie – I hope your Mom loves it!
I love the idea of this salt! I gotta do this – I do have too many herbs at the moment. Knife for me, please – somehow the food processor seems to do something to the texture of herbs – the taste seems just a tad off. Probably my imagination, but I like using the knife anyway, so that’s no big deal.
Using a knife if kind of fun anyway, John!
Donalyn that looks delicious. My herbs are growing great in the garden, and when I get big bunches from the farm share I am overwhelmed with herbs and need a good reason to use up heaps of them. This looks like an excellent reason.
Thanks!
Thanks Kirsten – they keep really well through the winter too!
I love this idea! I am swimming in fresh herbs right now in my herb garden, this would be a great way to use them 😉
Hope you love them Foodie!
I LOVE this. I am going to make some for a gift for my son and his wife…..what could be better than fresh herbs for cooking…all the way in North Carolina?
Can’t think of a better gift, Sue – I bet they will love them!
look so amaze. I’M try with local herb and such. beautiful pics too!
Thanks Jun – I think it will work with just about any herbs you have growing where you live.
We tried this today and it smells just so summery! I can’t wait to use it in the middle of the winter. thanks for the great idea!
Isn’t that the best smell, Vic – love it!
I’m going to make this but want to know if you can freeze this
Hi Ruby – there really isn’t any reason to freeze it – the salt dries out the herbs and garlic, and preserves them pretty much indefinitely. The flavor will suffer after a few months, but it will still be perfectly safe to use. Just make sure you let it lay on the sheet pan in a thin layer to dry out before you put it in a container to store. Hope this helps!
Tfs!! Did this w/Rosemary, Oregano & Basil from my garden! I felt like a Chef…can’t wait to use my homemade blend. Blessings to you!
So fun! I hope you make a bunch of amazing stuff with it!
What a fresh idea for a different herb mix.
I bookmarked this recipe a few years ago and lost track of it, so I really glad to find it again on Pinterest. It is such a fresh tasting addition to so many things. I’m glad I can get back to making it regularly again and I’m signing up for your newsletter so I don’t lose you again!
Pamela – I am glad that found it again too and happy to have a new subscriber! Thanks ♥
This recipe is the bomb! It is so easy and so very yummy. I have been using this on everything lately and we never get tired of it. 👍
Johnna – I am glad to hear that you are enjoying it. I like to try different herbs too!
I made this and now it is drying. The aroma is so enticing. Cant wait to use it this weekend!
Thanks John – I know that you’re going to love it!
I saw this recipe last week, so I grabbed some fresh herbs over the weekend, and I am so glad that I did. This was easy to pull together and after drying out for a couple days, the flavor is really good. Very intense and herby – yum!
Thank you Theirry – that is very good to hear ♥
This is so good – I remember making it when you first posted it a few years ago! I’m glad to see this updated version. My herbs are almost ready to harvest, so I can’t wait to make it again.
Thank you Mary Lou – always good to hear when a reader makes a recipe over and over!