This post may contain affiliate links. Please read my disclosure policy.
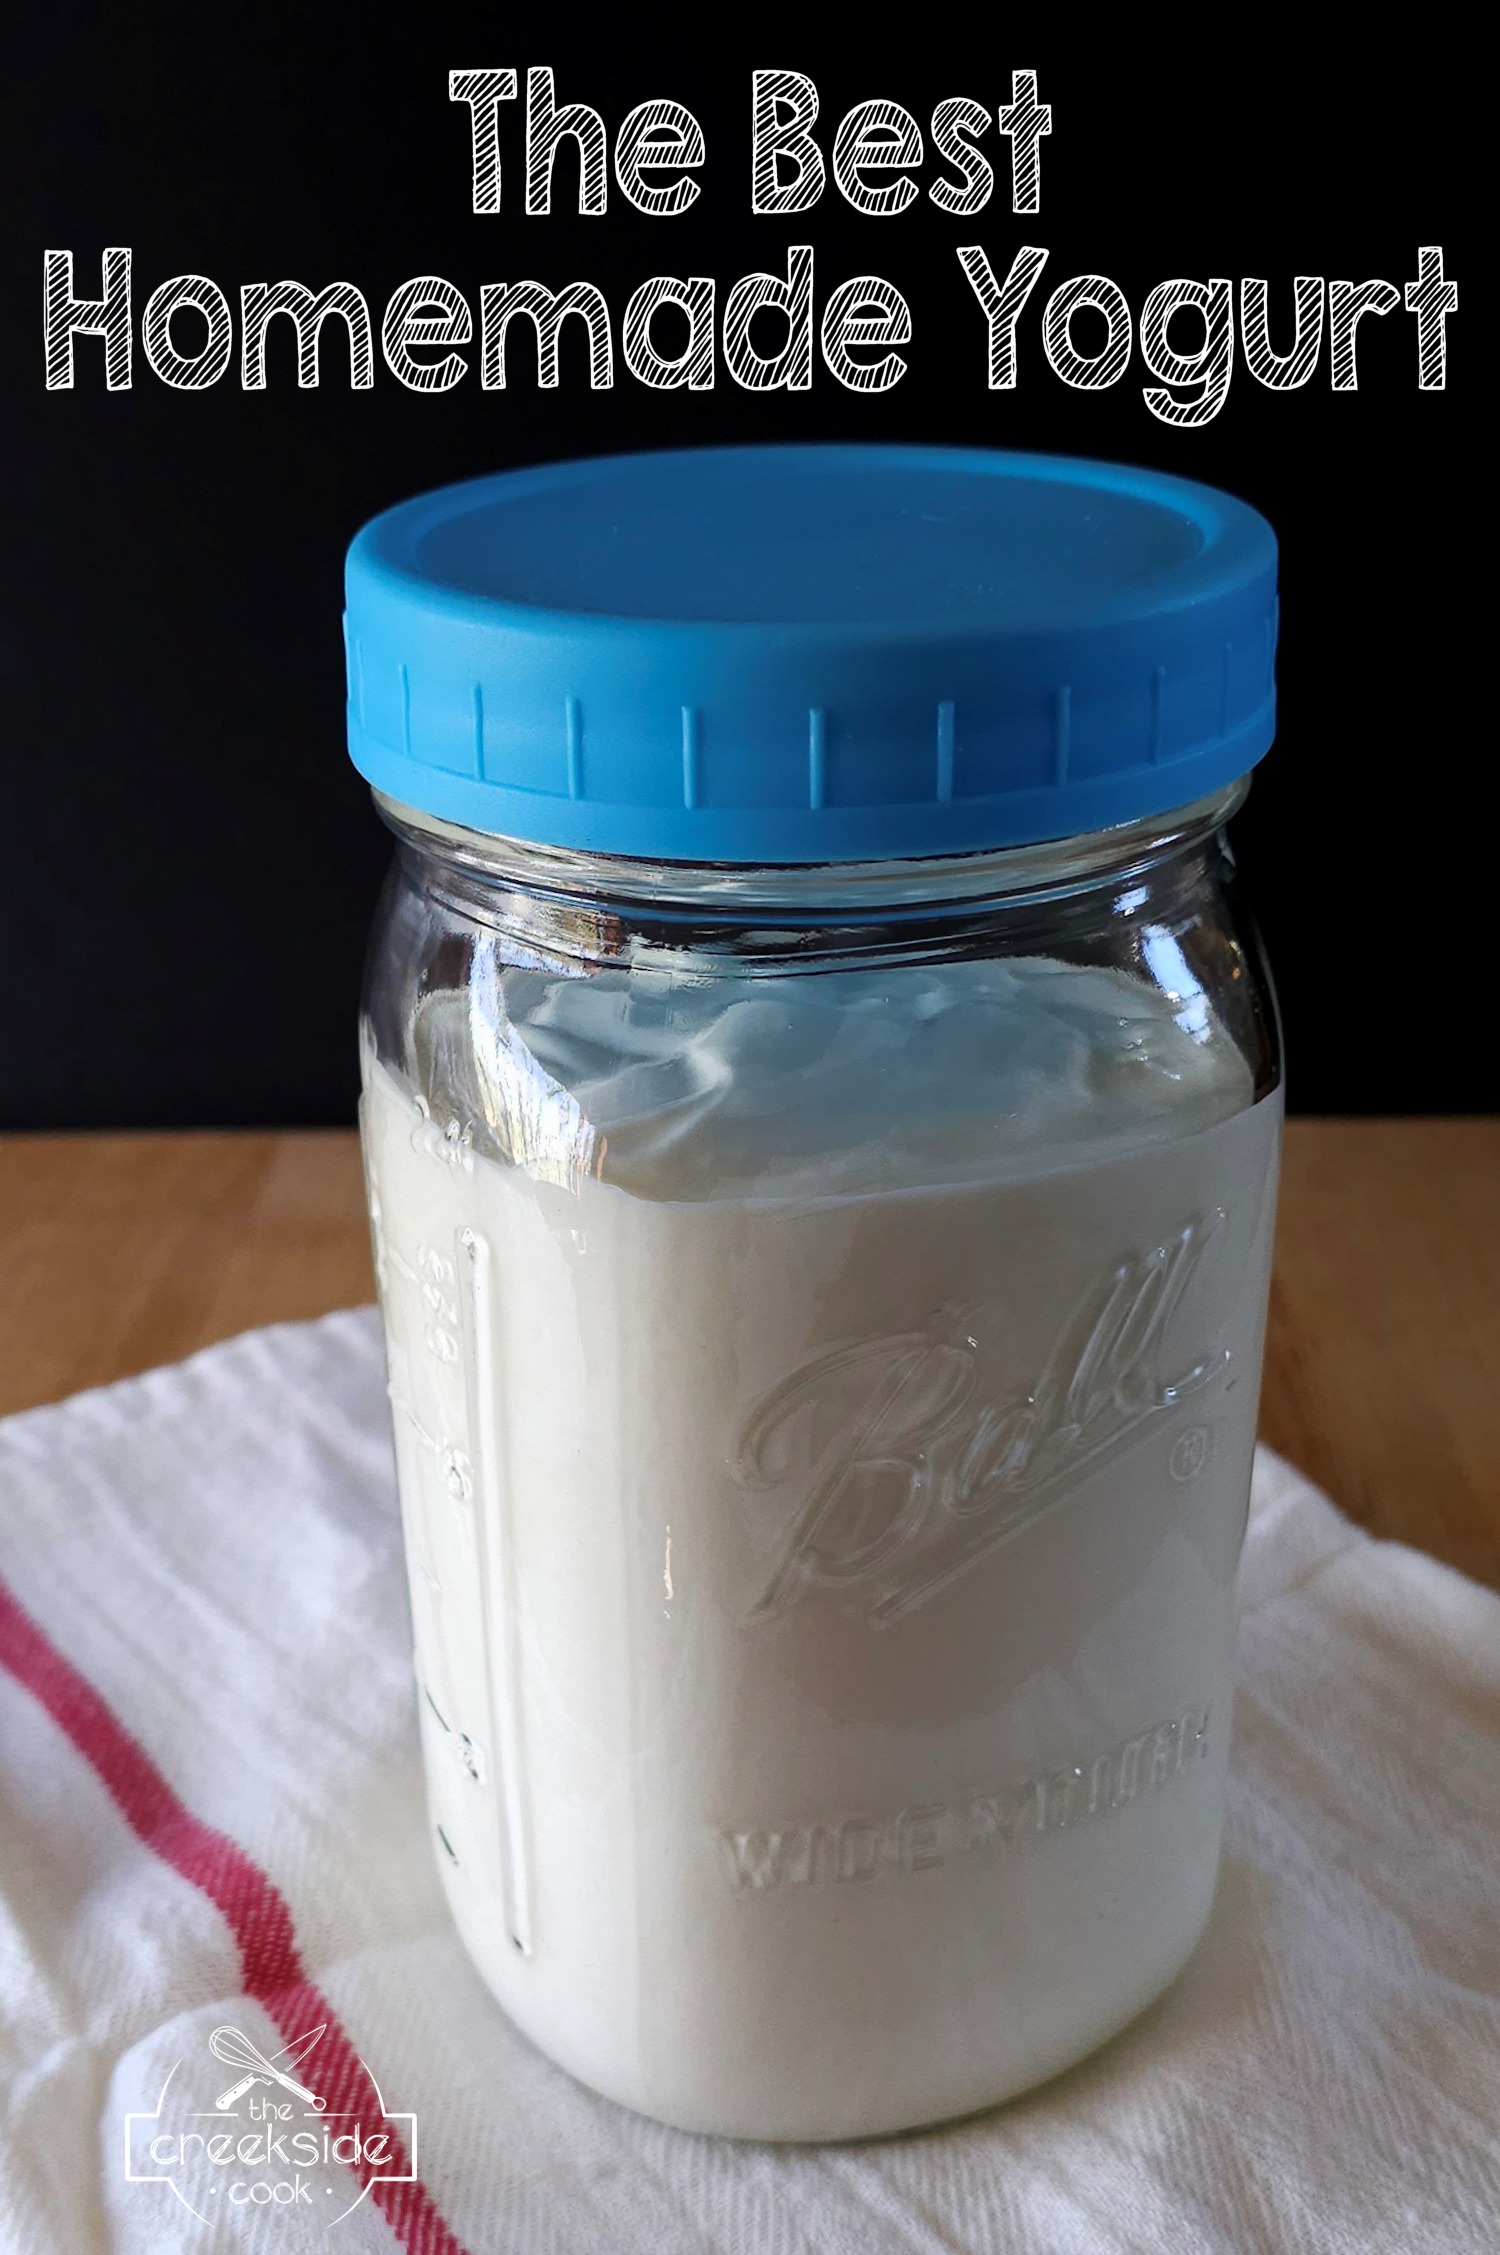
Let me help you make the BEST Homemade Yogurt
It sounds like a big promise, I know. I stand by it though, and once you try my method, I think that you will agree. I’m going to show you the easiest way to make Homemade Yogurt without any special gadgets or equipment. Just two ingredients – milk and a good live culture yogurt you can buy in just about any supermarket.
You can use gadgets to culture the yogurt, once it’s ready for that step, and I’ll link some that I have used successfully at the end of this post. The important thing is that you don’t NEED any of that.
What do I need to make Homemade Yogurt?
You only need a few simple pieces of equipment, and I am willing to bet that you already own this stuff. These are multi-taskers – things that I use just about every day. A 5 quart stainless steel pot. An instant-read thermometer. [I apologize – the one in the photos used to be on Amazon, but now it’s not. I have the linked one I also have, and it works just as well.] A stainless steel whisk. A large mesh strainer. And cheesecloth, or even handier – flour sacking towels.
What kind of milk makes the best Homemade yogurt?
I use fresh, raw milk. I realize that not everyone has access to raw milk, depending on where you live, but there are alternatives. Minimally processed is the best bet, if you can find it. Minimally processed means that the processing has been done at the lowest possible heat, which protects the best characteristics of the milk.
It also means it has not usually been homogenized either, which again, is a process that doesn’t necessarily make the milk better.
Where can I find raw or minimally processed milk?
If you are not aware of sources for raw milk where you live, here’s a handy resource. Raw Milk Finder has information for just about the entire U.S. I’m not going to go into the controversy concerning raw milk here. You can do your own research on it, and decide for your family. We were both raised on raw milk, raised our kids on it and still drink it. So, obviously, I admit to a bias in this regard.
On the other hand, we are all about food that has been messed with as little as possible, so another alternative is finding minimally processed milk. This is probably easier to find in most areas, as more people become aware of the benefits. If you have a Whole Foods Market, Wegman’s, Sprouts, or other specialty-type store nearby you can probably find minimally processed milk there. Our local farm stand carries a locally produced brand. Again, you can probably Google to find a local source.
Can I use regular milk from the supermarket?
You absolutely can. You will get the best result if you can find milk that is not ultra-pasteurized, again a high-heat method of processing that changes the characteristics and nutritional profile of milk. It also affects how well it works to make yogurt. Just to be sure, I made a batch of my yogurt with ultra-pasteurized milk and it worked just fine. I won’t say the quality was quite the same, but it is still way better than store bought yogurt.
What about 2% or skim milk for yogurt?
I would not. I would not, in fact, use any reduced-fat dairy. A few good things in milk are easily obtained in lower fat versions, but all of the most important nutrients are fat-soluble. Before the low-fat craze back in the 80’s and 90’s, skim milk [left over after making heavy cream, sour cream, etc] was sold to farmers to fatten pigs. True story. I freely admit this is my opinion, and you are welcome to do as you wish. Lower fat milks are going to produce thinner, less tasty yogurt.
Why not just buy yogurt in the store?
I make my own yogurt for two main reasons – the flavor and the absence of ‘extra’ ingredients. Even brands of yogurt that you would expect just to contain milk and yogurt culture, often also have thickeners, conditioners, and preservatives. Why put that stuff in your body if you don’t have to? And the flavor of homemade yogurt is worlds better than anything you can buy in the store.
Food security is important too
Anytime that I can provide food for myself, I am going to do it. It’s why we grow a huge garden, have a big flock of chickens and buy just about all of our meat locally. If we learned anything during the pandemic, it is how very fragile the supply chain is in this country. So, if I can make my own yogurt, that is one less thing I have to depend on someone else to produce.
Making homemade yogurt is easy – and kind of fun
Now, I realize that I am a person who derives pleasure from cooking. And that not everyone is like me. But I think it’s fun to make bread, jam, pickles, and ice cream, instead of buying them at the store. It’s also way cheaper. A gallon of milk in the supermarket is under $3 right now. Organic, grass-fed and minimally processed is going to be more expensive and varies a lot from store to store as far as I can see. We pay $6 a gallon for raw milk [if you’re local to me, reach out and I will share our source]
But whole milk yogurt runs around $5 a quart usually, and it’s really hard to find yogurt that doesn’t have extra stuff in there. Even one of the most common organic brands contains pectin. I have no idea why, because it is totally unnecessary. I take that back actually – they add pectin as thickener, because then it’s cheaper to make nice thick yogurt. Don’t worry – I am going to share my best method for making a thick, creamy yogurt, with zero added ingredients.
To make the best homemade yogurt, you need to bring some heat.
The first step is to heat the milk.
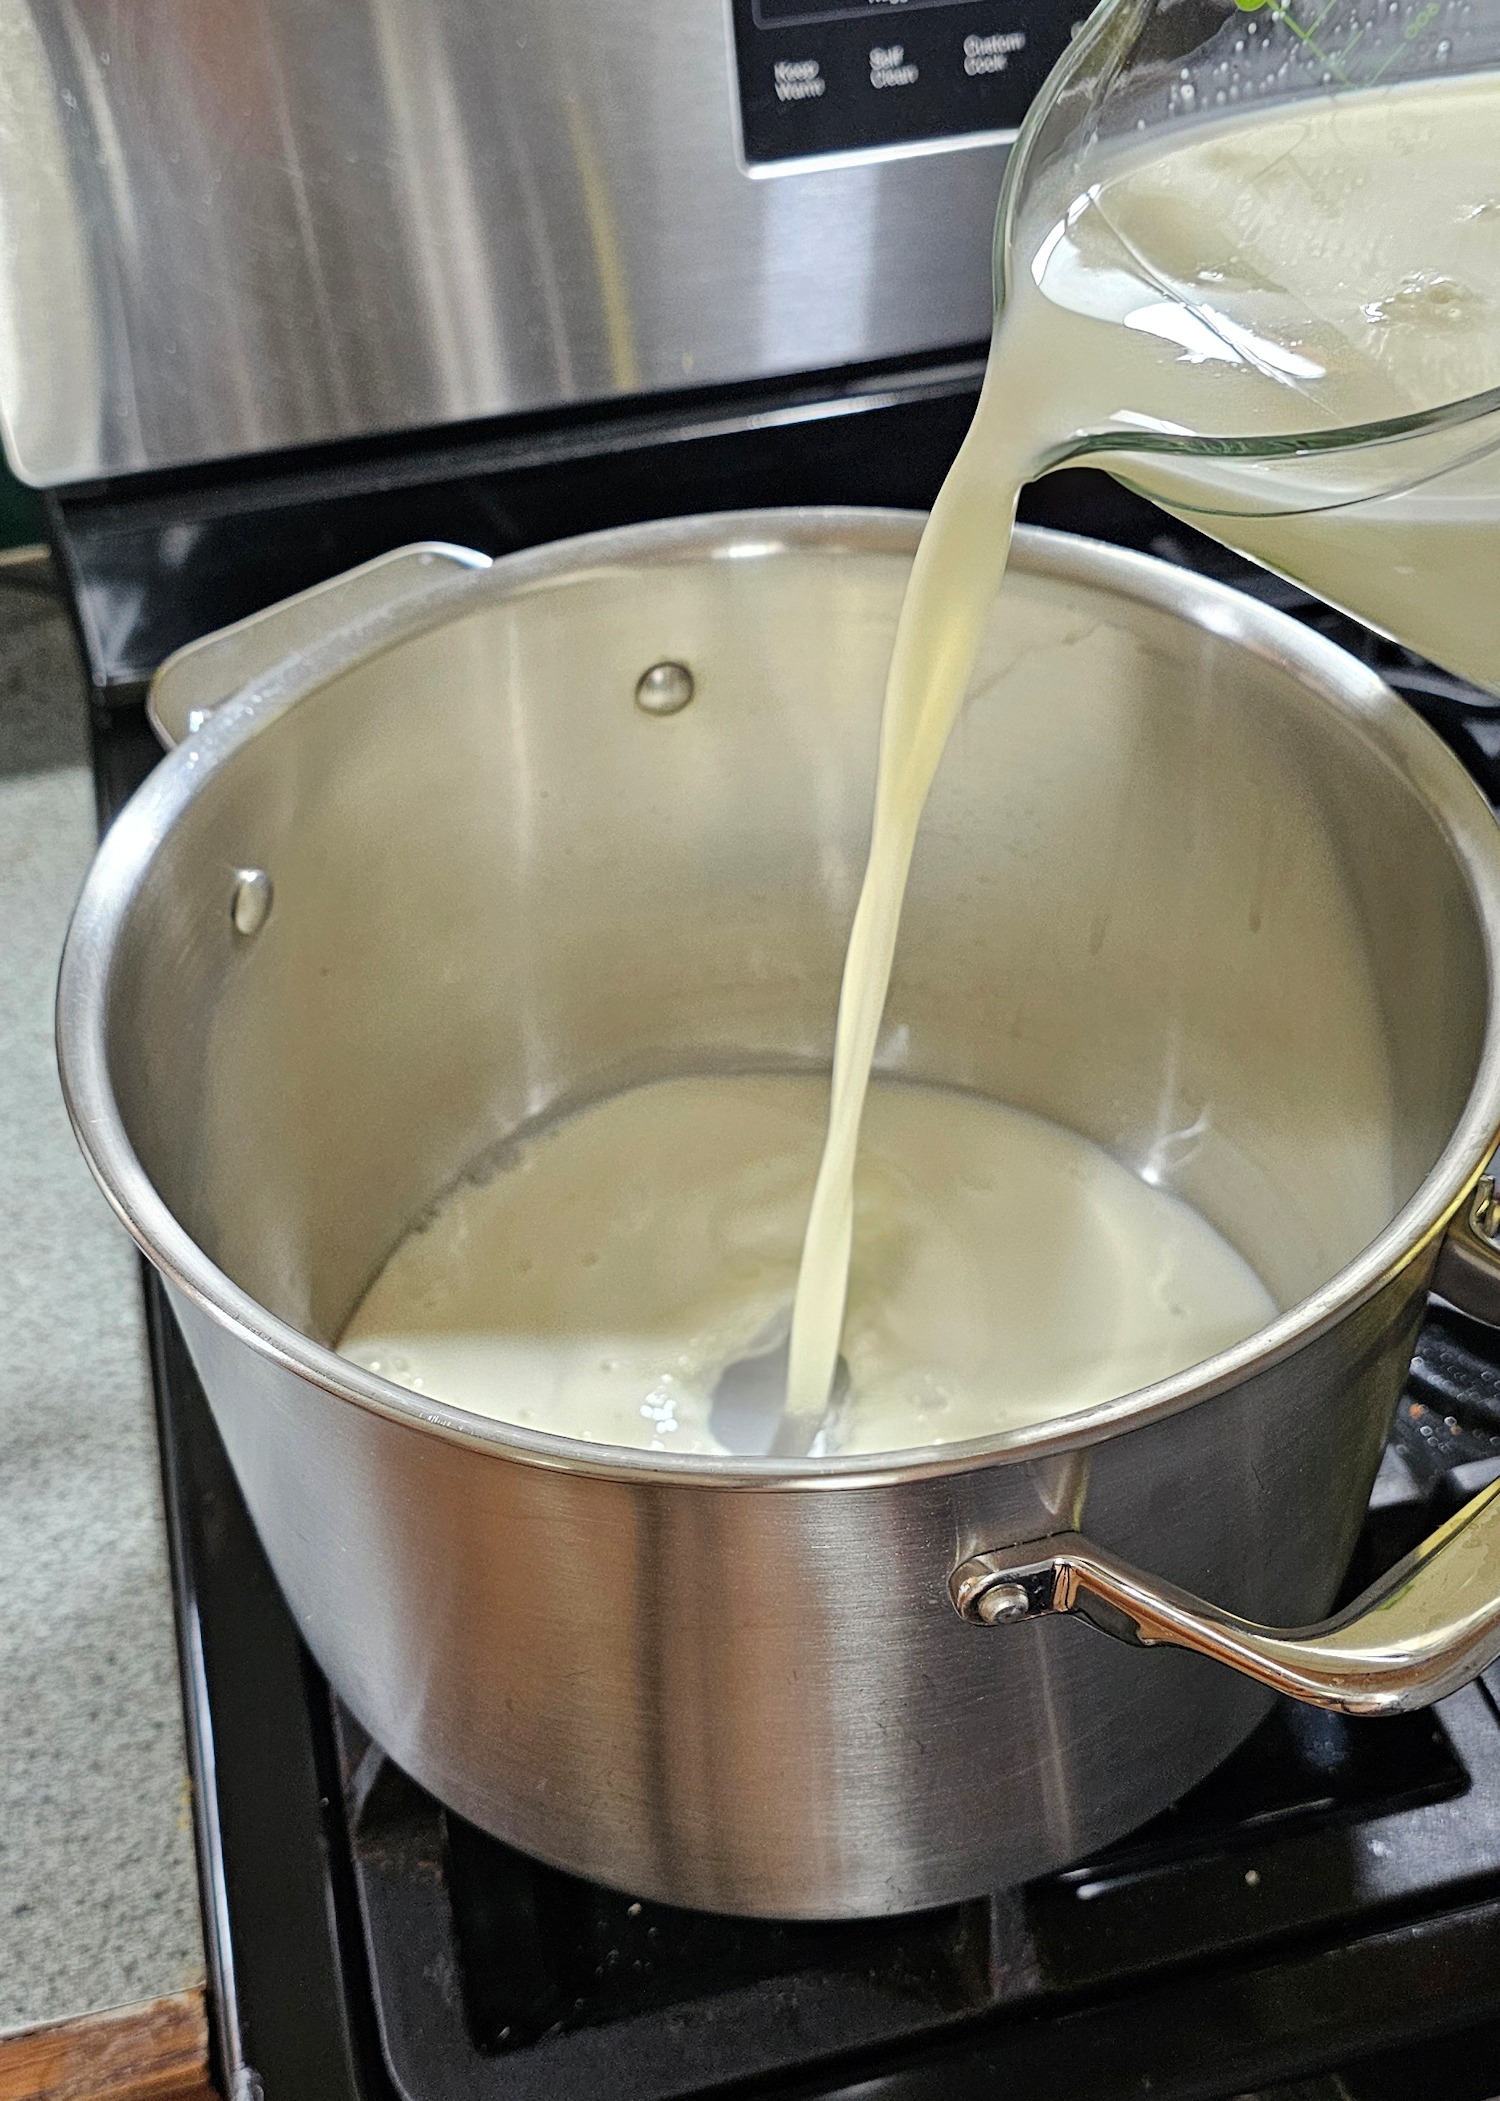
I only use stainless steel when I am making yogurt or cheese. Other types of pans can have components that will be reactive and either give you a poorer result, or just kill off the culture entirely. I linked a great stainless steel pot above. Pour in your milk, and set the heat under the pan to medium. Stay close and keep an eye on it, stirring often for even heating and to make sure the milk doesn’t scorch.
The sweet spot is around 180°F to 190°F. You are probably going to find recipes that say 195°F, or even higher, but I think my method yields a better result.
Holding the temperature is key
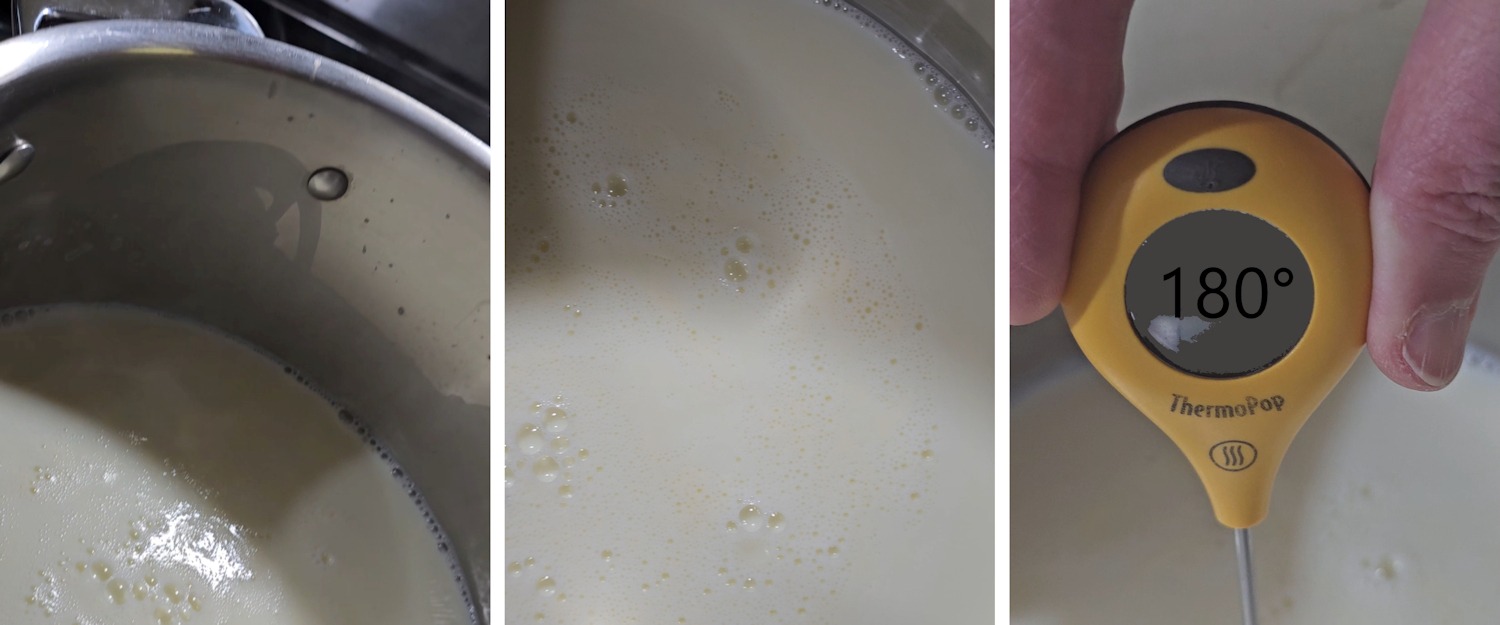
As I mentioned, many recipes for homemade yogurt call to just heat the milk to around 190°F, and then turn off the heat to let the milk cool down. For thicker, creamier and tastier yogurt, it is best to hold the milk between 180°F and 190°F for a period of time. This is not as hard as you might think, but it’s also not a time to wander away, because of the risk of scorching. Once the milk gets to the target temperature, lower the heat under the pan. On my gas stove, turning almost all the way to the lowest it will go keeps the milk right around the right temperature. I stir it about 5 minutes, and check the temperature every so often.
How long is long enough?
How long to keep the milk at the optimum temperature is determined by a few factors. The first is how much time you have. Just holding it at temperature for 5 minutes will improve everything about the final result. 10 minutes will be better and 15 minutes even better. Because I am an all-or-nothing sort of person, I try to go for 30 minutes, and that is what I truly believe is the best amount of time. So – my bottom line answer is hold the milk at around 180°F for 30 minutes, stirring every so often.
Why does holding the milk at 180°F matter?
You heat the milk to a certain temperature to kill off competing bacteria that would inhibit the yogurt culture from growing. That is why most any recipe will tell you to get it up to 190°F, because that temperature does the job. Getting the milk to a certain temperature does a number of things. Temperature affects the proteins in milk, and a higher temp helps kind of unravel, or relax some of the proteins, making it easier for the yogurt culture to fully innoculate into them.
Holding the milk at around 180° further relaxes the proteins. Around 30 minutes is going to give you much smoother, creamier yogurt, and it going to have the potential to get thicker as well. It is completely worth taking this extra bit of time, and on the majority of stoves, it is not that difficult to hold the milk at that temperature.
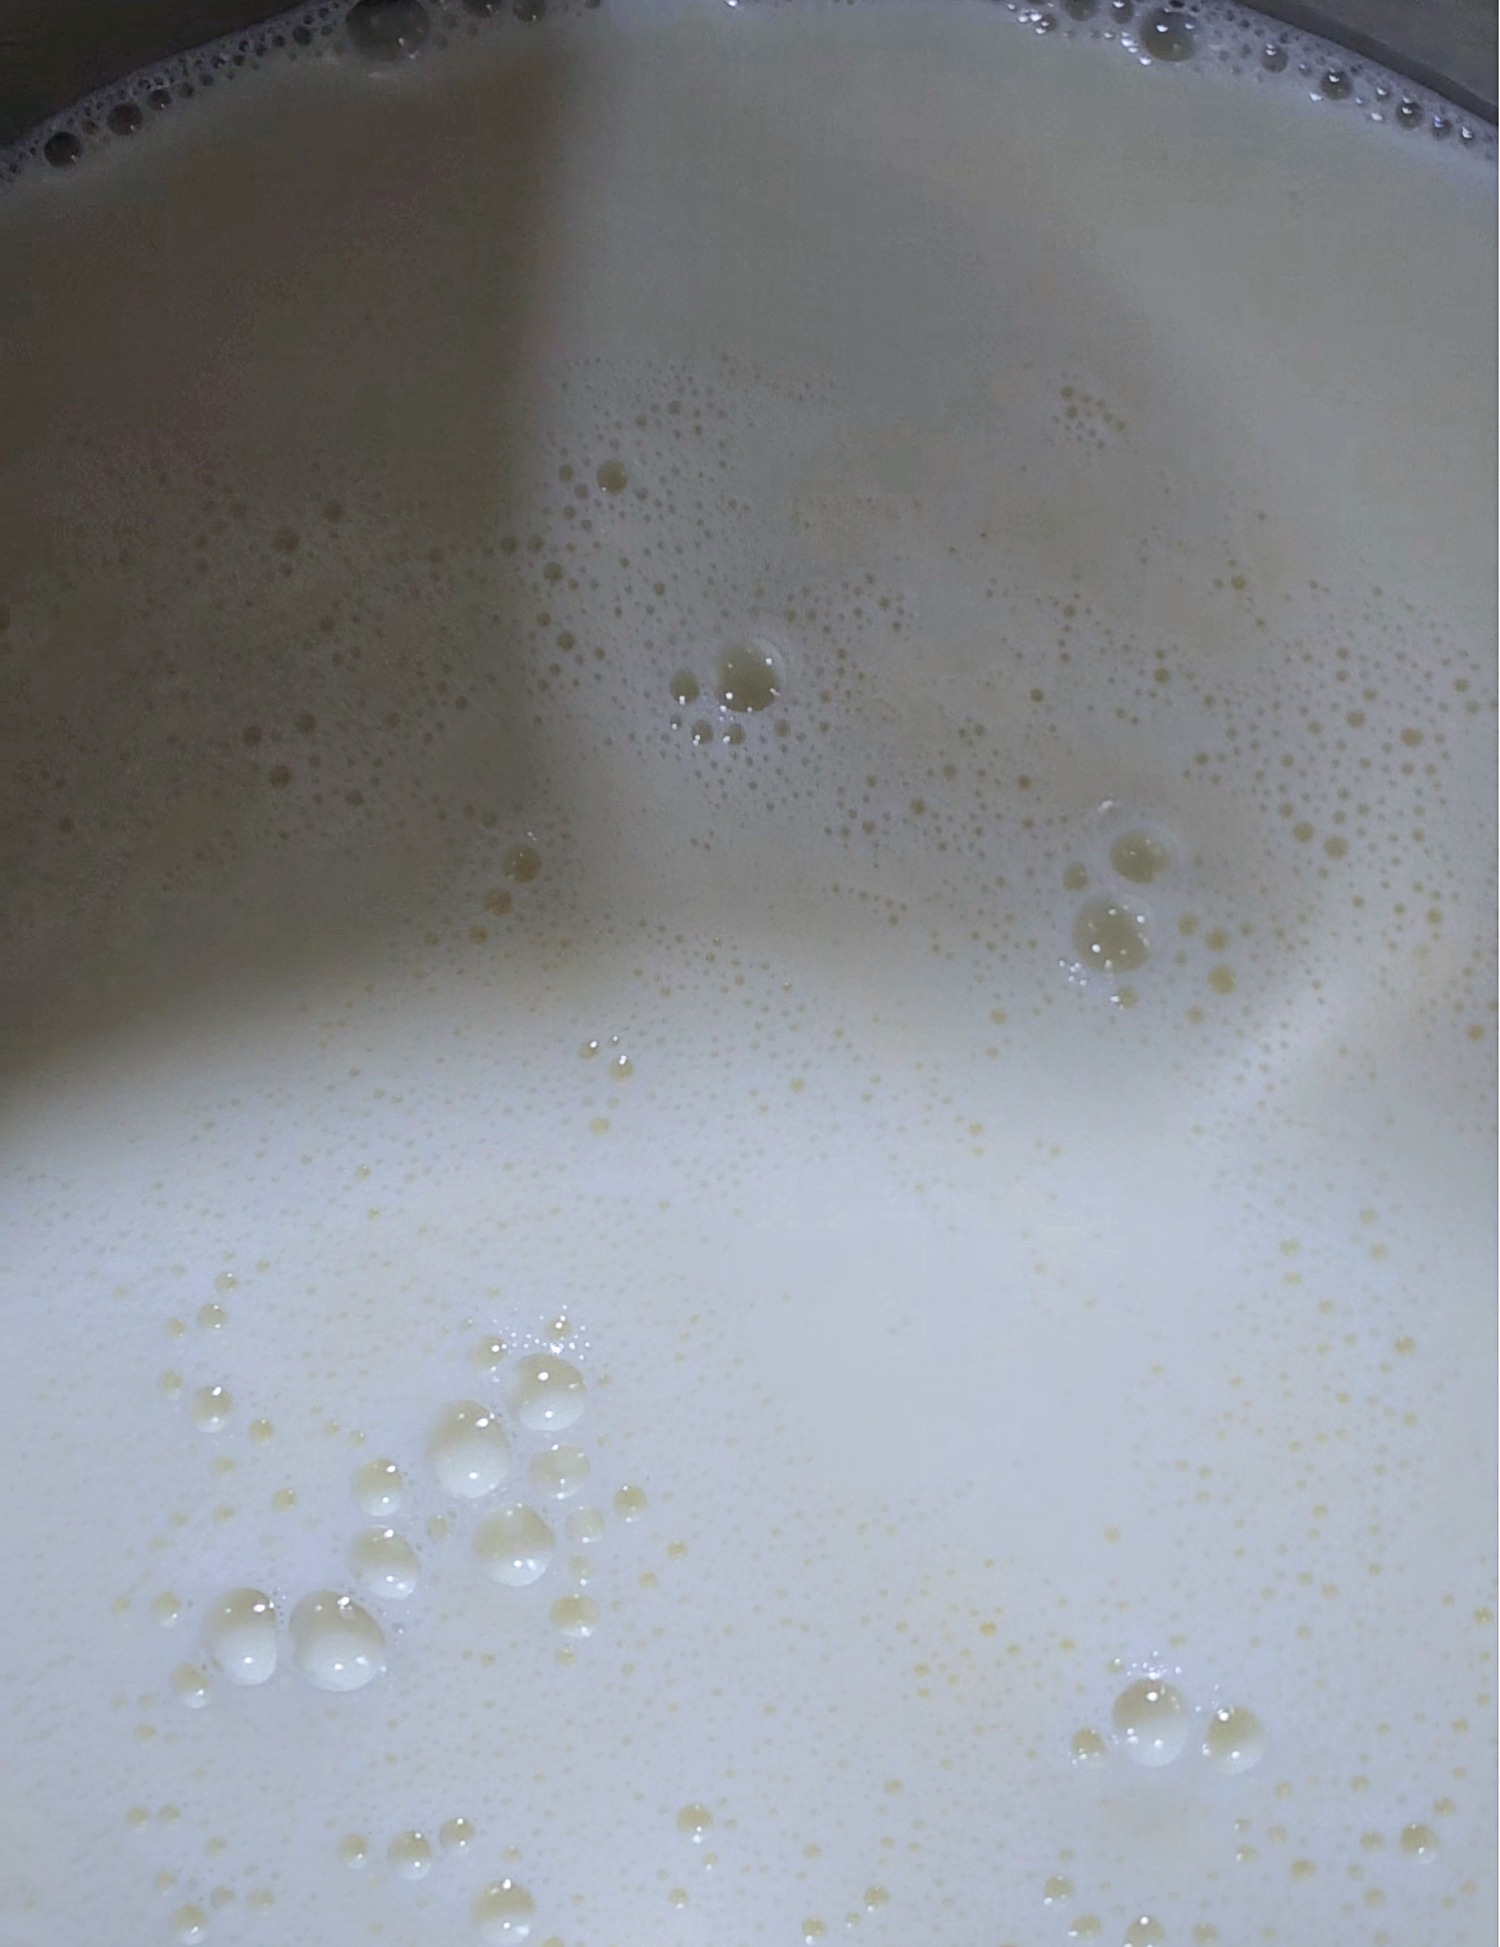
The milk is going to get a few bubbles here and there, and there will be whisps of steam, but no boiling at all. After 30 minutes [or however long you have to spare], turn off the heat. Now the milk needs to cool down to a temperature that is going to be optimal for adding the culture. That is around 120°F. It’s ok if it gets a bit cooler than that.
We will get to adding the culture in a moment.
What is the best temperature for culturing the yogurt?
If you use some kind of yogurt-making gadget, they usually will hold the mixture at right around 115 to 120°F. You can make pretty good yogurt at that temperature, but I don’t think it makes the best yogurt. I like yogurt cultured at a slightly lower temperature. It takes a bit longer, but again, worth it in the end. I keep the mixture at around 90 to 95°F.
Why culture the yogurt at a lower temperature?
Like so many things when it comes to food, in the case of yogurt, slower is better. Yogurt cultured at around 90°F will thicker, creamier, and most importantly to me, tangier. But, because of holding the milk for longer before cooling off, the tangy flavor has a background of smooth sweetness. It’s hard to explain, until you tried it for yourself, but tangy and slightly sweet can be experienced at the same time.
How do you culture the yogurt at a lower temperature?
No gadget is going to hold it at a lower temperature. Yogurt makers, crockpots, the Instant Pot are all going to be a lot closer to 120°F. I use one of two methods, depending on the time of year, because how I do it depends on the temperature in my house.
The oven method
If I turn my oven to the lowest setting of 150°F, wait 5 minutes and then turn it off, I end up right about 95 to 100°F. It goes down fairly quickly, into my target range, and stays there for several hours. Then I repeat the process a couple times, about every 3 or 4 hours. That is how I do it when the weather is cooler. We rarely turn the heat above 62 or 63 in the winter, so the oven method works best then. If I forget for awhile, it is not a big deal at all – I have never had a batch fail using this method.
The top of the stove method
During warmer weather, I use a big pot of water on the stove. After mixing in the culture [we will get to that, I promise], I divide the mixture between quart canning jars, cover them loosely with a lid, and place them in a pot of warm [95°F] water. I wrap a bath towel around the outside of the pot to hold in the heat. That is usually enough , but I do keep an eye on the temperature of the water in the pot, and remove the jars to heat the water up again if I need to. Don’t heat the water with the jars still in it- if you forget to turn it off in time, your yogurt will not be good.
How long does it take to culture yogurt at a lower temperature?
If you keep the temperature between 90 and 95°F, it will take at least 12 to 18 hours to get a nice thick yogurt. The temperature can go lower, but it might take a bit longer for the yogurt to completely set. My timing is that I usually start my yogurt in the early afternoon, monitor the temperature until bedtime, and then leave it until the next morning, when I check to be sure it is as thick as I like it to be. If you want your yogurt to be set more quickly, culture it at 100 to 105°F. That is still low enough for a nice creamy yogurt, but it will be ready in about 10 to 12 hours.
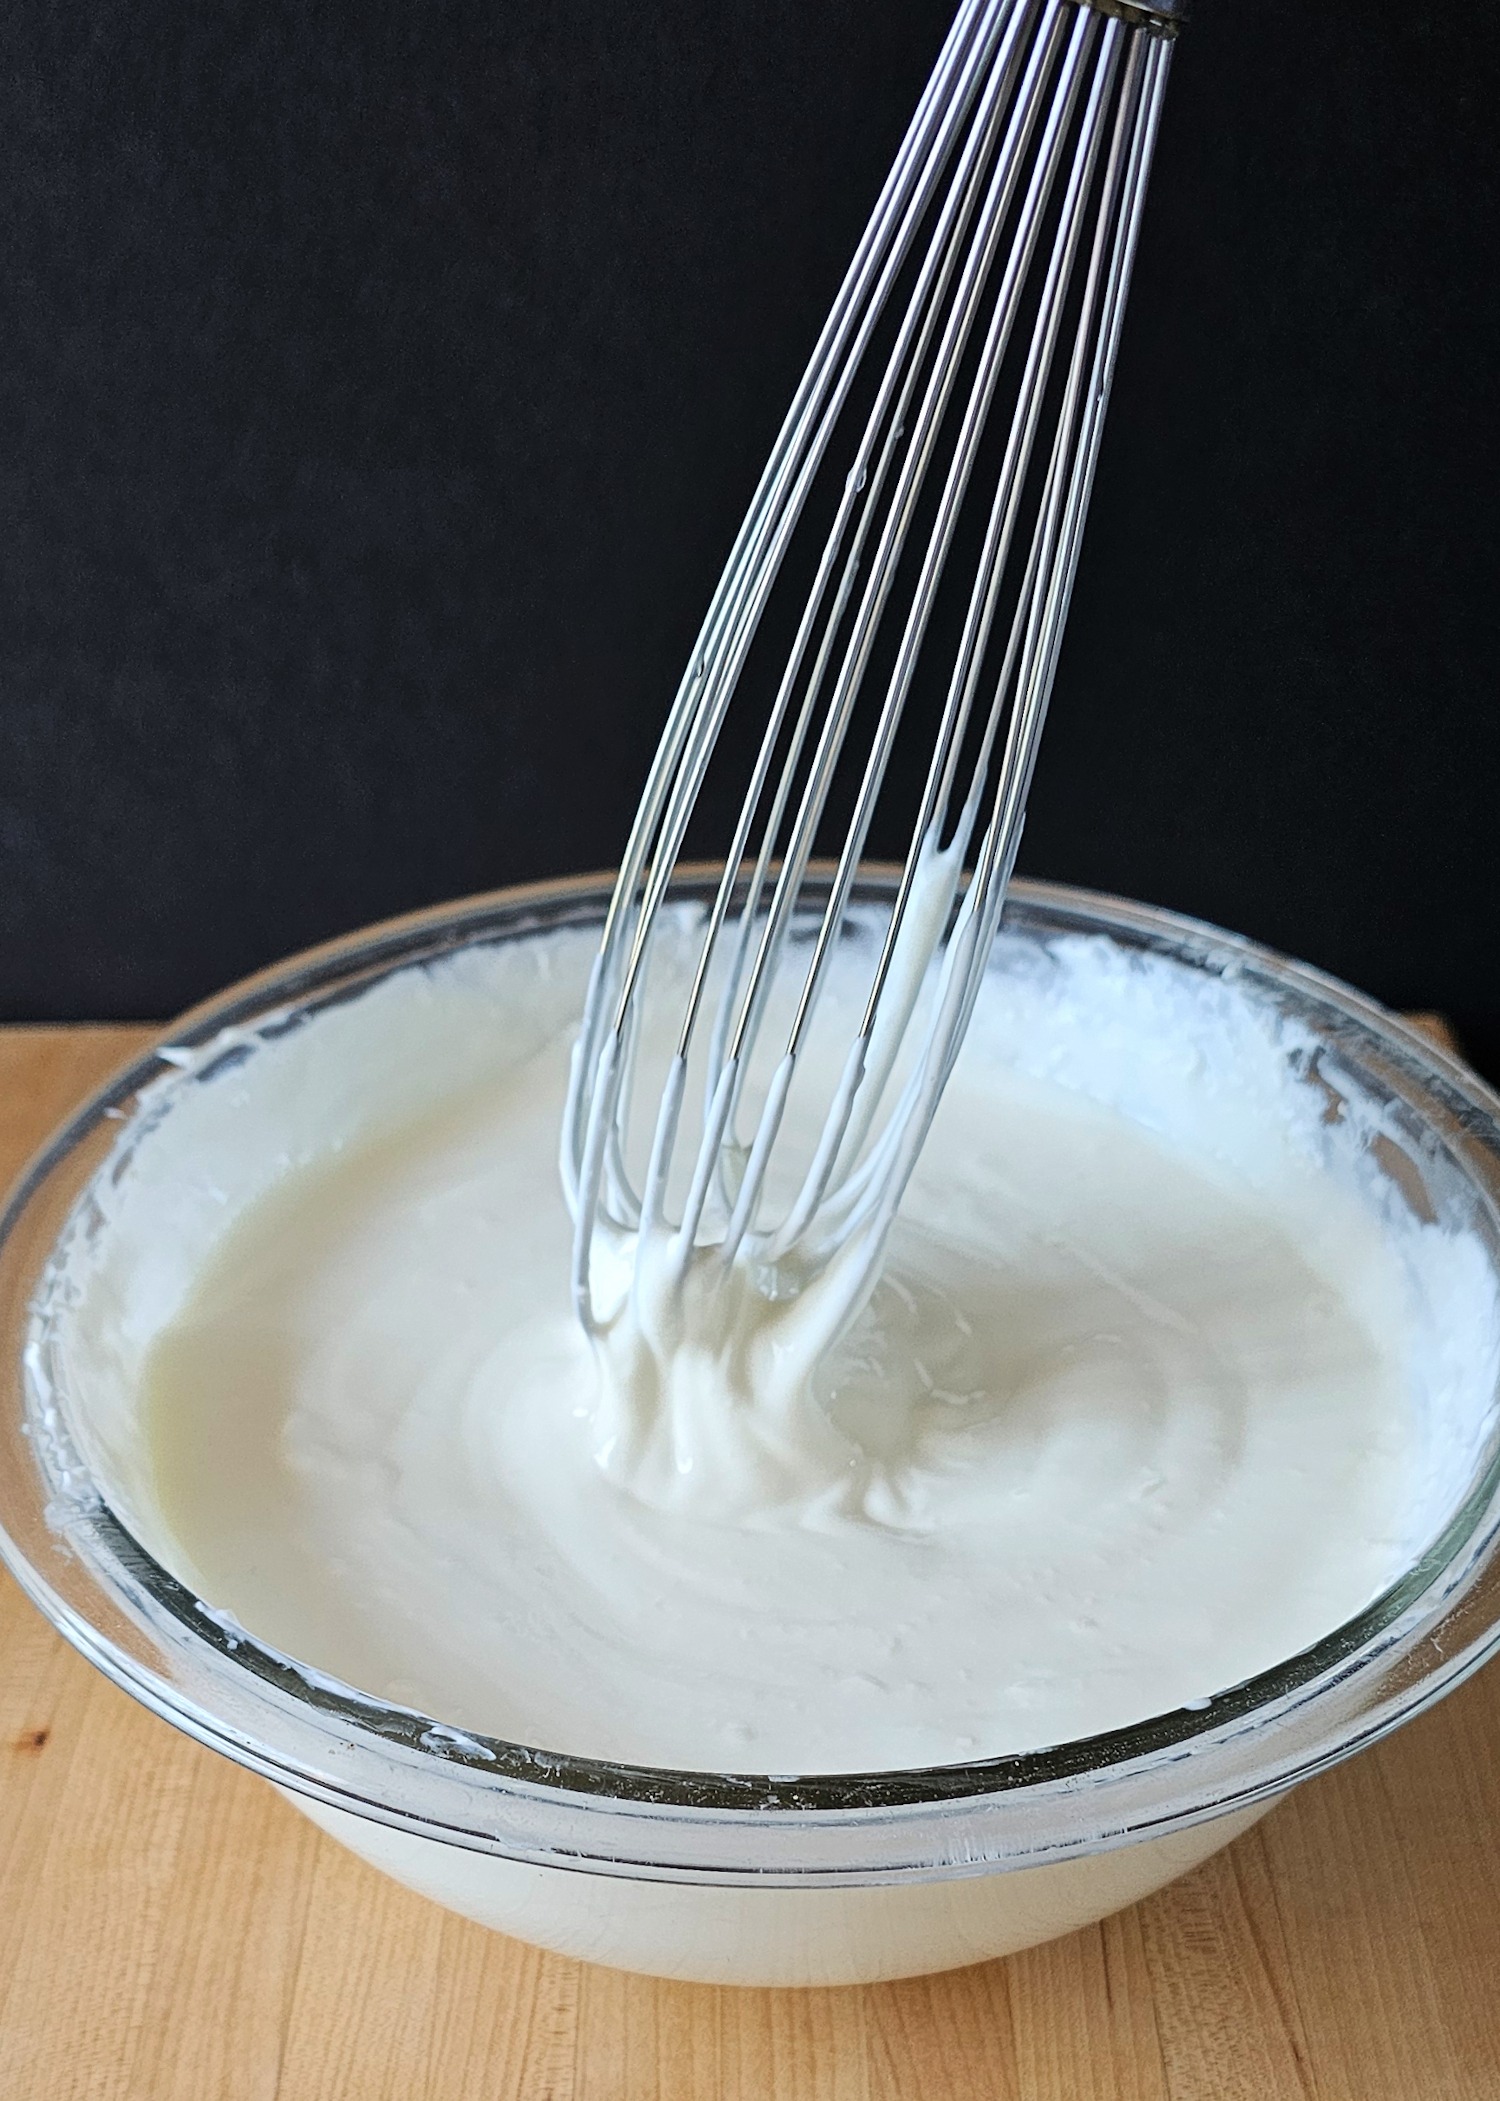
Combining the milk and yogurt culture
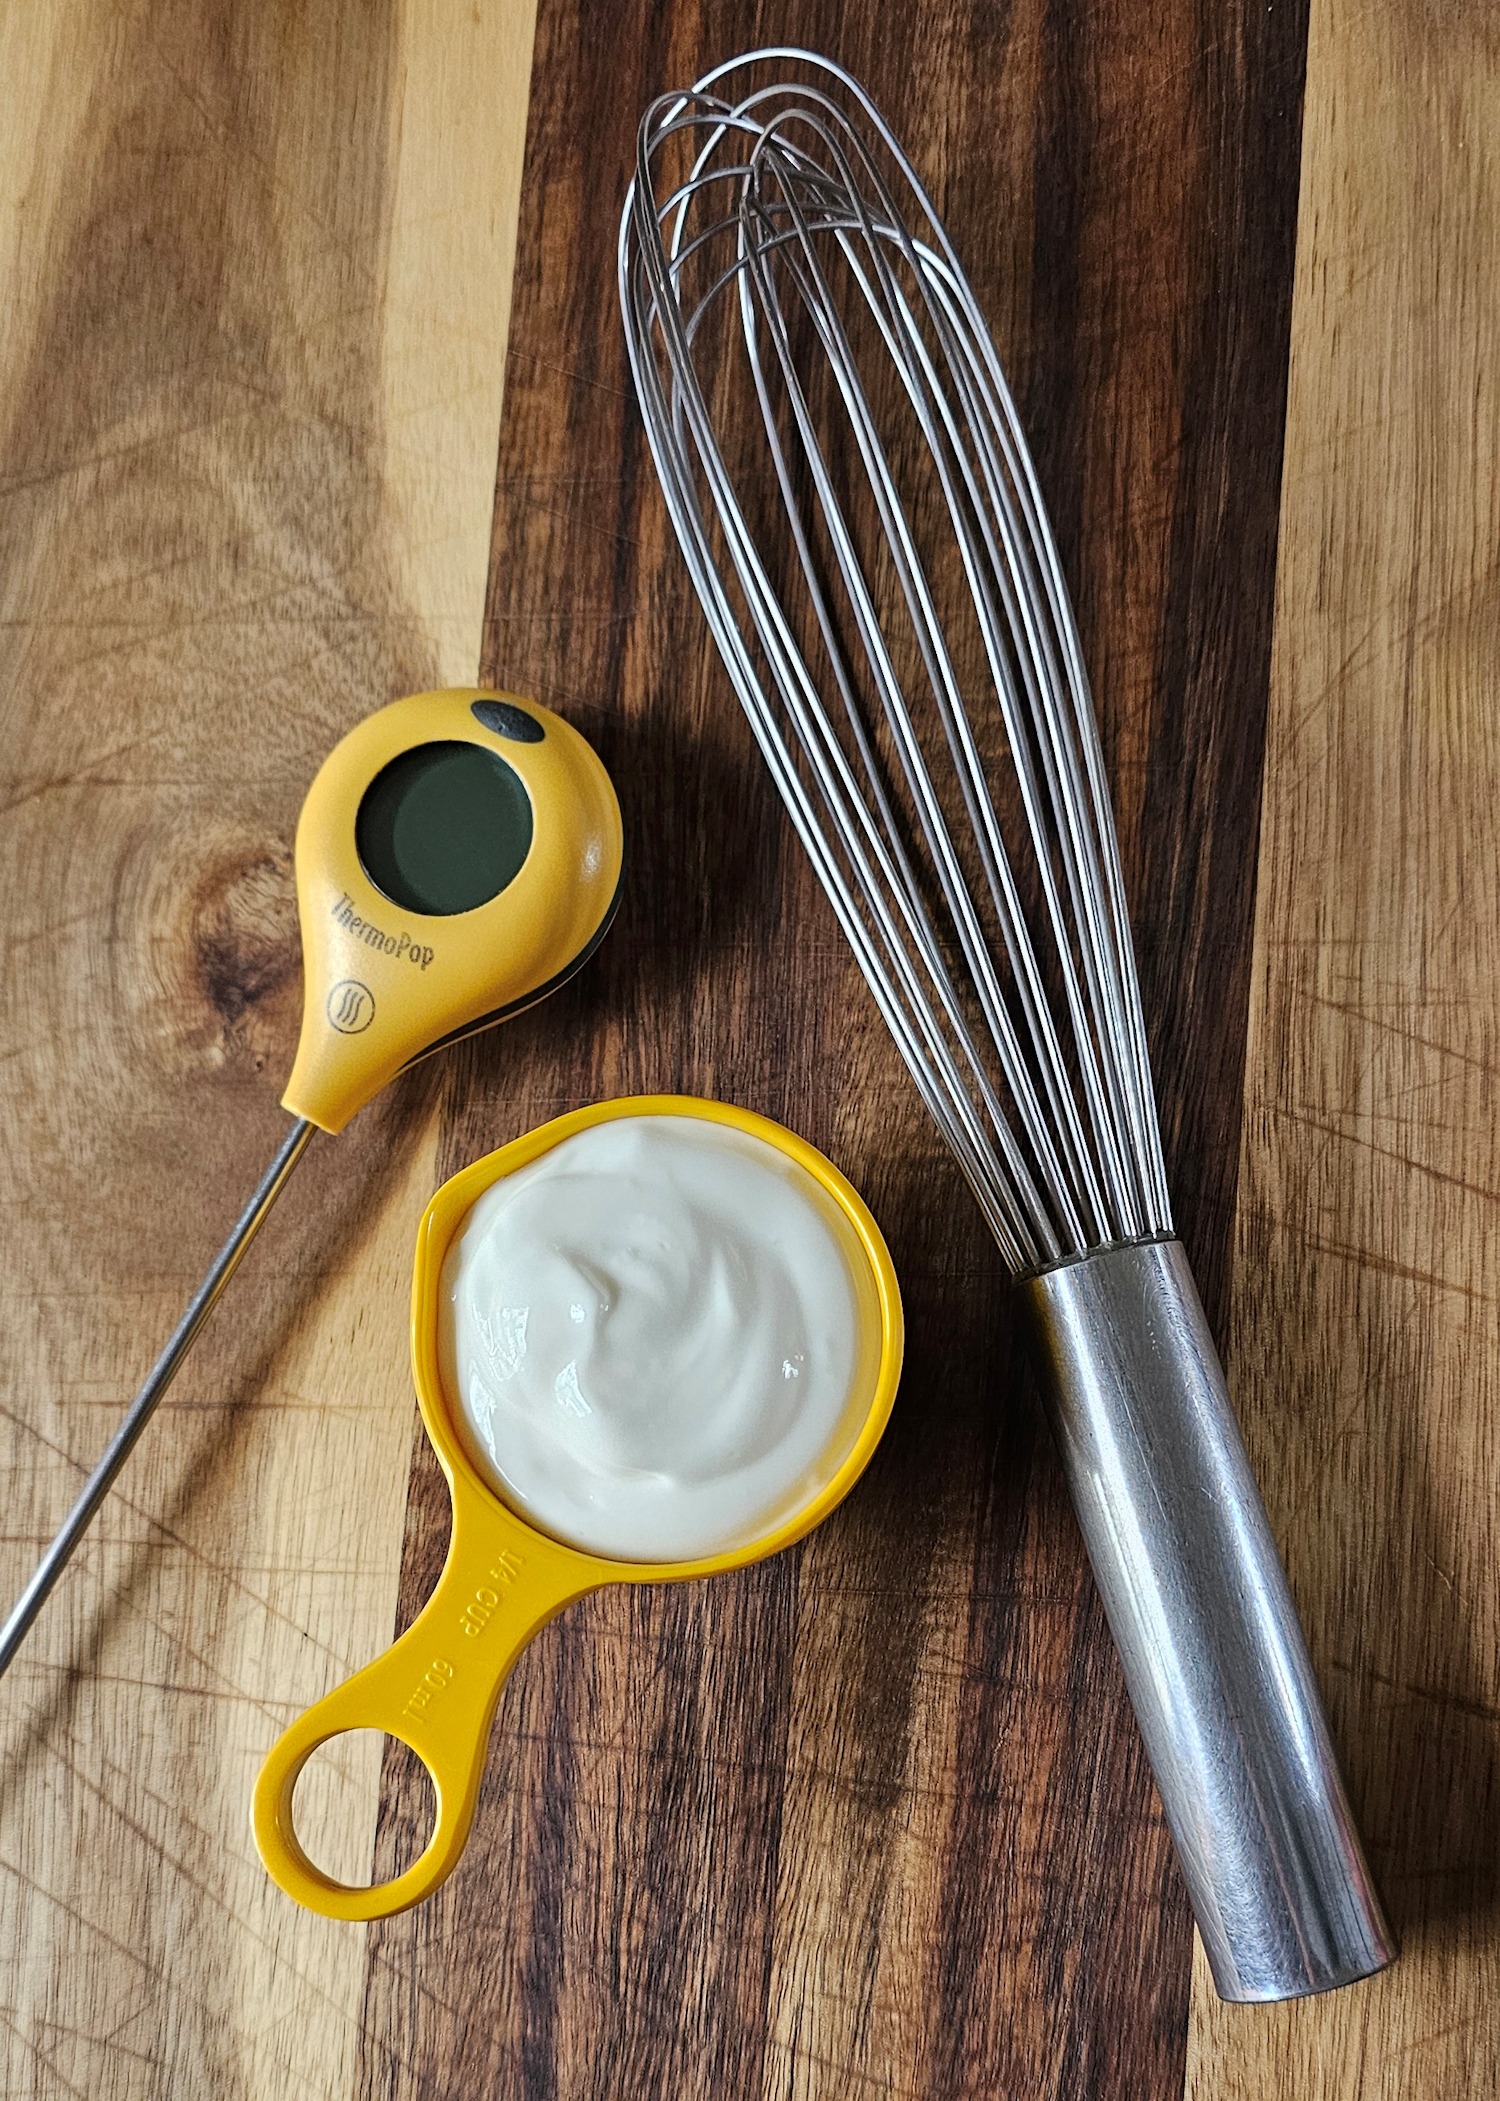
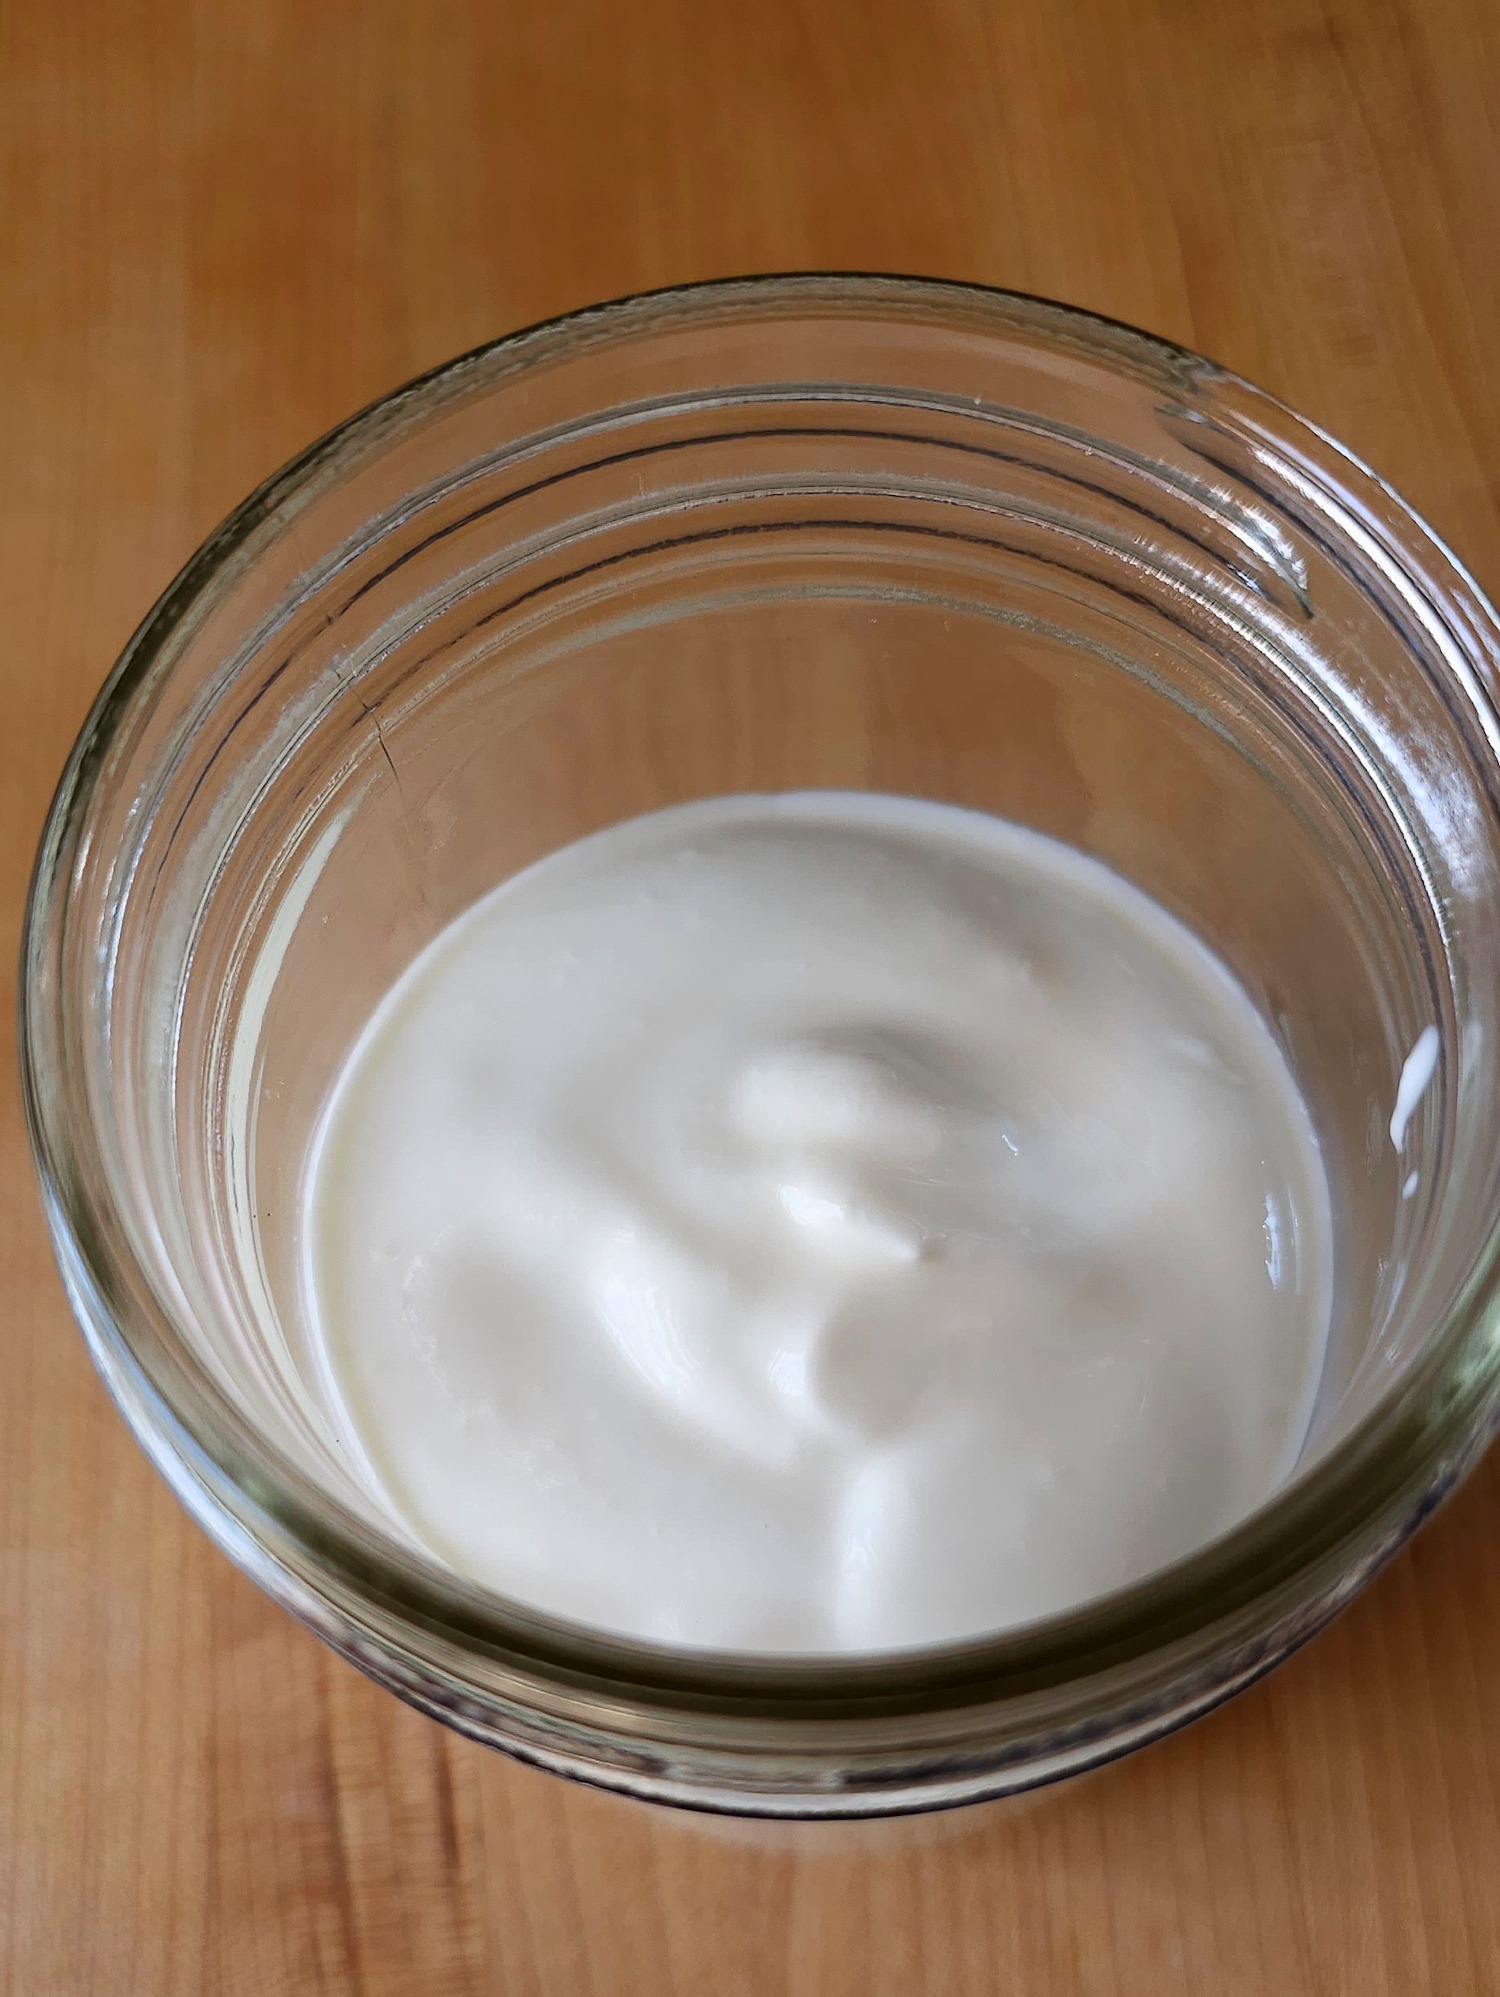
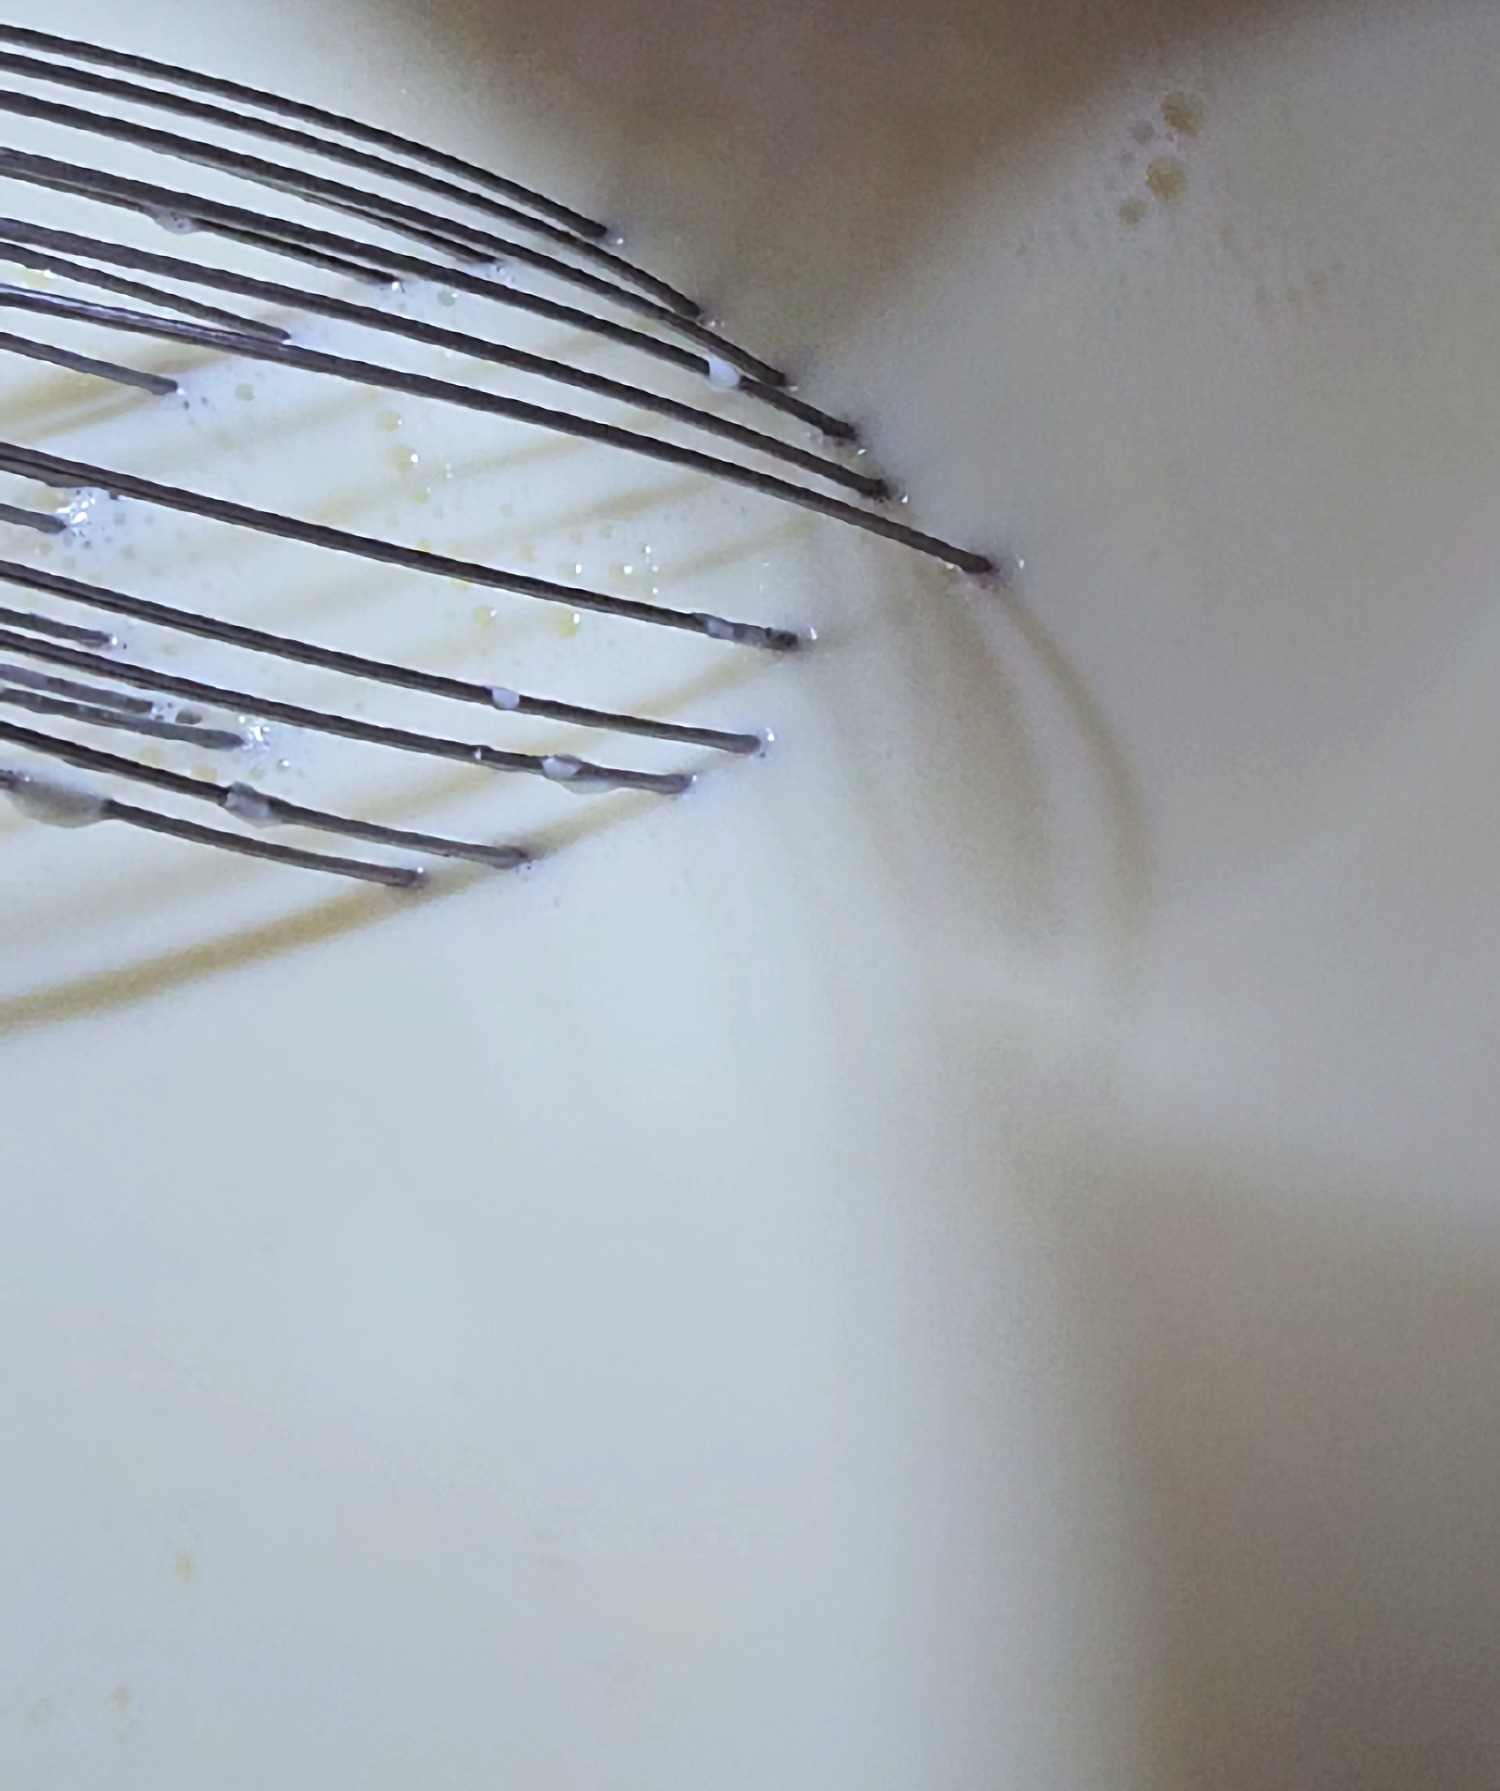
Ok – you have heated up your milk to 185°F or so, and held that temperature for 30 minutes. Then you let it cool back down to at least 120°F, or down to around 90°F. Now, it is time to add in the culture. I usually use yogurt from my last batch to make a new batch, but if you are just getting started, you won’t have that. You can use a grocery store live culture yogurt. It should be plain, whole milk yogurt with no sugar or flavoring of any kind. For 1/2 gallon of milk, use just about 1/4 cup of yogurt. I will link some reliable brands of dry starters below. Dry starters work really well, but grocery store yogurt works just fine. Whisk the yogurt into the milk, incorporating it completely.
I just leave the mixture in the same pan I used for heating the milk, but you can pour it into jars if you prefer. While I am whisking in in the starter, I set my oven to 150°F, and then turn it back off after 5 minutes. I cover the pot with the lid, put it on the oven rack, and then wrap a towel around the pot to help retain the heat.
After about 3 or 4 hours, I check it, and usually, I need to heat the oven back up, so I set it to 150°F again, set my timer to 5 minutes, and then turn the oven back off when the timer rings. I also always have an oven thermometer in there, to help keep track of the temperature, no matter what I am cooking. Unless it is quite a warm day, I usually have to repeat this process a few more times. Then, I just let it sit in the oven overnight.
It amazes me how many places say that you have to get it right in the fridge. You should do what you’re comfortable with, but there is still a lot of beneficial bacterial action going on in there, and it is going to be fine.
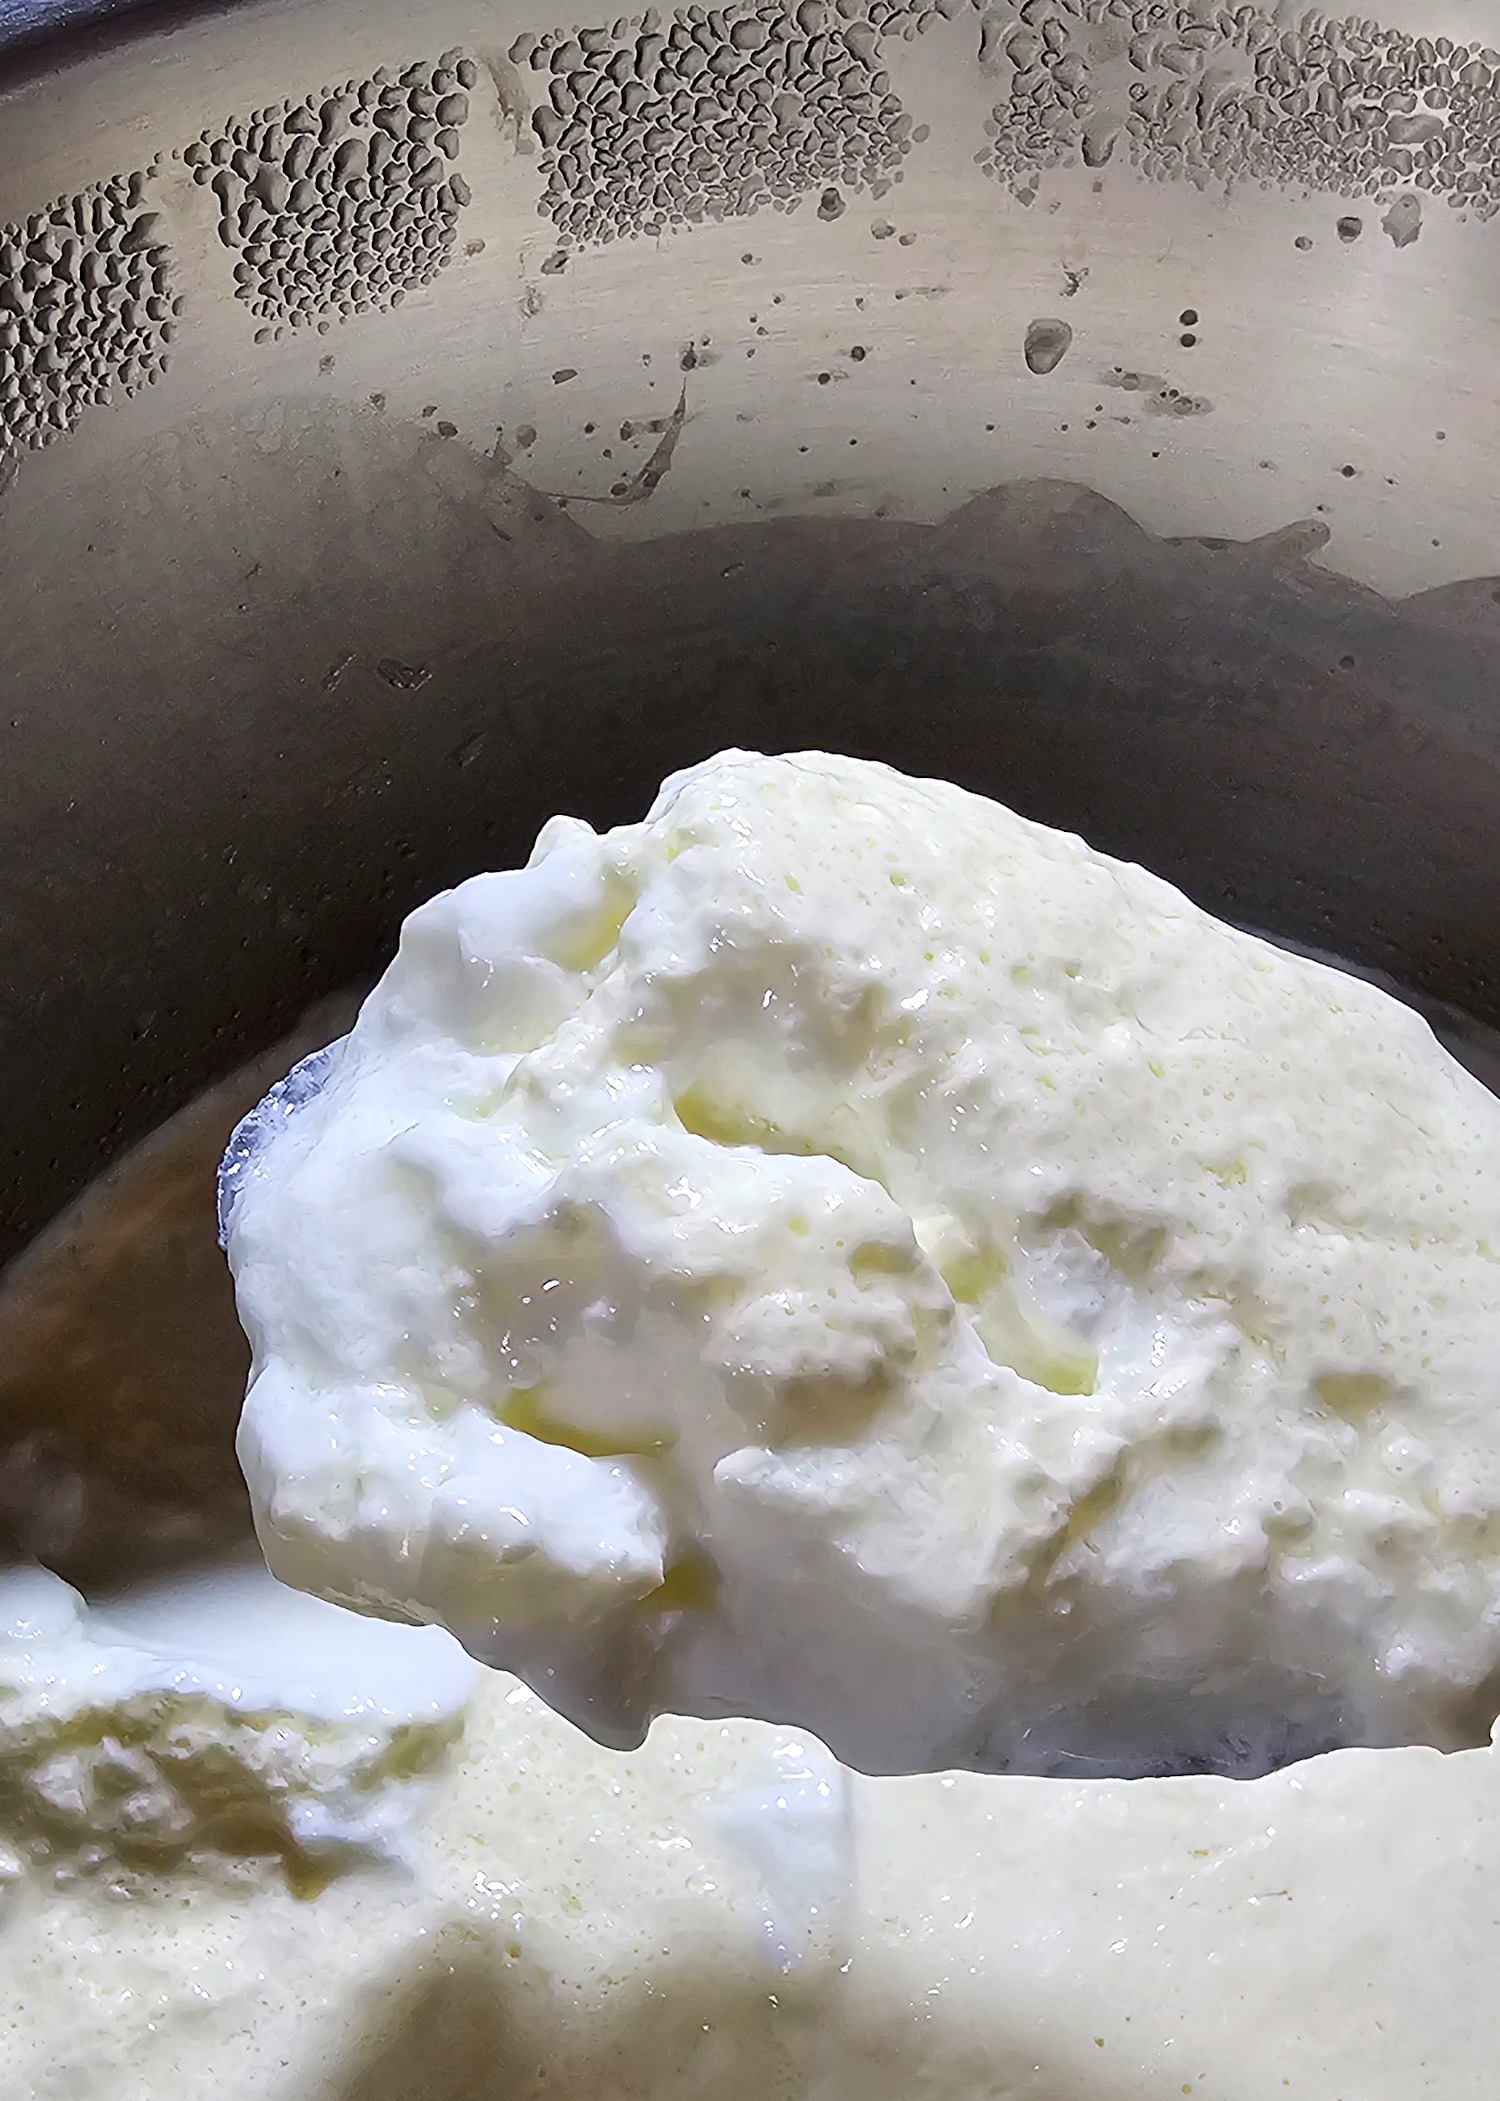
Do I have to strain my yogurt?
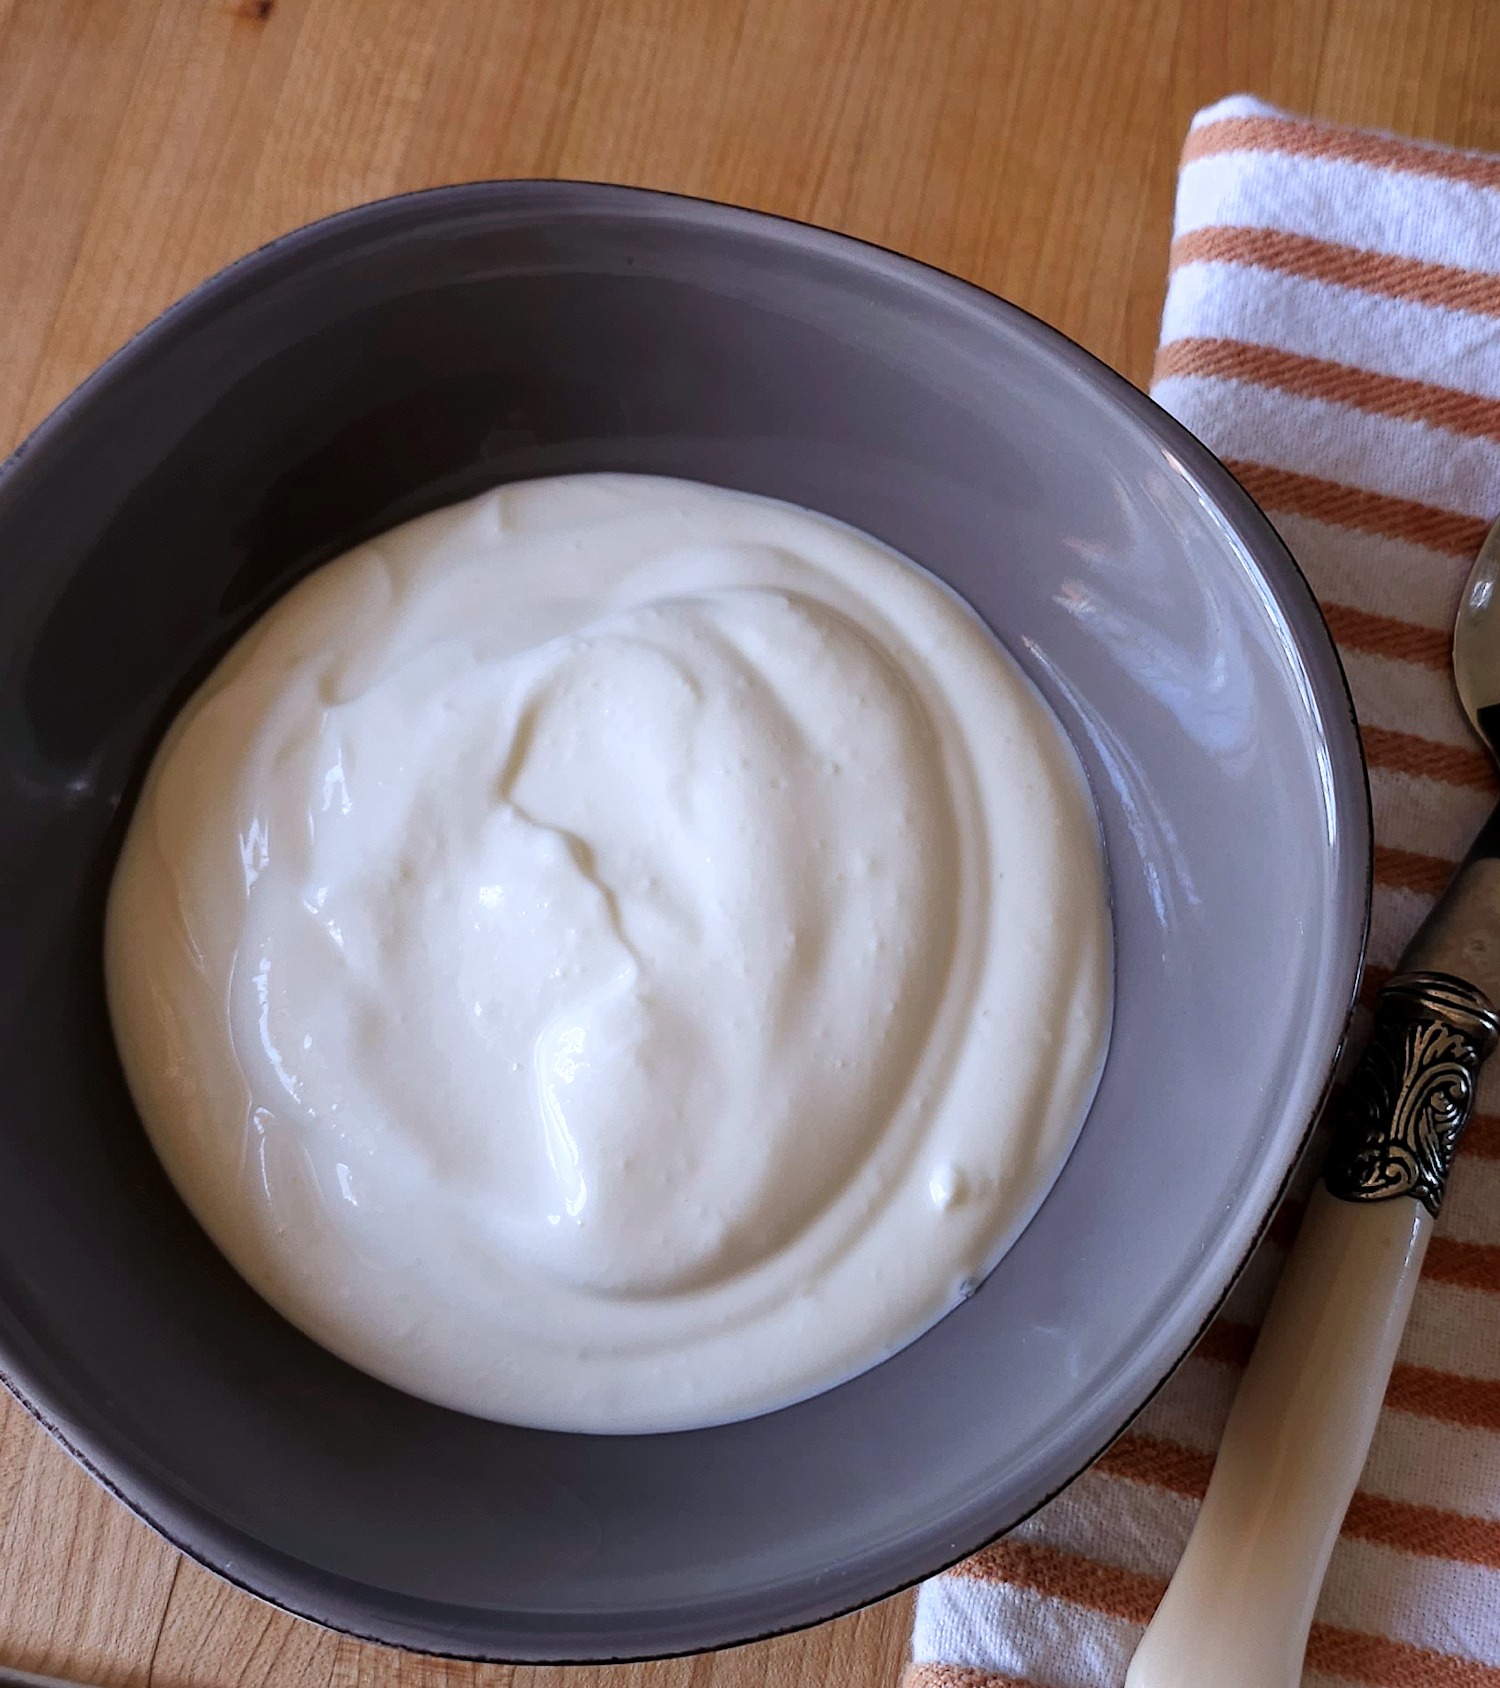
You can just tuck your yogurt in the fridge at this point, and it will be fine. About like most store bought yogurts actually. I like to take things a little further though, and having an even thicker, creamier yogurt is not a lot of trouble. I line my big strainer with a folded flour sacking towel, set the strainer in a bowl big enough to hold it, and scoop the yogurt in. 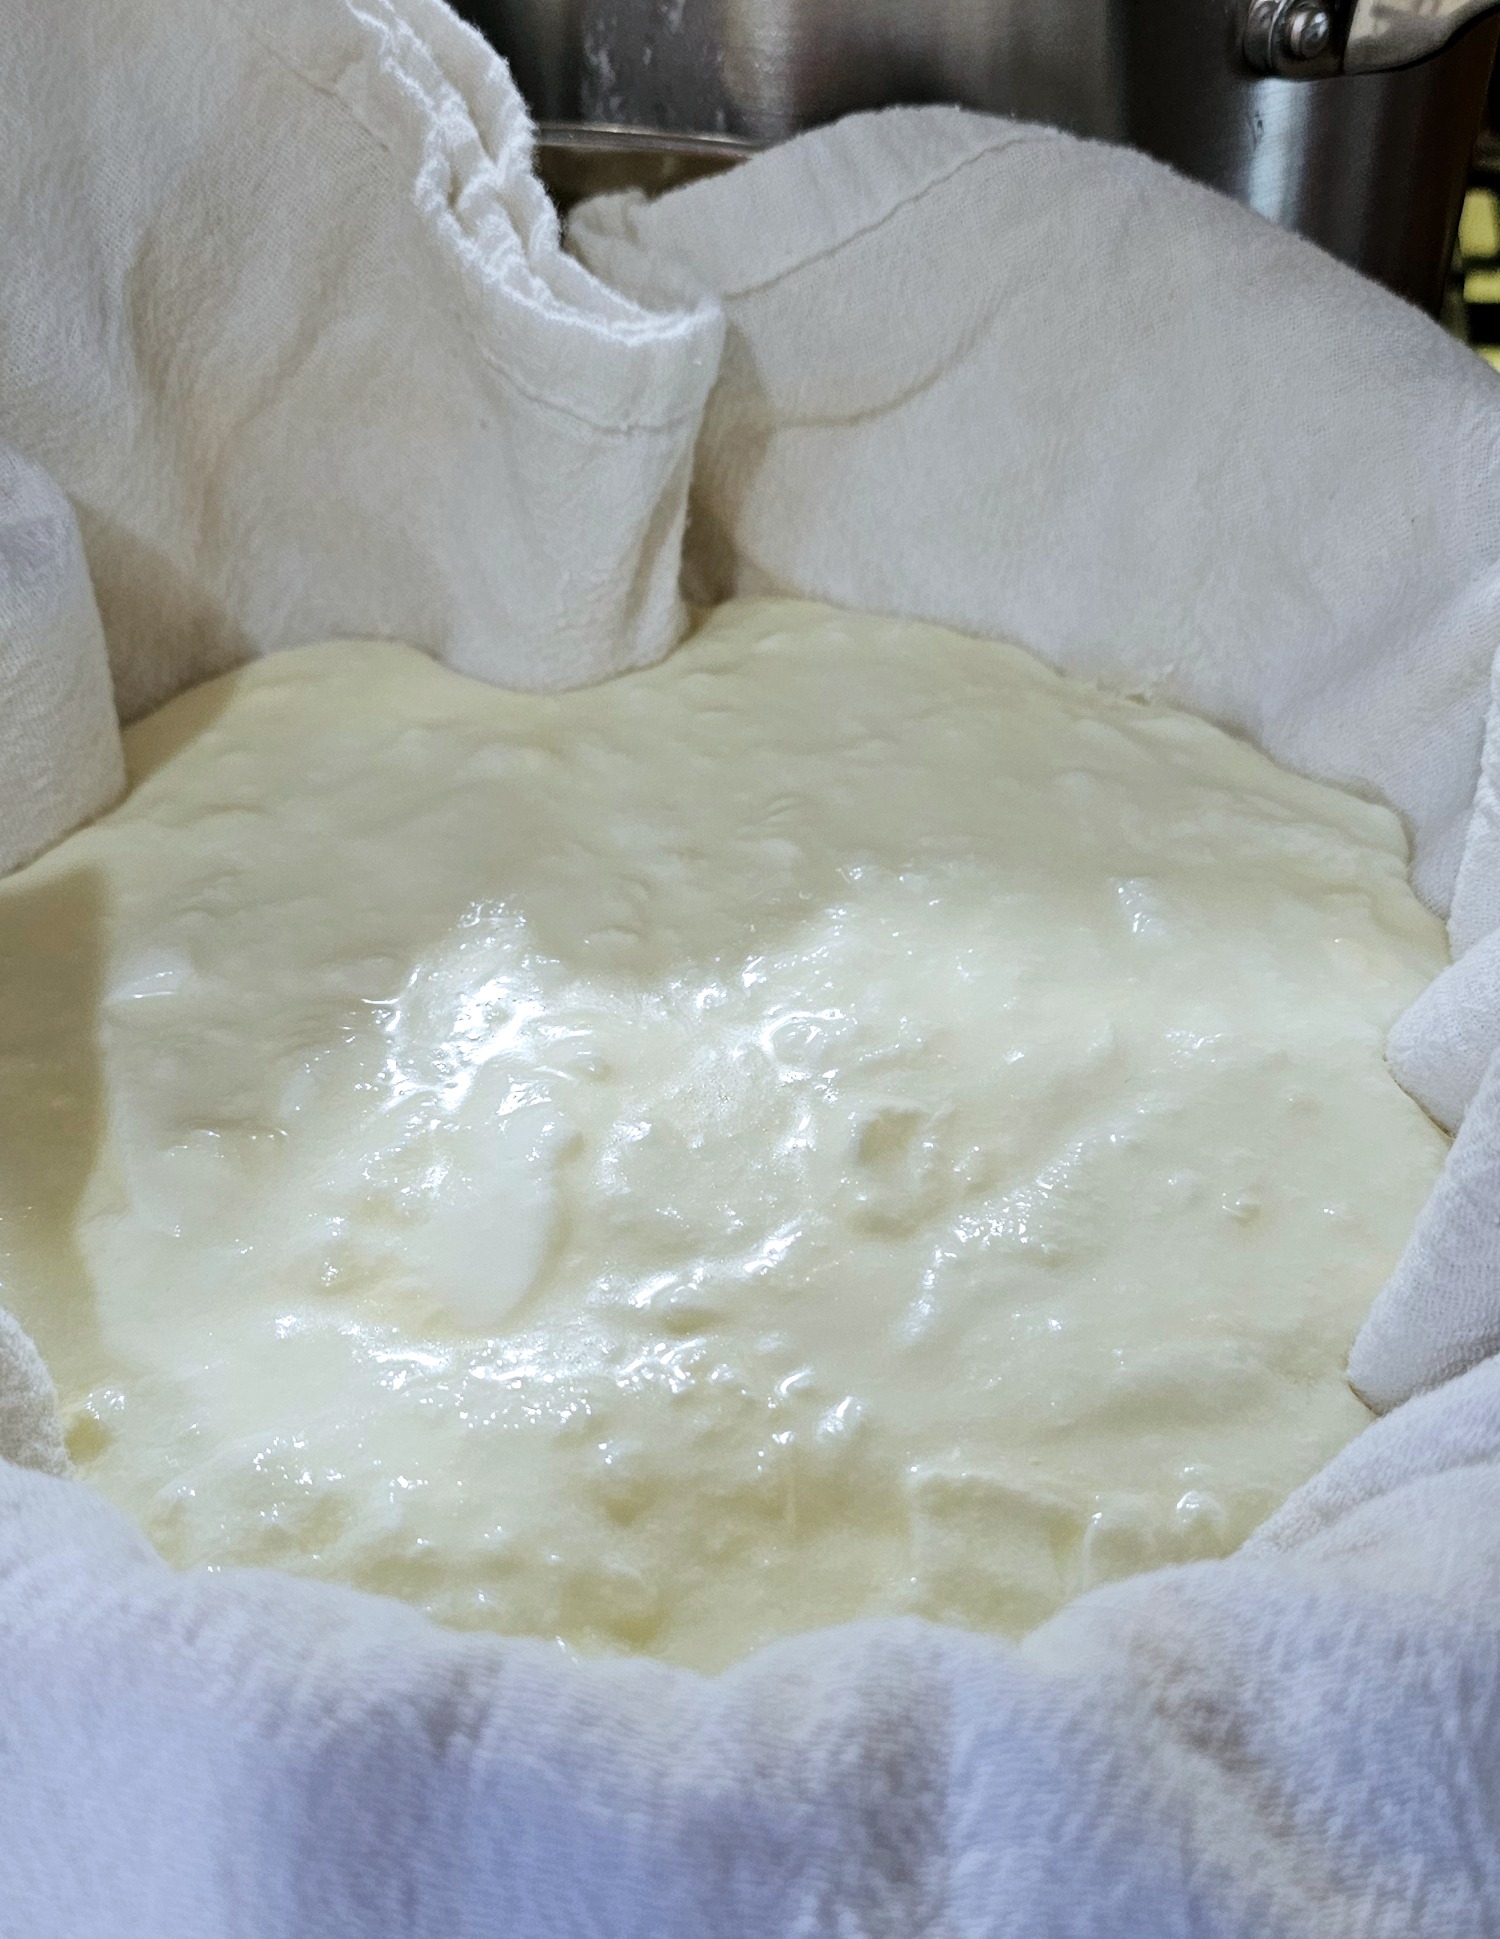
How long should I strain my yogurt?
How long to strain yogurt is a matter of taste, and how you plan to use it. As already mentioned, you don’t have to strain it all. For this batch, which I ate with fruit and granola for breakfasts this week, I strained it about 4 hours. I just put a piece of plastic wrap over the top, and put it in the fridge to strain. For Greek-style yogurt, you would strain it longer – about 8 hours. There is a cheese-spread sort of thing you can make by straining even longer, and perhaps even weighing it down to force out even more moisture. It is kind of like cream cheese, but better for you, because it has probiotics that aren’t in typical cream cheese.
How to make Homemade Yogurt

The Best Homemade Yogurt
Ingredients
- 1/2 gallon fresh whole milk
- 1/4 cup plain whole milk yogurt with active cultures.
Instructions
- Pour the milk into a 5 quart stainless steel pot
- Set the pot over medium heat, and stirring frequently, bring the temperature up to about 185°F
- Lower the heat to a level that will maintain 185°F, checking frequently to make sure it is not getting too hot. Stir every now and again.
- Set a timer for 30 minutes and hold the milk at 185°F for that amount of time
- After 30 minutes, turn off the heat and wait for the milk to cool down to about 115°F
- Whisk the yogurt into the milk, until they are completely combined. You can put the yogurt in a bowl and whisk a bit of the warm milk in before adding it to the pot of milk, but I don't usually bother. It is easier though.
- Cover the pot. Preheat the oven to around 120°F, and turn it off.
- Set the pot on a middle oven rack, wrap a bath towel around it, and shut the door.
⭐Make sure you set a timer and stay close while you're heating the oven
- After about 4 hours, you can repeat the process of heating the oven for 5 minutes, and then turn it back off. Don't stir the yogurt at all while it is culturing. Then in another 4 hours, heat the oven slightly again, and then shut it off. At this point, it is late enough in the day, that I can leave it until the next morning, at the ambient temperature in the room.
- When the yogurt is as thick as you want it to be, you can either put it straight in the fridge, or strain it, to remove some of the whey. Line a large strainer with several layers of cheesecloth, or a flour sacking towel, and place it on top of large bowl, to catch the why. Scoop all of the yogurt into the strainer.
- At room temperature the whey will drain out more quickly, but you can put the whole thing in the fridge.
- Allow the yogurt to drain until you have the consistency that you like. If you should happen to accidently let it drain more than you really wanted to, you can easily whisk some of the whey back into the yogurt.
- I like to keep yogurt in wide mouth quart canning jars, because they are easy to fit in my fridge and I have lots of canning jars. See notes for storage and serving suggestions.
Notes
Nutrition
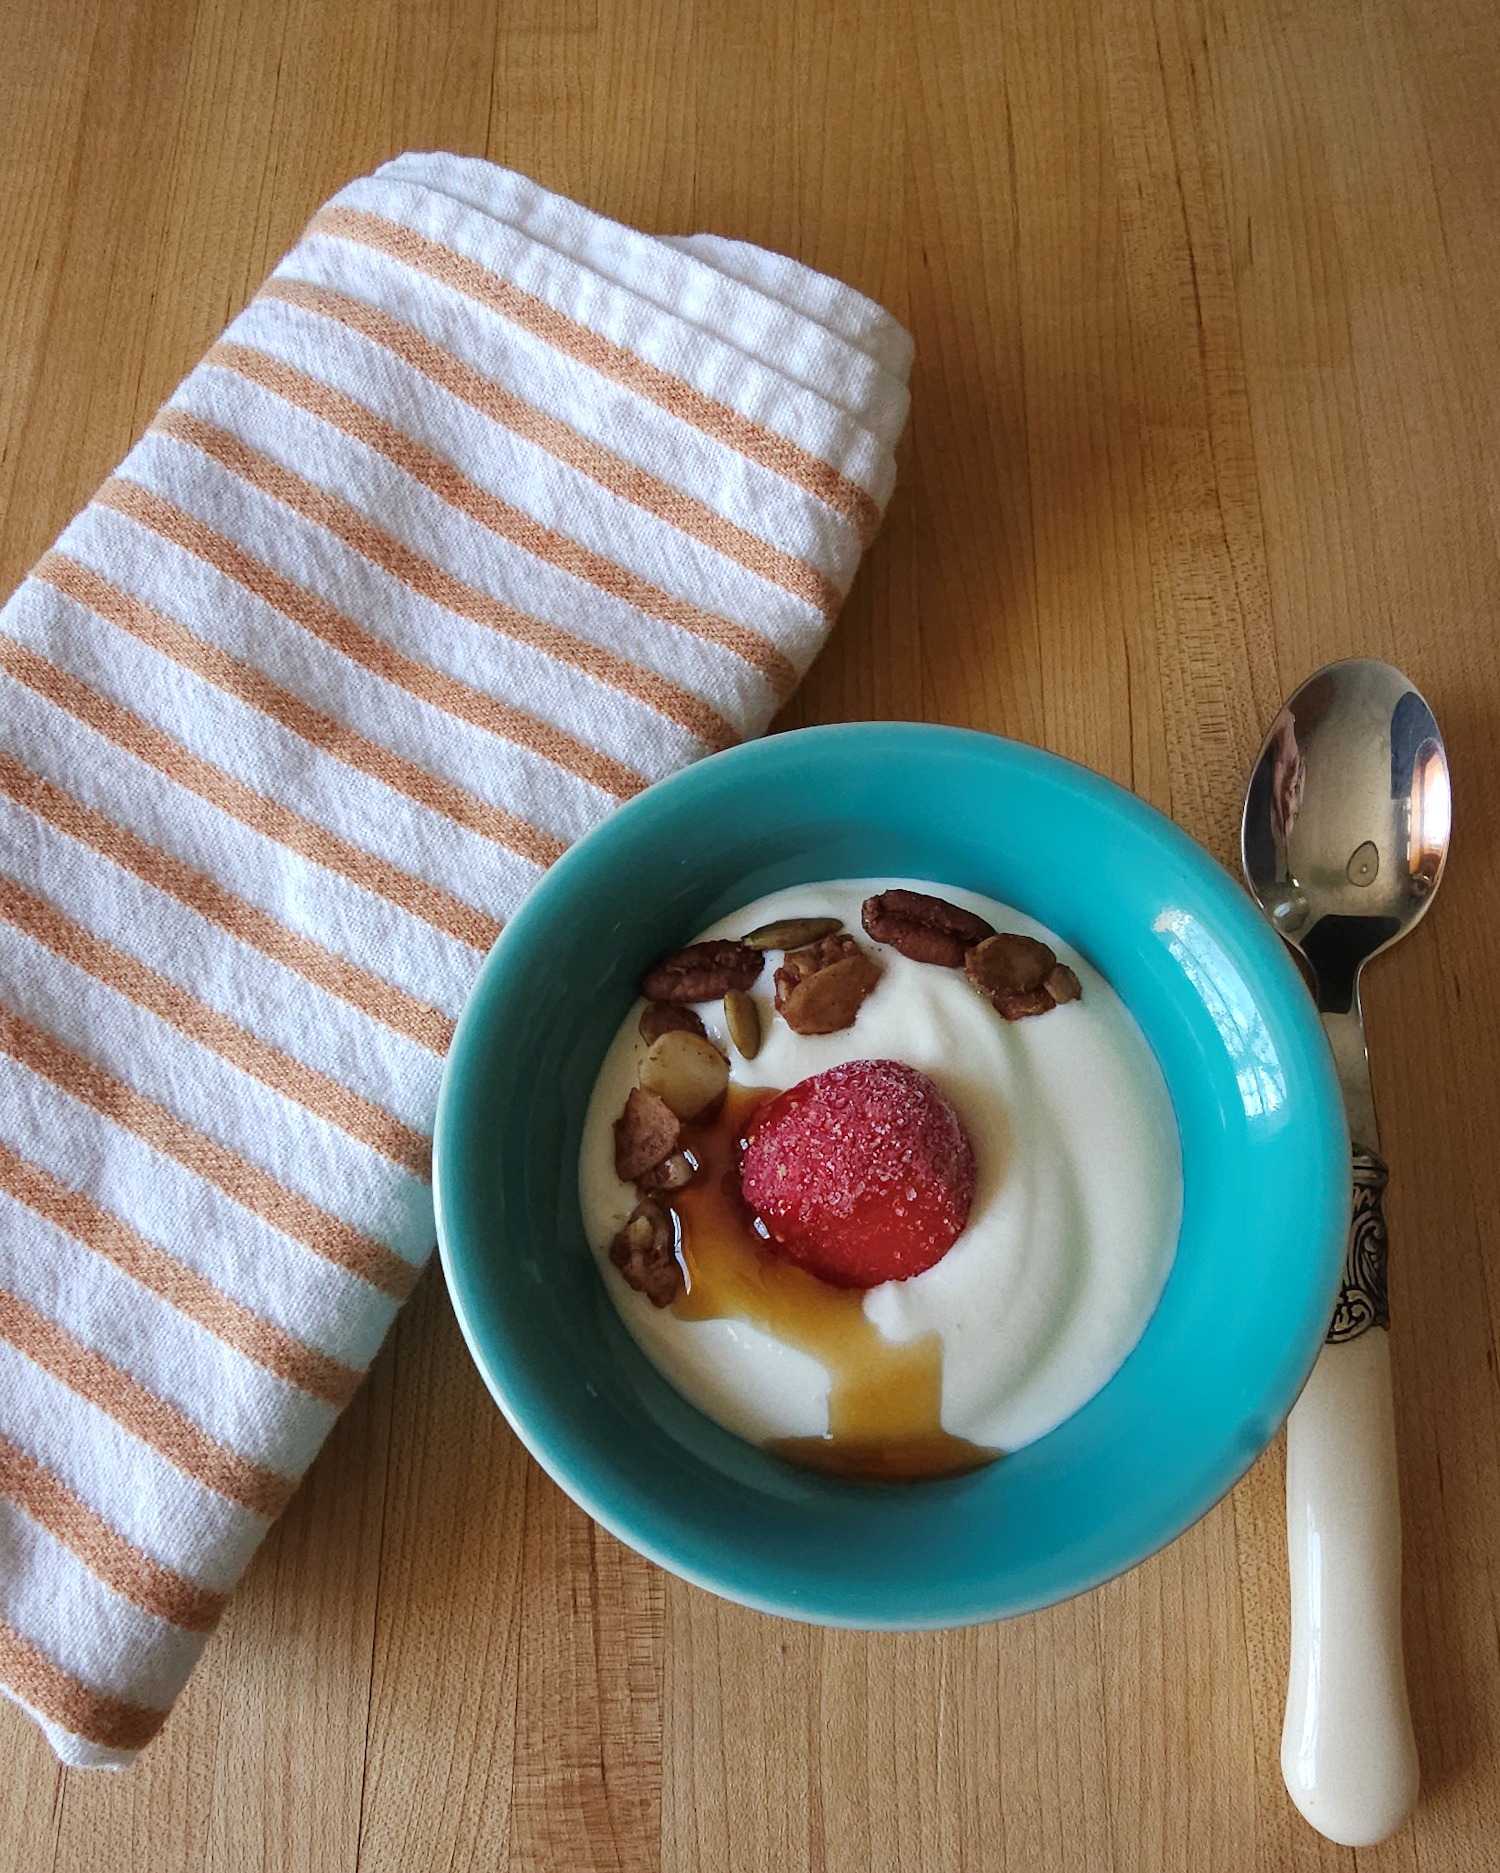
My favorite way to eat Homemade Yogurt
Pictured below is my absolute favorite yogurt breakfast. Yogurt, berries, sweetener and granola. This meal has everything I love – smooth, creamy, tangy homemade yogurt, sweet fruit [usually frozen berries from last year’s harvest] and granola that I made myself. I know every single ingredient in that meal, and exactly how good it is for my body.
If you have any questions about this recipe, please don’t hesitate to ask in the comments. I will answer as quickly as I see it.
Homemade Yogurt is really good for you
By now, just about everyone has heard about the benefits of eating foods that contain active probiotics. Taking a supplement with good probiotics can be really expensive, if you’re like me, you forget them because they are in the refrigerator, not out on the counter where you are easily reminded of them. This yogurt is not expensive and contains tons of great probiotics. And, I never forget to eat it!
If you are into gadgets, or you already own them, once you get to the part of recipe where the yogurt rests, gadgets will work. Most of them hold the mixture at a higher temperature than I advise though, so your result might vary a bit.
Yogurt Maker ~ Crock Pot ~ Instant Pot [note – this recipe was not made with these gadgets – I am just linking ones that people said made good yogurt for them] And, as I mentioned, you can buy a dry yogurt starter. This starter has good reviews.

 Mediterranean Orzo Salad
 Sweet Corn Pancakes
 Easy Tomato Sauce for Canning & Freezing
 Cheese Stuffed Mushrooms
 Vanilla Bean Salted Caramel Sauce
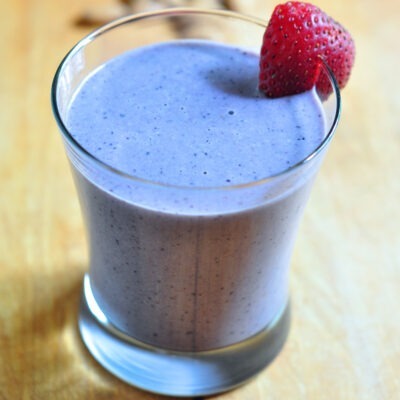 Berry Blast Almond Smoothie
 The Best Turkey Gravy
 Roasted Garlic Hummus
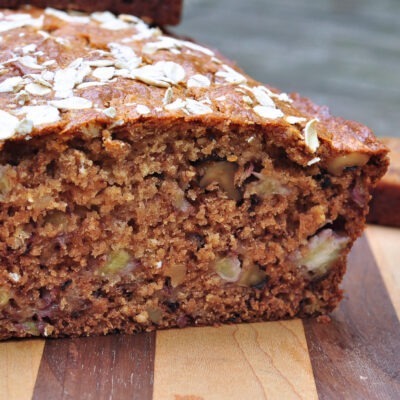 Banana Oat Bread
 Tomato Jalapeno Jam
Yup! This is the one! I’m never buying yogurt from the store again. Thank you so much for this awesome recipe!
I’m so glad to hear that you enjoyed it Ned – thanks for letting me know 🙂
Perfect yogurt, every time! Easy to make and wonderful for meal prep, thanks so much!
Thanks Heather, and I agree that it is great for making breakfasts for on the go!
I’ve always been a little intimidated to make yogurt from scratch at home, but thanks to your recipe I was able to try it and it was actually much easier than I thought! And my yogurt turned out really well! So creamy and delicious!
Anjali, I am so glad that it worked well for you ♥
Oh how fun! I love how the yogurt comes together with only 2 ingredients. Definitely better than store-bought.
Thanks Tara – I have to agree! 😉
I made this yogurt and we had it for breakfast this morning and it was delicious! And so easy too!
I am really glad to hear that it went well for you Tayler!