This post may contain affiliate links. Please read my disclosure policy.
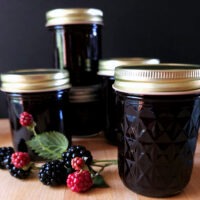
Seedless Blackberry Jam doesn’t use pectin
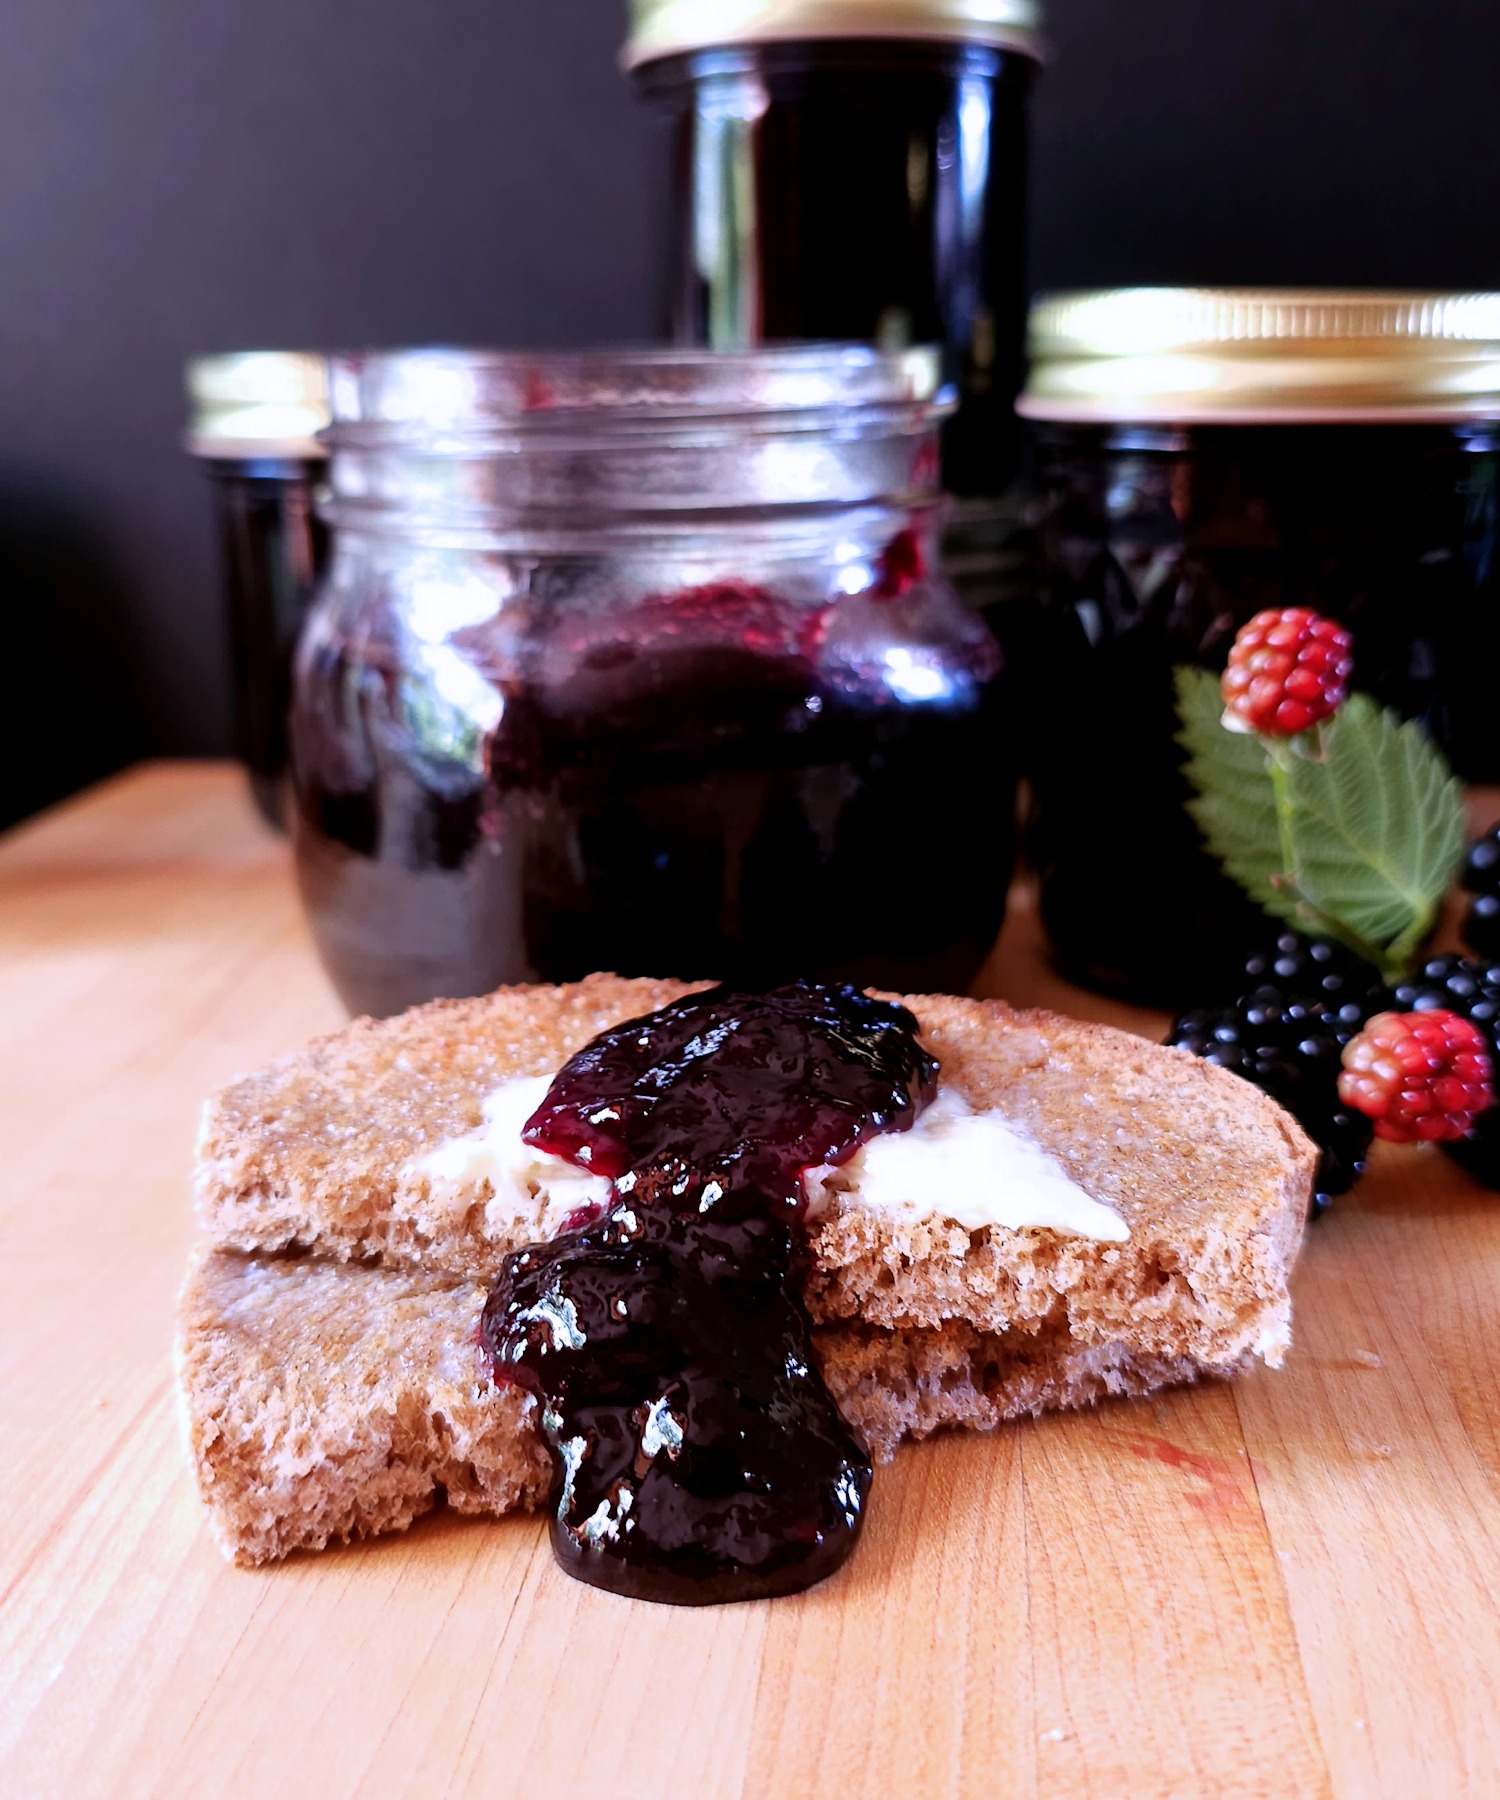
This lovely Seedless Blackberry Jam, just has three ingredients – blackberries, sugar and lemon juice.
Why not use pectin?
I don’t use pectin in any of my jams or jellies. There are a couple of reasons for this. First, using pectin means using more sugar. Pectin requires a higher percentage of sugar to set, and I don’t care for that sweeter taste. It mutes the fresh flavor of the fruit.
Pectin can also be tricky to use. I belong to several homesteader and canning groups on Facebook and it is very common to see posts where people are complaining that their jam using pectin came out thin. I have never had that problem with jams using just sugar and lemon juice to set.
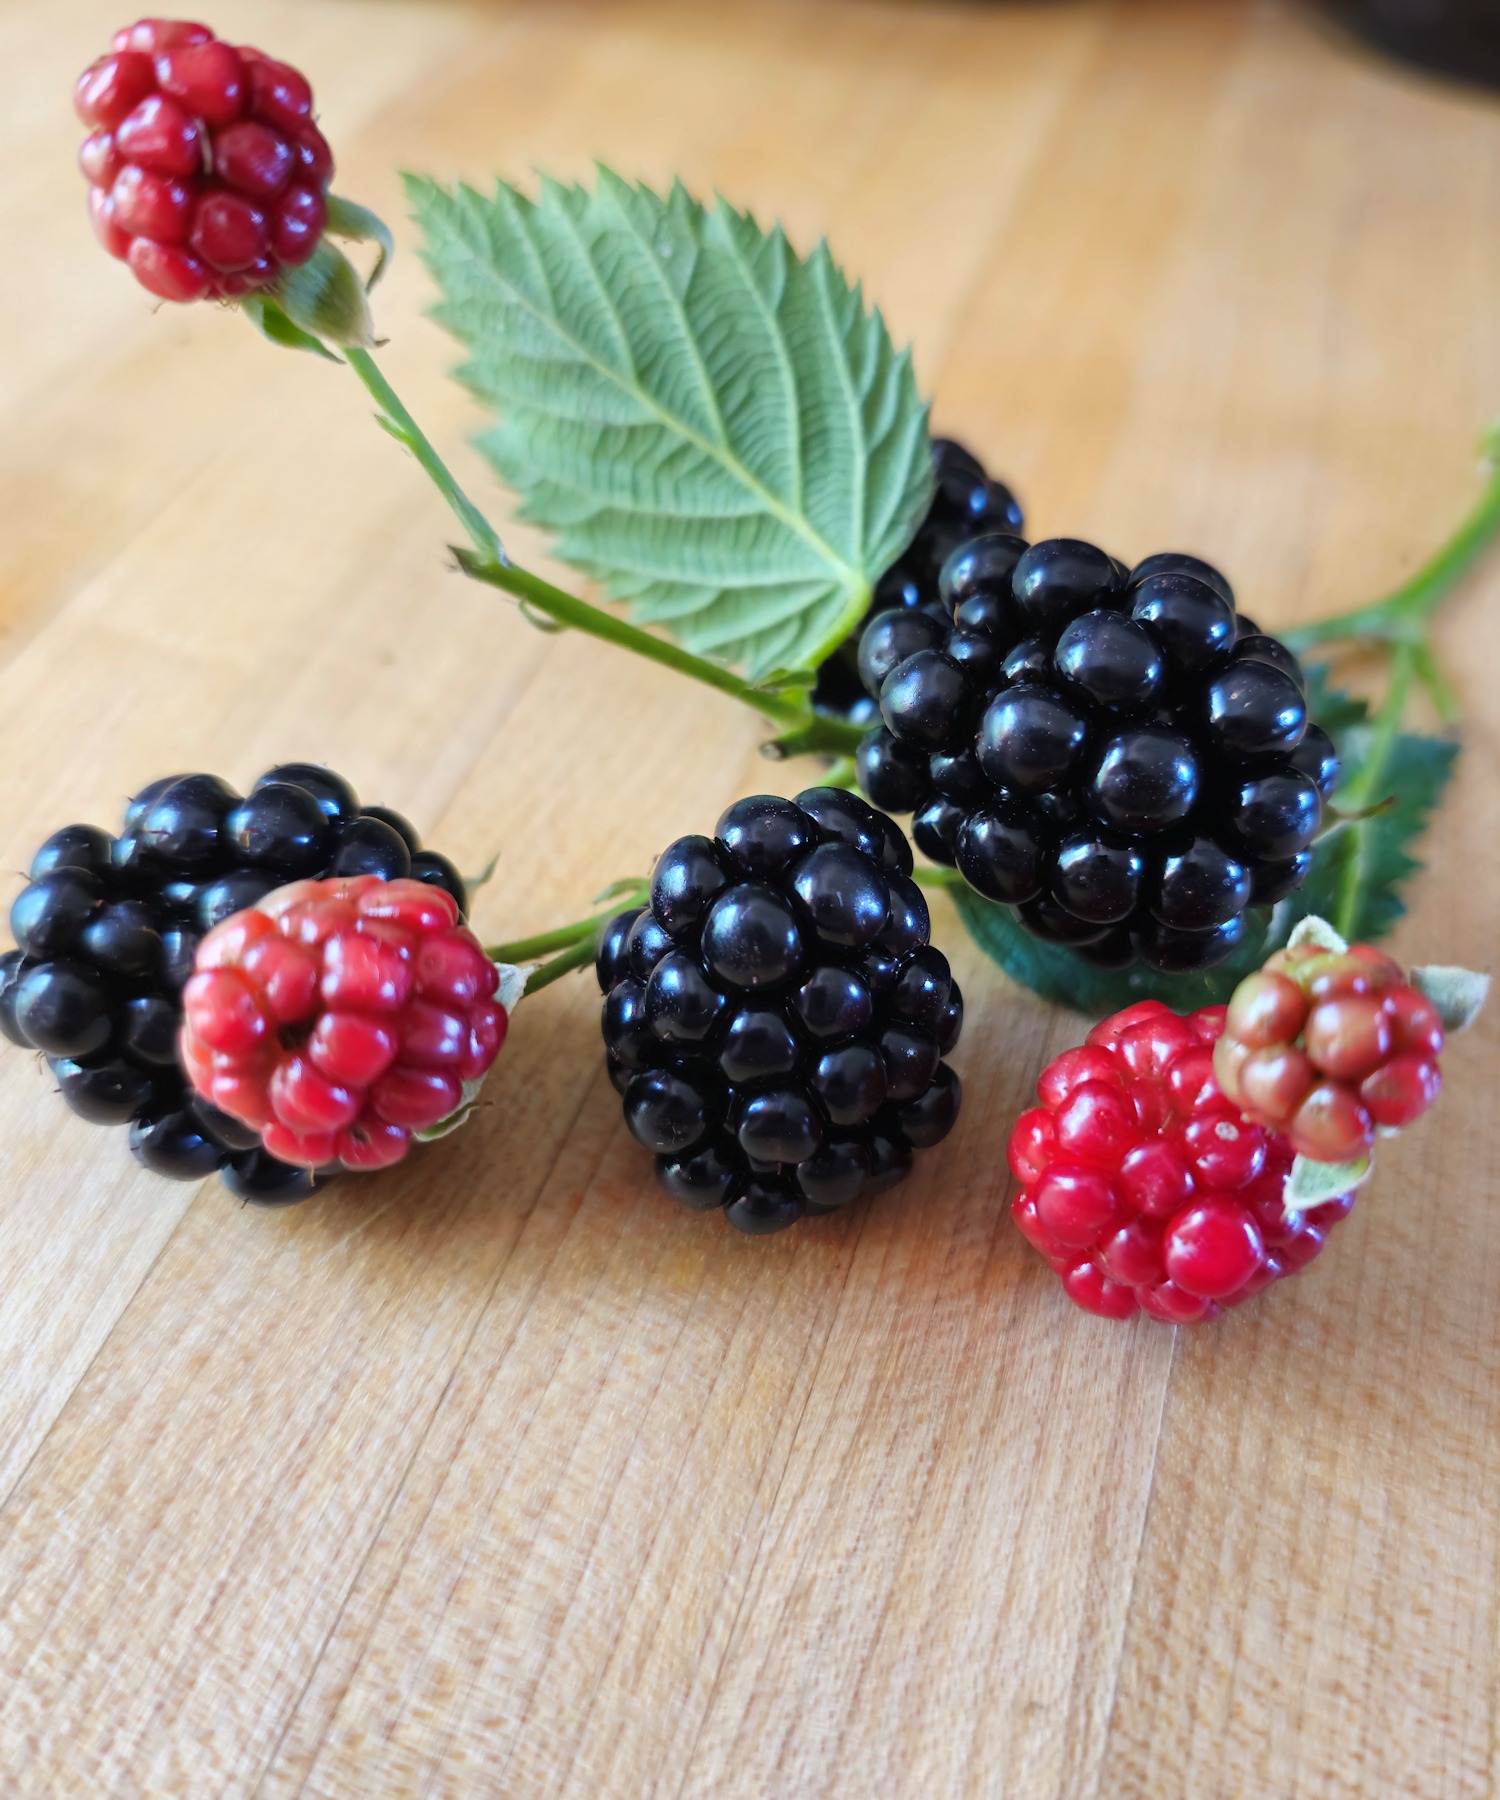
Start with fresh berries
You can use frozen berries for this jam, but they won’t work quite as well. Frozen fruit loses some of its natural pectin, and we want all the natural pectin we can get since we’re not adding any. If frozen berries are all that you can get your hands on, it will likely take long to cook the jam down.
How many berries will I need?
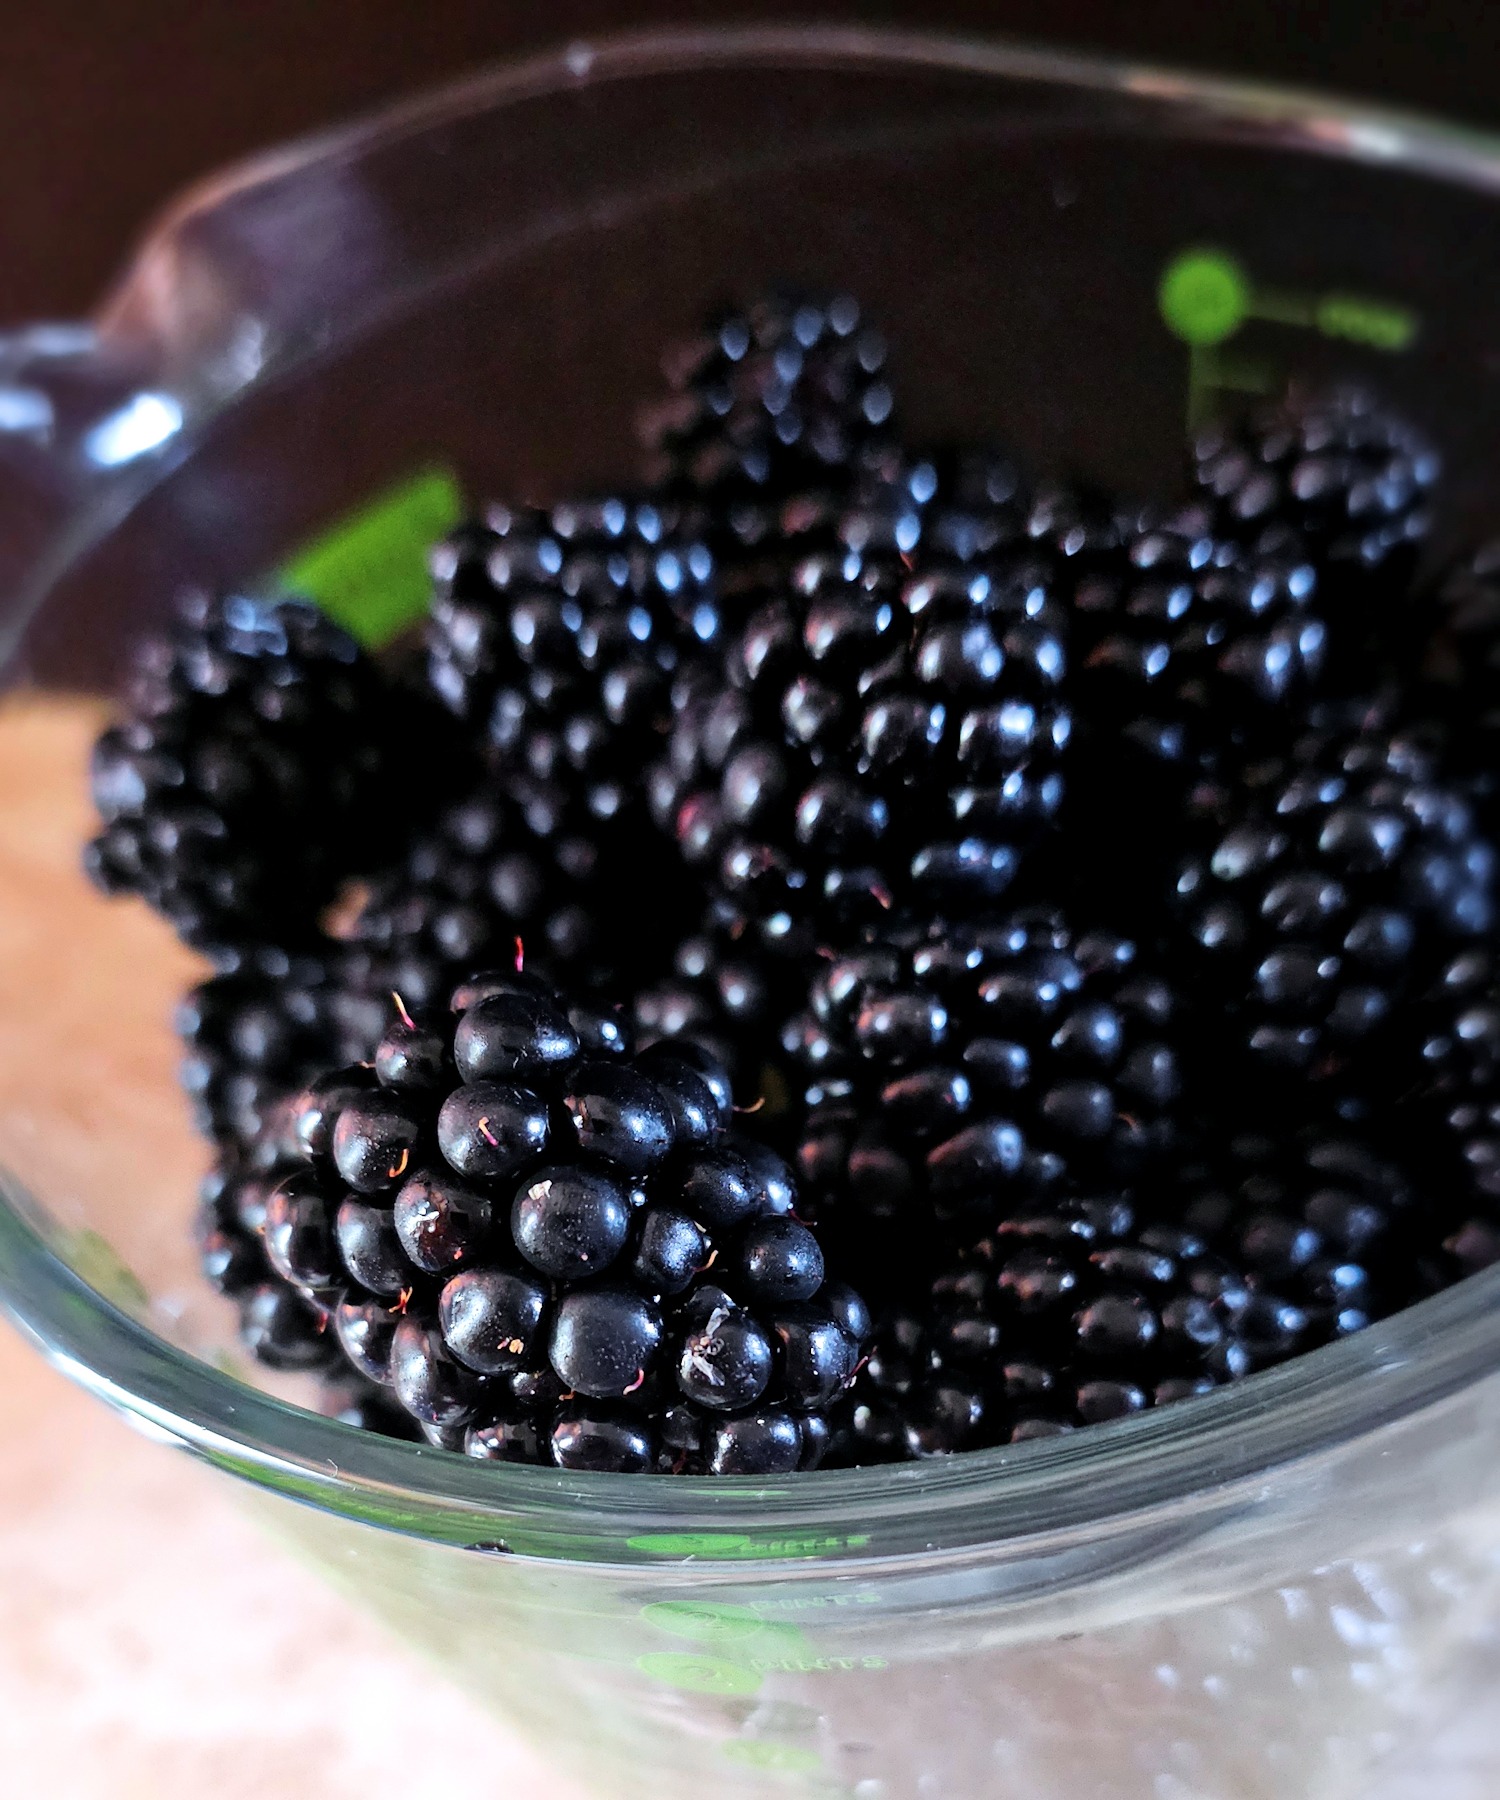
There is not an easy answer to that question as it turns out. The moisture content in blackberries can vary by quite a bit. I made a batch after we had a lot of rain, and they were much juicier than ones we picked after a week or two with little rain. I began with about 20 cups of berries, which yielded 6 cups of juice.
Why seedless jam?
While I don’t mind some seeds in my Raspberry Preserves [I do take about half of the seeds out of that]. the seeds in blackberries are another matter. They are bigger and harder for starters. And, in the course of cooking down the jam, I think they take on a somewhat bitter undertone. Just not as tasty with them in is how I look at it. We also have our own blackberry bushes, so we do have a good supply of berries. If on the other hand, you like the seeds, leave them in. You may need more sugar, because the overall volume of the finished product will increase.
Why is this jam, not jelly?
There 3 main kinds of spread made from fruit – jam, jelly and preserves. Preserves, like my Strawberry Preserves use whole fruit, seeds and all. Jelly is made with just the juice, which is extracted from the fruit by one method or another. This, however is jam – I began with whole fruit, and just removed the seeds, leaving the pulp in with the juice.
Recipes I have seen using juice, mashed the berries raw and ran them through a food mill or something similar. We’re going a little lower tech than that today. I like to put the berries in a large pot, mash them and then bring them to a simmer for a few minutes. This breaks the fruit down a bit better and then you can get more of the juicy puree.

To remove the seeds, I like to use a mesh strainer and the back of a stainless steel ladle. Put the slightly cooled fruit in the strainer, and swirl the ladle around the bottom to push the juice and pulp out. Keep pushing the remaining seeds around until no more juice is coming out the bottom. This does get a little messy, and blackberry juice will stain, so an apron might come in handy.
Measure the resulting juice
You are going to be returning the juice and pulp you just extracted to the pot, but measure it as you do. I used approximately half as much sugar as juice. So 6 cups of juice, 3 cups of sugar. Stir well to dissolve the sugar.

Bring the mixture up to a medium simmer
I always view jam and preserve recipes with exact times with a big measure of skepticism and so should you. There are so many variables involved here. How juicy was the fruit? How big is your pan? How high is the heat? I can tell you what I do, and how I define things, but that doesn’t mean my medium simmer is going to be the same as yours. If your berries had a high water content, it stands to reason that it is going to take longer to drive off enough of that moisture for the jam to have a nice set.
Learn how to tell when jam is “done”
What you need to do is learn how to tell when your jam is ready. The most accurate to do that is with an instant-read thermometer. Jam does take on a particular “look” when it is ready, but I still check it for the correct temperature every time. You are looking for 218°F. That is going to give you a nice firm set, that won’t be runny, even after months in the pantry. You need to be patient and stick close while you’re cooking it down. One you have some up to a simmer, it will take anywhere from 30 to 60 minutes. This batch took about 40 minutes.

Afraid you’ll forget?
There are a number of kitchen tasks that I don’t trust just to memory, like making yogurt, or this jam. If I have to remember to periodically check on something, I always use a kitchen timer, set at 5 or 10 minute intervals, so that I stay on top of things.
How to make Seedless Blackberry Jam
Seedless Blackberry Jam
Equipment
Ingredients
- 20 cups fresh blackberries [about 6 pounds]
- 3 cups granulated sugar [see notes]
- 2 large lemons, juiced
Instructions
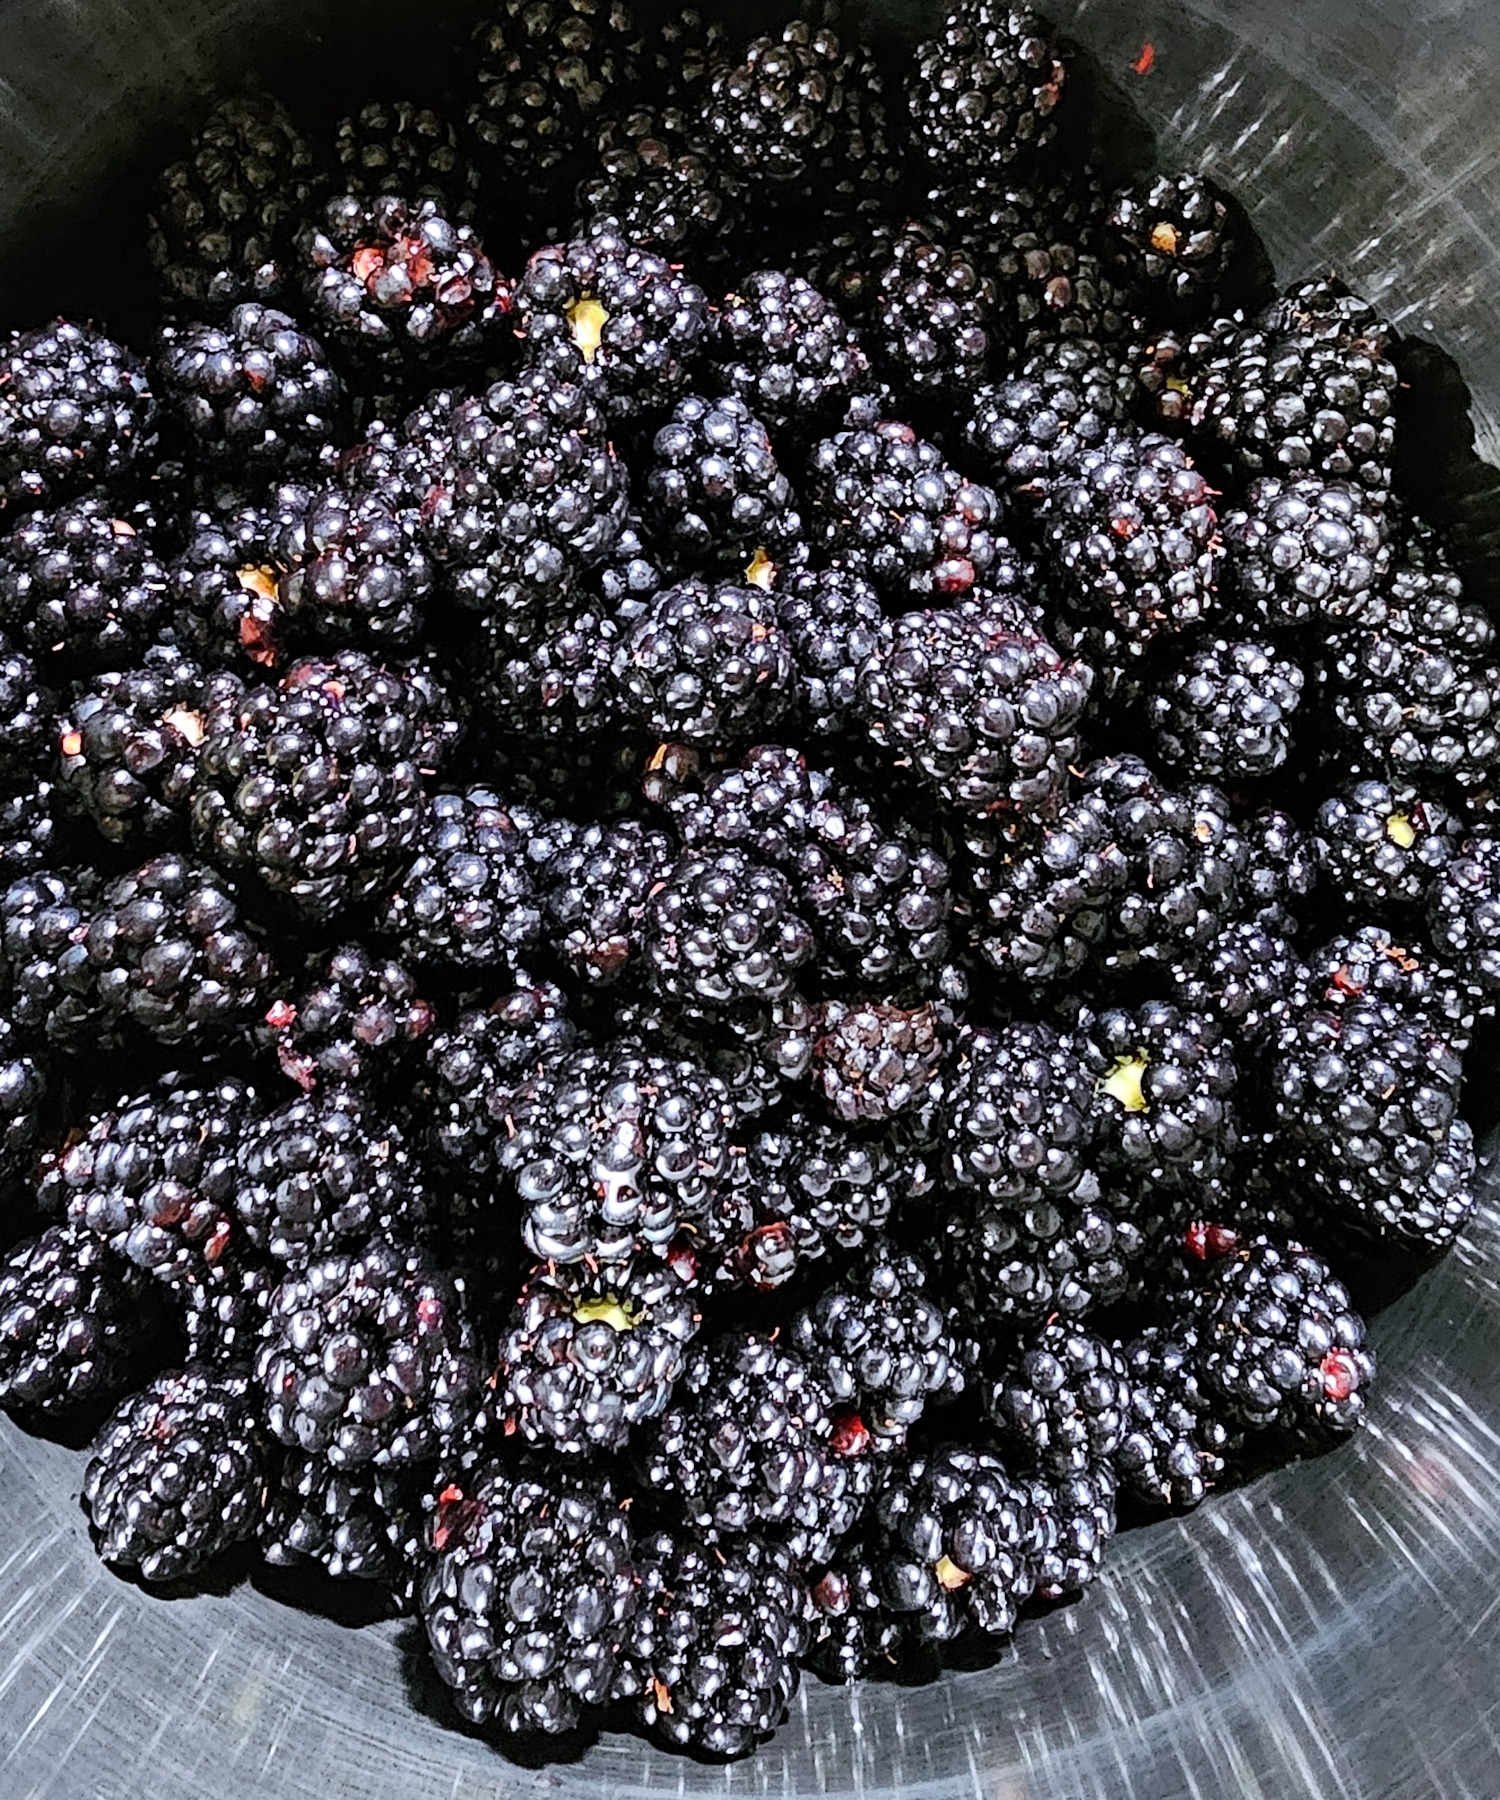
- Wash berries and pick through to remove any debris or damamged berries.
- Put the berries in a large heavy pot, big enough to hold them with some room left over. Set the burner on medium. The water on the berries from washing should be enough to keep them from sticking.
- As the berries heat, mash with a potato masher to help them break down more quickly. Keep stirring to prevent sticking. You need to get up to a simmer.
- When the fruit has mostly liquified, turn off the heat.
- Placing a mesh strainer over a bowl big enough to hold it, ladle in the berries, about 1/4 at a time swirl with the back of a ladle to help push them through the mesh. Keep adding more berries [no need to empty the strainer], and pushing with the ladle, until you end up with a very thick bunch of seeds, with little new liquid dripping through. This does take a bit of patience, but it's not difficult.
- Scrape the bottom of the strainer into the pot so you don't miss any juice/pulp. Discard the seeds.
- Measure the resulting juice/pulp. Measure out half as much sugar and add to the pot with the juice.
- Cook over medium heat, until it comes up to a boil. Lower the heat slightly, and stirring very often let the mixture simmer.
- Check the temperature every 10 minutes, stirring at least that often. If you feel any sticking, lower the heat a bit and stir a little more frequently. You wnat to get to a temperature of 218℉. As you get up to around 215℉, its's not a bad idea to turn the heat up slightly and just keep stirring until it gets up to 218℉. Don't walk away.
- When you get to 218℉, turn off the heat, stir again, making sure to get in the corners and all over the surface of the bottom.
- This jam is easily canned [see notes], or can be stored in the refrigerator for several months. Sometimes people freeze jam like this, but I never have so I can't guarantee what the result would be.
Notes
 Easy to can
As mentioned in the recipe, jam is one of the easiest and safest things to waterbath can. You can check for details on that in my post for Blueberry Preserves. Otherwise, this will keep quite a while in the refrigerator.
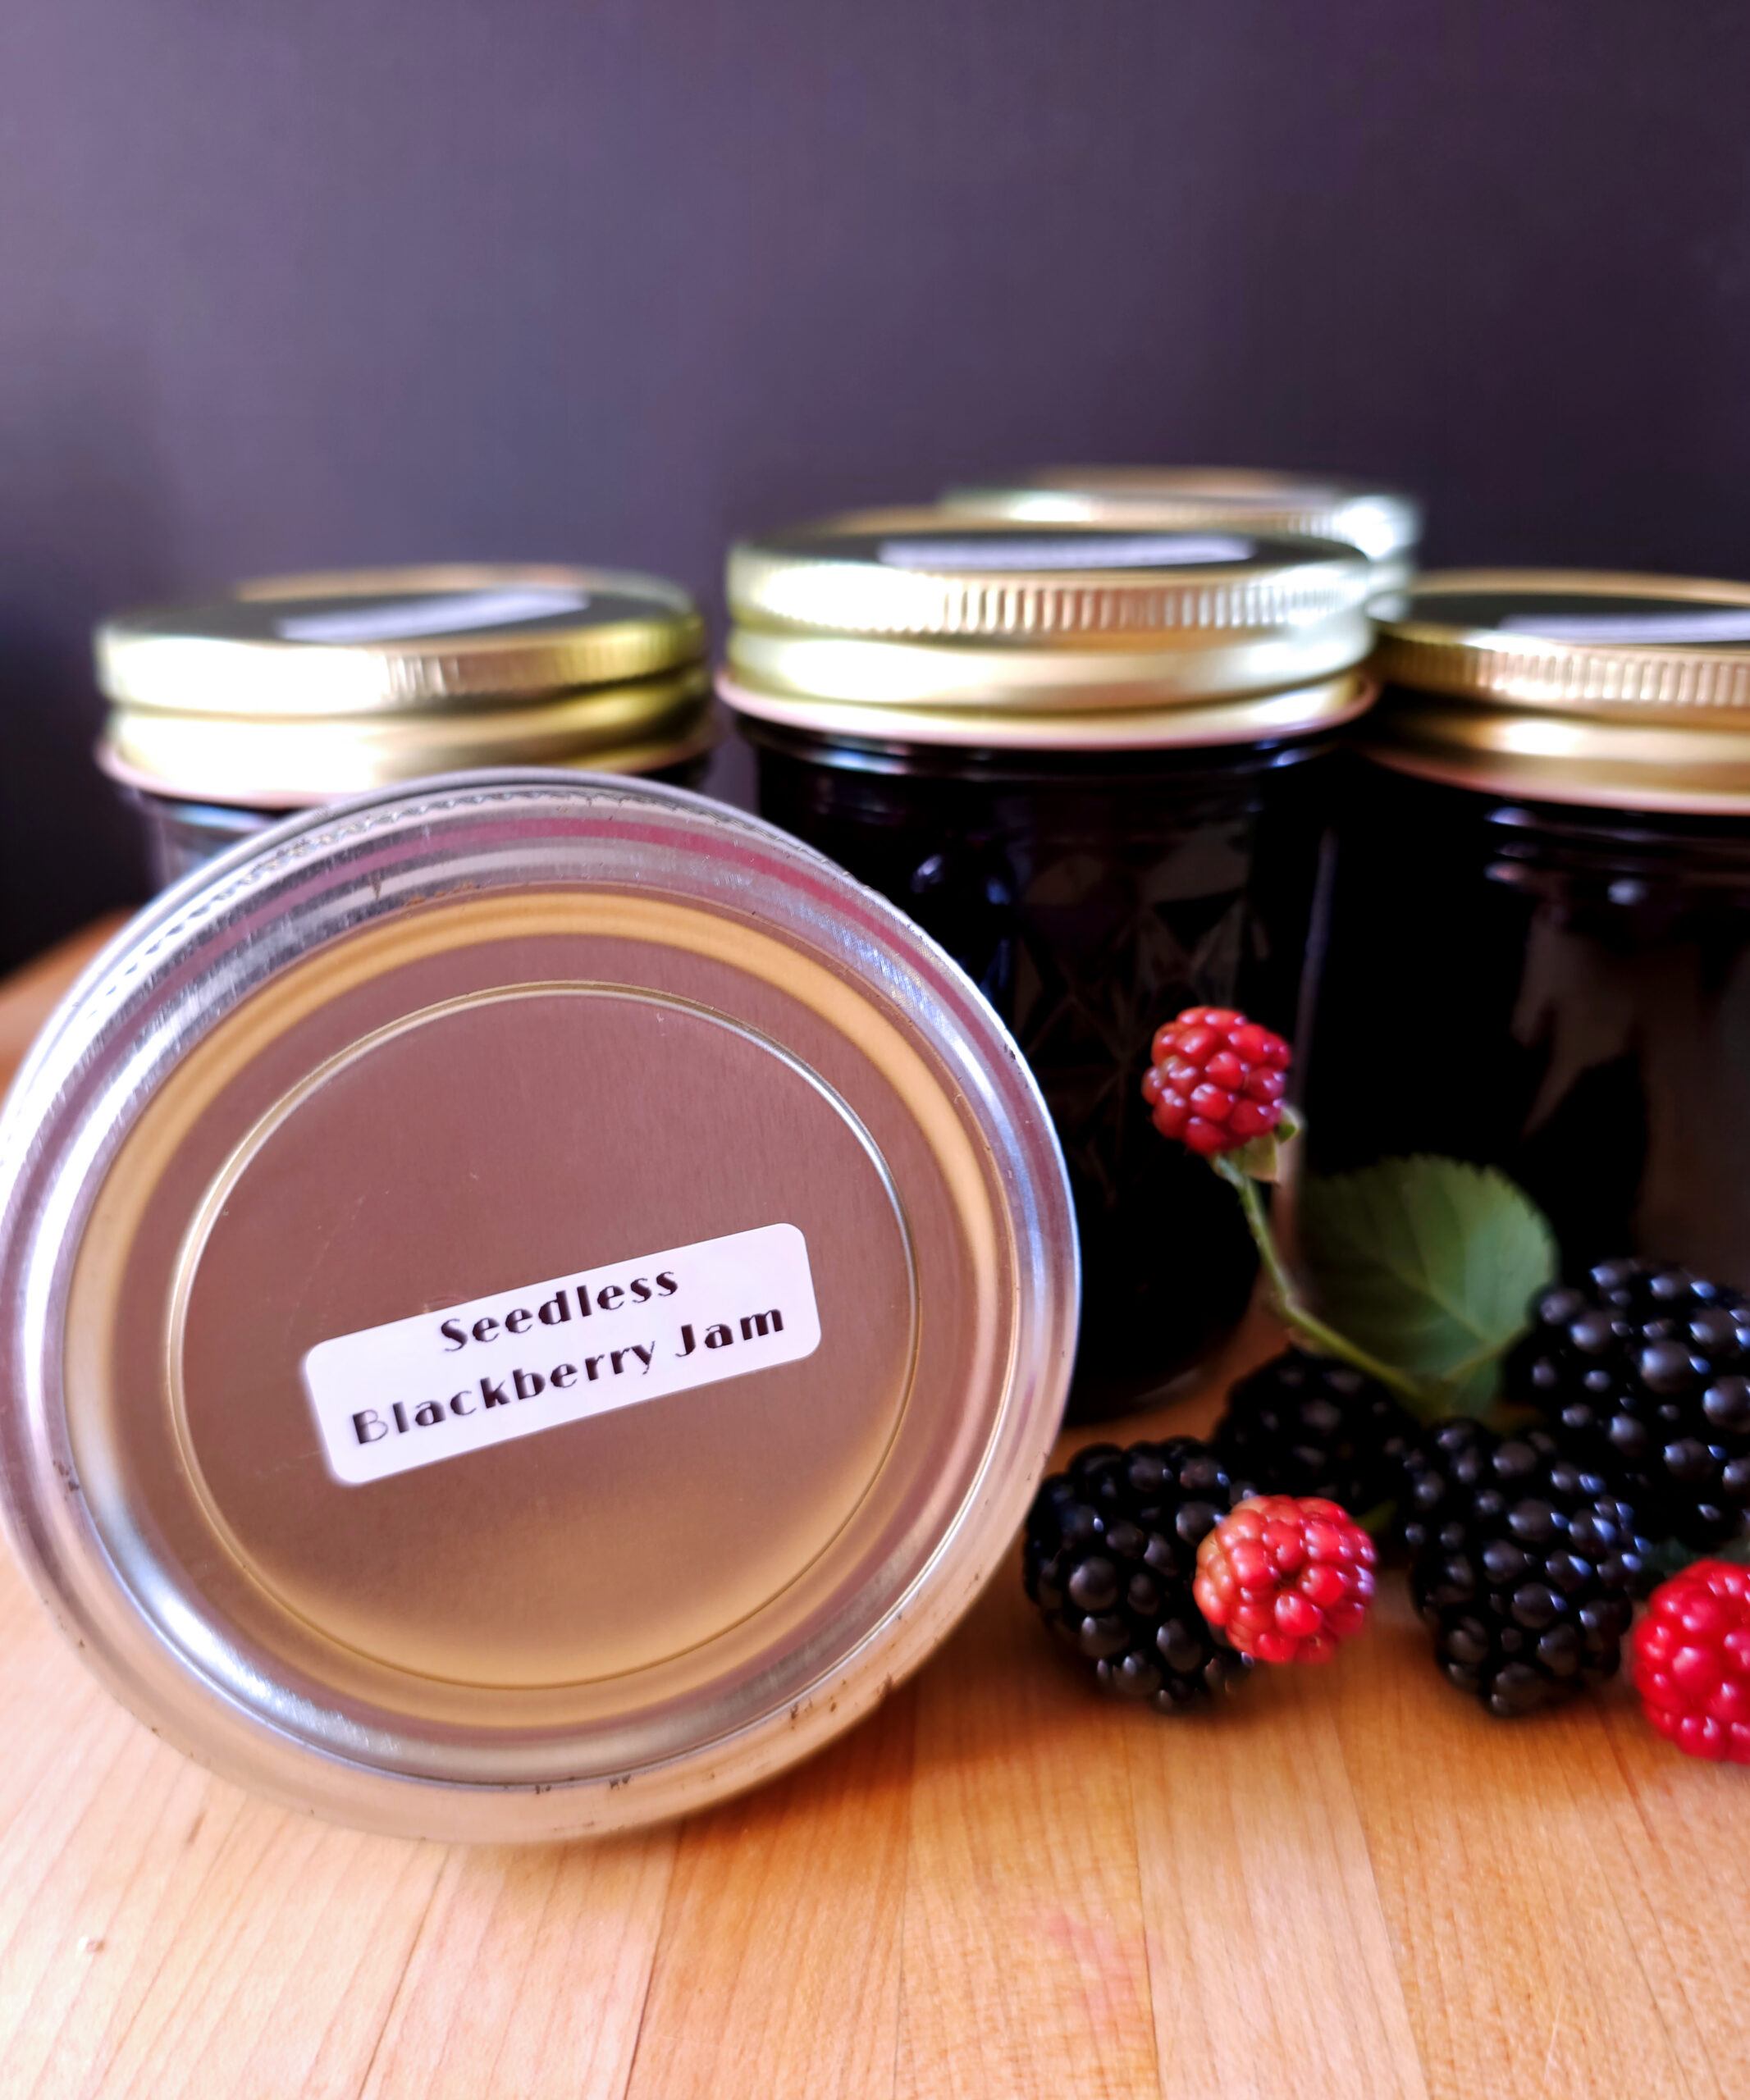
If you want to make cute labels for yours, I love this little thermal label maker.
![Homemade Raspberries Preserves [no pectin recipe] from The Creekside Cook](https://thecreeksidecook.com/wp-content/uploads/2015/08/featured-400x400.jpg) Raspberry Preserves {no pectin recipe}
Raspberry Preserves {no pectin recipe}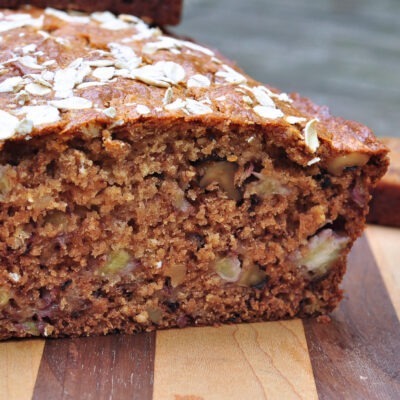 Banana Oat Bread
 Refrigerator Pickled Hot Peppers
 Greens & Nectarines Protein Smoothie
 Berry Blast Almond Smoothie
 Garlic Scape Pesto
 Strawberry Cheesecake Ice Cream
 Refrigerator Bread and Butter Pickles
 Preserving the Harvest: How to Freeze Blueberries
 Chai Pear Scones
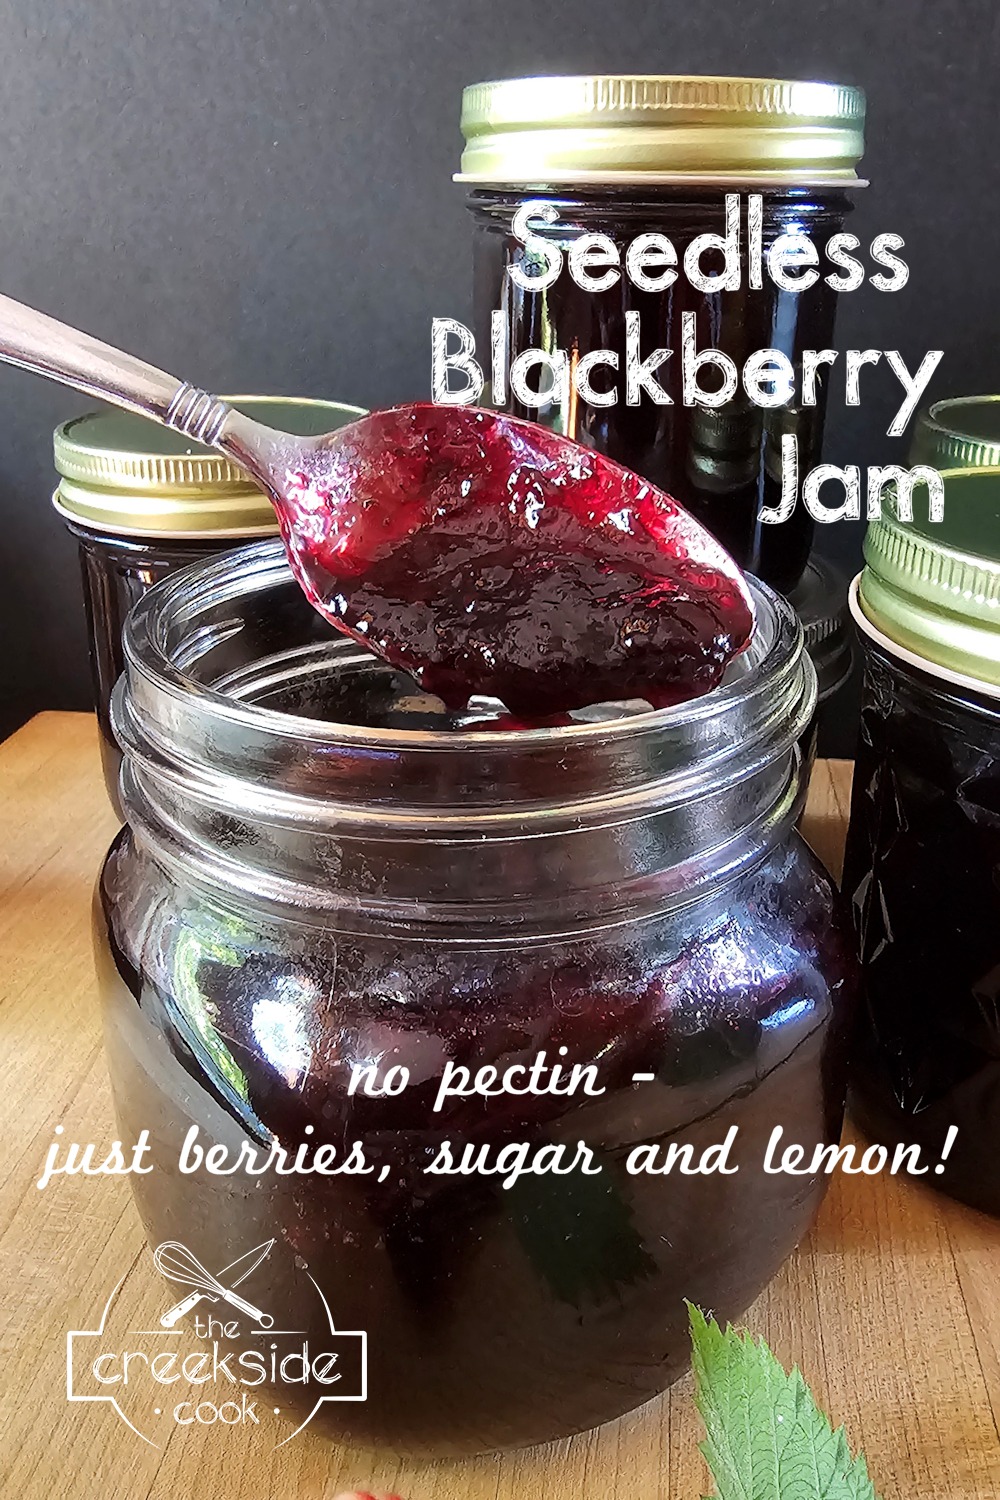
This came at the perfect time for me! My neighbor gifted me a whole pail of blackberries and I had no idea what to do with them. I ran across your site awhile ago and took a chance that you might have a good idea.
I’m so glad that you did. This jam is so good! I had never thought to use a wire mesh strainer to remove seeds, but it worked like a charm! These little jars of jam are going to be a perfect addition to holiday gift baskets this year!
All the love – Cass
Thanks so much for letting me know, Cass and I am really glad to hear that it worked out well for you. Enjoy!
I read your recipe, it seems pretty straight forth. But I was just wondering, when do I add the lemon juice?
Wanda, the lemon juice goes in during the last 10 to 20 minutes of cooking time.
Hi how much lemon juice please. So if I was using say 20 cups of fruit and 10 cups of sugar how many cups of lemon juice. Thanks for your help first time making jam.
One large lemon will have about 3 tablespoons of juice usually. So around 1/2 cup or so. Fresh is best, because it has more pectin activating action, but bottled will do in a pinch.
I followed all the steps in this recipe and I used a thermometer to make sure my jam reached 218 F, but my jam did not set. I’m wondering where I could have gone wrong in the process.
Hi Gina – sorry to hear you’re having a problem. If the jam is completely cooled and still too runny, you can cook it down more until it gets thicker. I have had this happen before with different jams that don’t have pectin in them and there are a lot of variables. Another way to check it for thickness, is to put a small plate in the freezer until it’s very cold and put a small dollop of jam on it. After 15 seconds or so, nudge the jam with the tip of your finger to see if it’s thick enough.
It’s important to keep stirring as it gets closer to being finished, as it can stick very easily.
Can I use this same recipe and replace part of the strained fruit with mashed nectarines?
Hi Anita – I am going to say that it’s probably going to work, but with a couple of qualifiers – I haven’t done it myself, so I can’t promise it will work, but it’s definitely something I would be willing to try, if I were you.
Also, the amount of sugar will depend on how sweet the fruit is already – you don’t want cloyingly sweet jam. And the cooking time may vary – you’re basically boiling off moisture and condensing the natural pectin. My sense is that nectarines would contain more juice than berries, so it might need to cook longer.
The basic principle of no-pectin jam won’t change with the fruit you’re using. The sugar and time might have to be juggled, but this recipe can be adapted for pretty much anything.