This post may contain affiliate links. Please read my disclosure policy.
![Homemade Raspberries Preserves [no pectin recipe] from The Creekside Cook](https://thecreeksidecook.com/wp-content/uploads/2015/08/header-rasp-preserves.jpg) It has been a mighty busy summer around here. A good busy though.
It has been a mighty busy summer around here. A good busy though.
In addition to having a bigger garden and selling at the Farmer’s Market, we found a new church that we are trying, I got into essential oils [okay, that should probably say I became instantly obsessed with essential oils!] and now, any day, we expect to be called suddenly to drive 3 hours south to watch our granddaughter while her little brother gets born!
I am trying to get everything from the garden put up for winter in between all this other stuff, and I am certain that a huge number of tomatoes are just waiting until they see our taillights go out the driveway to finally get ripe!
On the other hand, this was our first year to really get enough raspberries to use, and they were just incredible! We had to pick them nearly every day, or they got by us, and the chickens ended up getting them. That made the chickens happy, but we tried to keep it from happening, because raspberries are one thing we don’t really want to share.
I always make Blueberry Preserves, so I wanted to come up with the same kind of recipe for Raspberry Preserves – a no pectin recipe. We are not particularly fond of the texture of jams and jellies that use pectin, and you have to use way more sugar with most pectins, so if I can avoid using it, I do.
I also knew that I wanted to get certified as a Home Producer in NYS, so that I could sell certain homemade items at the Farmer’s Market. A lot of people prefer homemade jams and preserves, instead of the commercially produced supermarket brands, and they are willing to pay a few bucks more for good homemade stuff. I wanted a preserve that would merit the price I was asking.
I worked on a few batches until I came up with a recipe that I am happy with:![Jars of Homemade Raspberries Preserves [no pectin recipe] from The Creekside Cook](https://thecreeksidecook.com/wp-content/uploads/2015/08/rasp-sale-jars.jpg) It has proven to be pretty popular at the market, and is always our best seller.
It has proven to be pretty popular at the market, and is always our best seller.
So, of course I have to get double duty for my efforts, and today, I am sharing the recipe with you! It is just as easy as my other no pectin jams, and I hope that you love it as much as we do.
![Recipe for Homemade Raspberries Preserves [no pectin recipe] from The Creekside Cook](https://thecreeksidecook.com/wp-content/uploads/2015/08/rasp-preserve-recipe-200x200.jpg)
Raspberry Preserves {no pectin recipe}
Ingredients
- 2 & 1/2 lbs of fresh raspberries
- 3 & 3/4 cups granulated sugar
- 1/4 teaspoon kosher salt
- juice of 1 lemon
Instructions
- You can freeze these preserves, and they will keep in the fridge for quite awhile, but if you plan to can them, get your canner ready, as well as your jars and lids.
- This will make around 5 or 6 half pint jars of preserves, so submerge the washed, empty jars in the canner, and boil them for at least 10 minutes. It's a good idea to have the lids and rings in another smaller pan of boiling water, so that they don't get knocked around by the jars. [I will put some links after the recipe, so you can find canning supplies.
- Pick over the berries, and pick out any squishy, overripe berries. Wash the berries and allow to drain for a few minutes.
- Place all the berries, the sugar and salt in a large, heavy bottomed pot. I have an old Revere Ware stockpot that holds 5 quarts that is perfect for a batch this size. You want to allow enough room for the mixture to boil - it will foam up a bit.
- Mash the berries somewhat with a potato masher or large spoon, and turn on the heat.
- Stir as the mixture begins to come up to a boil, to help the sugar get all mixed in and dissolved.
- Once it is at a hard boil - which means the boil can't be "stirred down", back off the heat just a very little bit.
- You can, if you like, remove some of the seeds at this point. I put about 4 cups of the mixture into a wire strainer, over a bowl, and use a ladle or big spoon to push the preserves through, while keeping the seeds in the strainer. Keep at it until you have as much of the preserves through the strainer as is possible. Discard the seeds.
- Put a small plate in the freezer, for testing the preserves.
- You need to stir the boiling mixture often, to keep it from sticking and scorching which can ruin the whole batch. [if it does stick and burn, don't stir or scrape the burned part from the bottom - pour the preserve mixture into another pan, and just leave the burned part in the first pan - you can then cook it down the rest of the way, and then taste it to if it's okay.] The closer it is to being done, the more you need to stir, because you are boiling away the moisture in the mixture, and it will get thicker and more liable to stick as that process goes on.
- After about 20 minutes, you can check with an instant read thermometer - you are looking for a temperature of around 210º to 215º . It usually takes around 25 to 30 minutes at a full boil.
- If your thermometer reads 210º, try the plate test: take the plate out of the freezer and test a dab of the jam - if it sets up, and seems like a good consistency then it's done. Stir in the lemon juice, and cook another 2 minutes.
- One at a time, fill the jars by removing each one from the pot of boiling water, fill carefully, leaving 1/2 inch of headspace. Wipe the jar rim clean with a clean towel that has been dipped in the boiling water in the canner - be careful not to burn your fingers. Place the jar lid and ring on the jar, turning the ring to snug the lid down. Don't over tighten.
- Place the filled jars back into the canner, and cover it. The jars should be covered by an inch of water.
- Bring back up to a full rolling boils, and process for 10 minutes.
- Turn off the heat, and leave the jars in the covered canner for 5 minutes - no more or water may suction into the jars as they cool.
- Remove jars and allow to sit undisturbed for 24 hours. Store at normal room temperature for up to one year - refrigerate after opening.
I make a lot of different kinds of jam, but for some reason, raspberry seems like the most decadent – it is just so rich and tasty. Perfect on your toast in the morning!![Delicious Homemade Raspberries Preserves [no pectin recipe] from The Creekside Cook](https://thecreeksidecook.com/wp-content/uploads/2015/08/final-rasp-preserve.jpg)
If you haven’t canned before, I suggest reading up on it before your first attempt. Here is a video that might be helpful: Tips for Water bath Canning, and I do go into a little more on the Blueberry Preserves post.
Below are some of my favorite supplies, available on Amazon:
Instead of a cheap granitewear canner, I like a big heavy stainless steel stock pot that I can use for lots of other things too. Just read the reviews to find one that will fit your needs.
You also need a rack to hold the jars off the bottom – check the dimensions to make sure it will fit in your stock pot. [you can use a folded dish towel in the pot if you prefer]
These canning tools are really handy, except I prefer a stainless steel canning funnel.
Finally – jars!
Anyway you decide to keep it, these raspberry preserves are going to be one of the best things you have ever made!
Looking for more preserves recipes? Check these out:
 Garlic Scape Chimichurri Sauce
 Blueberry Preserves {no pectin recipe}
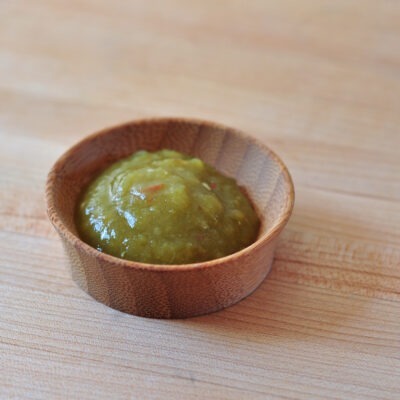 Green Tomato Jalapeno Salsa
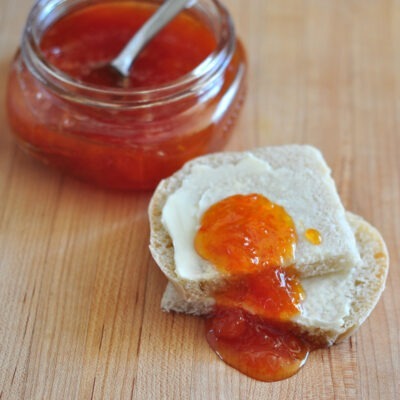 Easy Citrus Jam
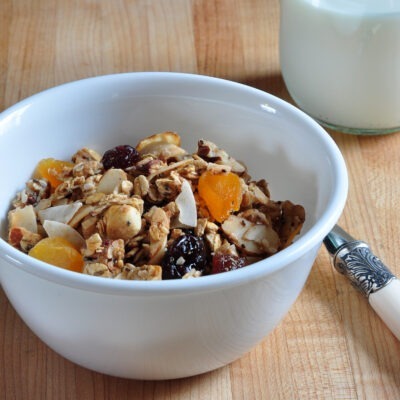 The Best Homemade Granola
 Brown Butter Rhubarb Cake
 Blueberry Lime Coolers
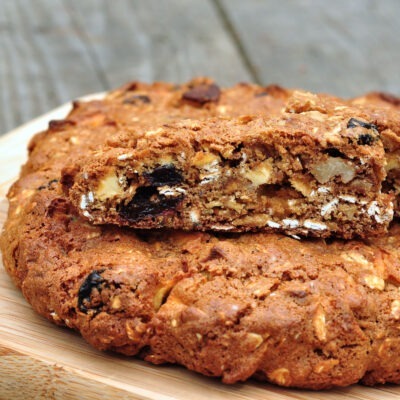 Fruit and Nut Oat Bars
 Upside Down Ginger Pear Cake
 Double Chocolate Banana Bread
I have been caring for three raspberry plants all summer as I try to clear a space to put them. I hope I can over winter them and that they can live through our hot summers so I can make some raspberry jam. Congrats on the impending grandson!
Oh, I hope so too Debra – not sure how much heat they can take, but I wish you lots of luck with them – growing your raspberries makes you feel like a millionaire!
wow .. that looks so perfectly thickened even without any pectin or gelatin. I would love to taste some!
Thanks Angie – I wish you could too!
Oh my! This reminds me so much of being at my grandparents’ house in the summer! Grandma always a pot of some kind of jam simmering away and it smelled like heaven. I love that you take out part of the seeds; what a great idea. Thank you for a great memory this morning.
Thanks Roberta – I have the same kinds of memories – so special!
Your chickens are so lucky! Snagging raspberries when you’re not looking. 😉 This is great — thanks so much.
Oh, yum! I love this. I have never made it without adding pectin, I’ll have to give it a try. Thanks 🙂
Can you double the batch?
Yes, Tali – I do it all the time!
Recipe calls for lemon juice. Instruction omits reference to juice. When is it added, please?
Thanks!
So sorry, Diane – it is fixed now. You add it once the jam is done, and then just cook another 2 minutes to blend the flavor in.
Thank you!
My husband and I went berry picking yesterday. I have never made raspberry preserves. I found your recipe and tried it. My husband said it is by far the best raspberry preserves that he has ever eaten. I will be picking more berries today!!!! Thanks
So glad that you all enjoyed the preserves, Terri – thanks so much for coming back to let me know 🙂
Hi there
I accidentally put the lemon juice at the beginning of the cooking and not at the end. Does that mean I’ve ruined the recipe?
Thank you
Ania
Have been growing raspberries for years and this is my first try at preserves….Can this be made with Stevia vs sugar and what would it be the same amount of artificial sweetener?
Our little bush didn’t not produce fast enough, so I continually stored the picked berries in the freezer. Does this ruin them for making jam? Can I simply defrost them at room temperature and proceed to follow your recipe?
Stevia is 10 times sweeter than sugar so you would need to figure how to reduce it if it can b used in cooking the raspberries.
I would not use stevia in this recipe at all – that would be a different recipe entirely.
One teaspoon of stevia replaces one cup of sugar. Because the sugar is a big part of the thickening process, you will also need to add pectin made for sugar-free jam or it will be syrup instead of jam. The sugar also plays a part in preservation, so you will need to add 5 minutes to the hot water bath time if you are canning without sugar. Finally, keep in mind that less sugar = less volume.