This post may contain affiliate links. Please read my disclosure policy.
 Double Blueberry ice Cream? Isn’t just the regular kind good enough for most people? Why do you need to have double blueberries? Because I am fiendishly clever, that is why, and once you give this a try, you will be thanking me for my fiendish ways.
I tried a couple of different recipes last year, and ended up not posting them, because I just wasn’t getting the flavor I was looking for. It’s an insider secret to the incredibly interesting world of a food blogger that when you have to test each recipe so many times to make sure other people can reliably duplicate your results, you can get tired of making the same thing over and over. You get tired of eating the same thing too, and heaven knows we love blueberry ice cream, but before I was happy with a recipe, I got distracted by all the cucumbers the garden was churning out, and started making pickles instead. So this year, I was determined to get it figured out.
Previous attempts had used all raw berries, then all cooked berries and I wasn’t happy with either of them. So, as I was looking over my recipes and notes from last year, it occurred to me that if each of the other tries was almost what I wanted, maybe combining the two ideas was the answer. As it turns out, that was perfect. This is rich and creamy [and not at all low fat, so if the guilt gets to you, do some extra sit-ups to make up for the calories] and the combination of the raw and cooked berries gives it an intensely fruity taste that is still fresh and bright. The addition of lime or lemon zest is just a little extra kick, that also intensifies the flavor of the blueberries.
This is Philly-style ice cream, meaning you don’t have to plan too far ahead, because, unlike cooked custard bases, the mixture doesn’t take a long time to cool down. I do stick the berry mixture in the freezer for about 20 minutes, just to make the churning faster, but you could skip that step. I have a Cuisinart 1 & 1/2 Quart Ice Cream Maker, so this recipe fits that size, which is pretty standard. You do have to remember to freeze the inner bowl, but I keep it in a plastic bag in the freezer all of the time anyway, so I don’t have to think about it.

Double Blueberry Ice Cream
Ingredients
- 2 cups fresh blueberries divided
- ¾ cup of granulated sugar
- Zest of a lime or lemon
- 1/8 teaspoon salt
- 1 cup half and half
- 1 & ½ cups heavy cream
Instructions
- Place 1 cup of the berries in a small saucepan, along with a tablespoon of water, over low heat. Allow to cook, covered for about 10 minutes, stirring every couple of minutes so that the berries don’t stick. A lot of the berries will have split open, but don’t worry if not all of them have.
- Place the other cup of the berries in a blender, along with the cooked berries. Pulse a few times to get things going, then blend at a higher speed for about a minute, until all of the berries are liquefied.
- Add the sugar, and blend for another 30 seconds, add the zest and salt, and blend another 15 seconds. Blending times are approximate, and may vary, depending on how powerful your blender is.
- Scrape mixture into a bowl, stir to be certain the sugar has all dissolved and place in the freezer for about 20 minutes to get it a little colder.
- Whisk in the half and half and the cream, and then churn according to your ice cream machine's normal directions.
- It will take about 20 to 25 minutes to turn into a creamy soft-serve consistency. You can eat it right away, or let it ripen in a container in the freezer. If you have a machine with a freezer bowl, make sure to get the ice cream out of it right away, or it is going to harden in there and be very difficult to get back out again.
- Keep the ice cream in a sealed container for up to a month. Pressing some plastic wrap or parchment paper directly on the surface will prevent ice crystals from forming.
I admit that I am a sucker for an ice cream cone, but it is awfully good in bowls too – I like to use my mini cookie scoop to fill a small bowl – so pretty!
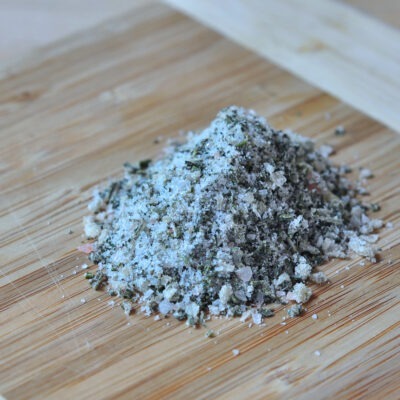 Tuscan Herb Salt
 Apple Crisp Bars
 Fresh Corn Fritters
 Warm Quinoa and Roasted Vegetable Salad
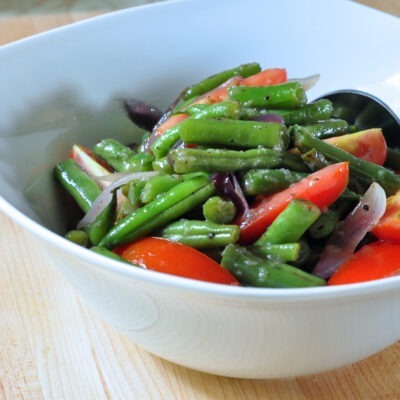 Warm Green Bean Tomato Salad
 Fresh Mint Chocolate Chip Ice Cream
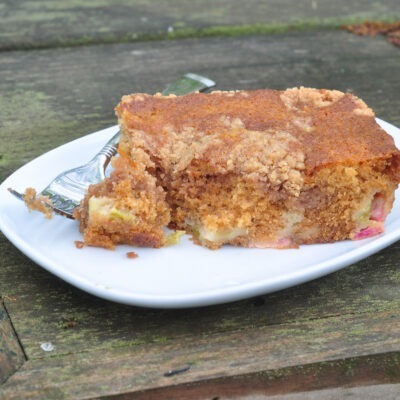 Easy Rhubarb Cake
 Vanilla Bean Ice Cream {Philly Style}
 Banana Streusel Coffee Cake
![Find the recipe for Concord Grape Preserves [no pectin recipe] from The Creekside Cook](https://thecreeksidecook.com/wp-content/uploads/2016/10/gp_feat-400x400.jpg) Concord Grape Preserves {no pectin recipe}
Concord Grape Preserves {no pectin recipe}
I need to make some ice cream today… this is it!
Thanks HBM – hope you love it!
Ice cream is so good in the summer, love the recipe!
Thanks Foodie!
Great tip to remind us if we have an ice cream maker with a freezer bowl to remove the ice cream right away – I’ve made that mistake before! Lovely ice cream – I’ll take double blueberries any time! Love the color, and I’ll bet the flavor is wonderful. Thanks!
Oh yeah, John – there is nothing worse than getting ready to make a batch of ice cream and finding the bowl is not in the freezer – major angst!
Donalyn,
This looks so wonderful, and we’ve got all the ingredients PLUS a chilled ice cream bucket.
I’ve sent the link to my daughter, part of her summer cooking program.
Thanks!
Awesome Kirsten – hope it comes out great for her!
The color is so perfect! I love using my ice cream maker and I just happened to have quite a few blueberries on hand!! Perfect timing 🙂
I know – that color is so inviting, isn’t it?
Do you think vanilla extract would be an okay addition?
This looks delicious, and am going to try it. I love that it requires minimal cooking and a short cooling time. Just what I needed! I will let you know what I think of it after I try it tonight.
Sure – vanilla would be fine in there I think.
Hi, I tried making the double blueberry ice cream, but mine didn’t turn out very well. My ice cream colour was just pale purple, not vibrantly purple like yours. Also, the lime zest overrode the blueberry taste. Would you know what went wrong with my ice cream? The only thing I did different than your recipe is I cooked the first half of the blueberries for about 20 min, instead of 10 min (forgot to turn off stove). And I didn’t have half & half, so I used homo milk instead. And I only added zest of half a lime, instead of the whole lime. Your advice would be appreciated, thanks!
Hi Mary – I am sorry to hear that you had a problem. I do think that cooking the berries longer [these things happen, right?] might have muted their flavor a bit. The milk would have definitely changed the character of the ice cream itself, since the lower amount of fat would have thinned out the flavor and texture. As for the lime, maybe your limes were just stronger? They aren’t all the same I am sure. We really like the flavor of lime with blueberries, but you might be more sensitive to the lime than we are. Again, I am sorry it was not all that you had hoped, but I hope you did enjoy it.
Thank you very much for your feedback! I’ll definitely give it another try 🙂
Can I prepare the blueberry part and chill overnight and then add the dairy and churn the ice cream the next day?
Thank you!
I think that will work just fine, Laura – might thicken up a bit, so stir it well, before adding the dairy.
Thank you. I’ll let you know how it comes out!
Can’t wait to make this! Can I use frozen blueberries? Fresh season has ended in my markets.