This post may contain affiliate links. Please read my disclosure policy.
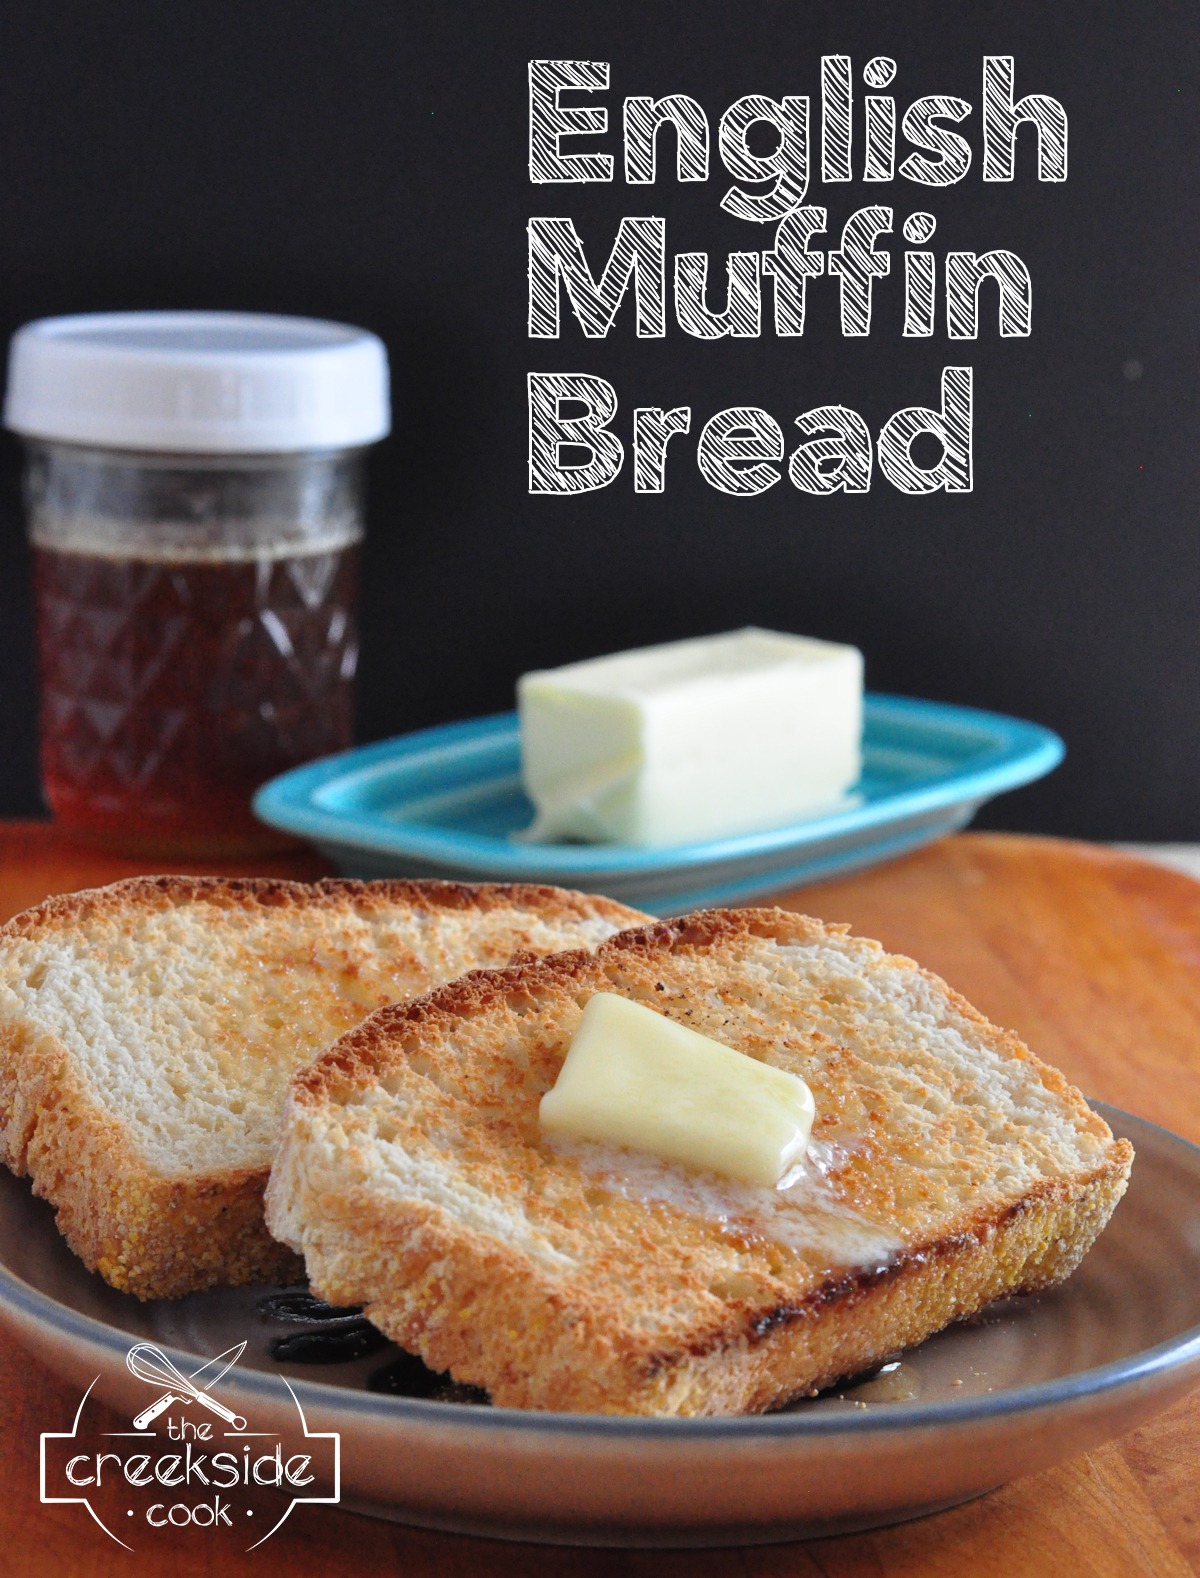
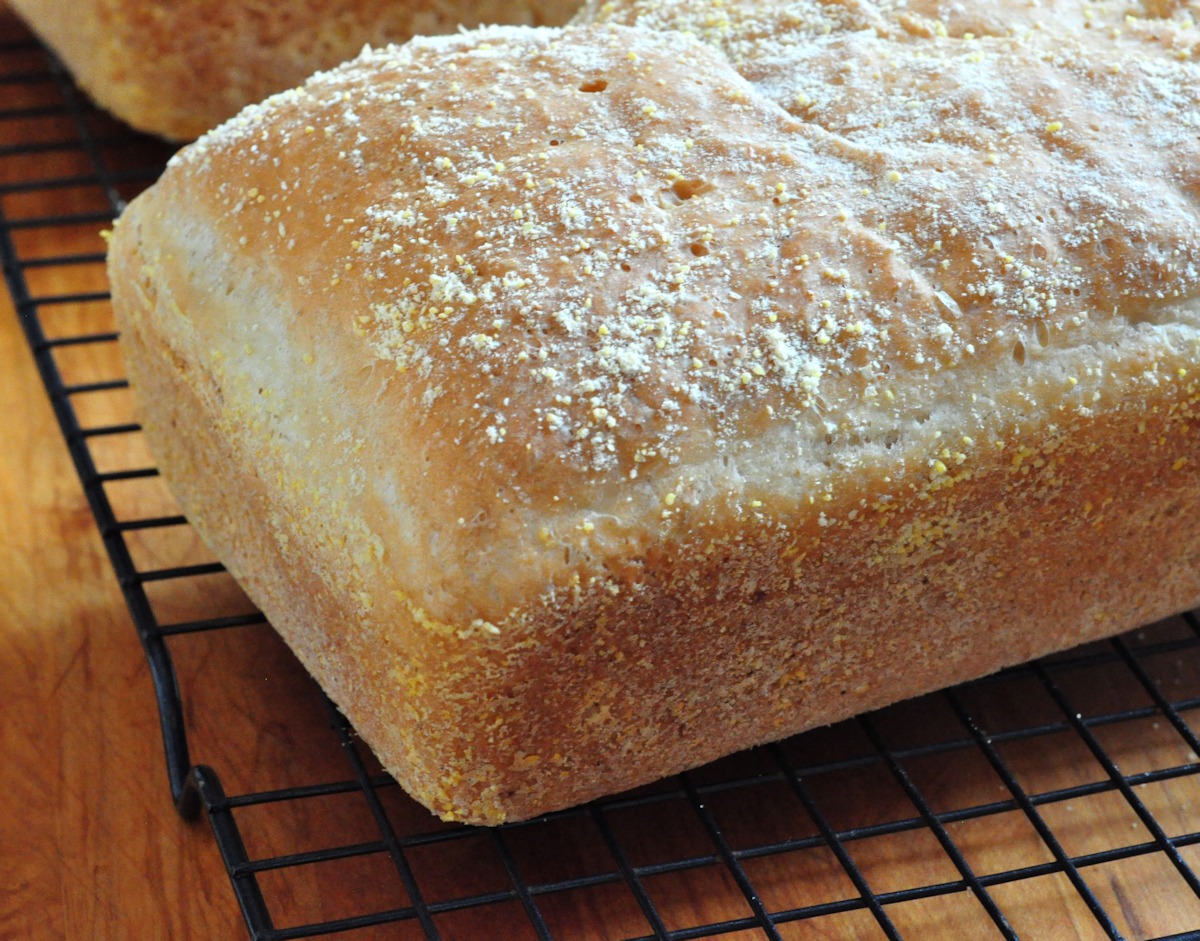
English Muffin Bread is a no-fail recipe
Yeast bread sometimes has a difficult reputation. The perception is that it’s difficult and fussy and easy to mess up. And yes – some yeast breads can be a bit harder to master. But not English Muffin Bread. This bread is so easy that anyone can make it.
I do make that statement lightly. Not everyone grew up cooking and baking and not everyone made their own bread for years. If that is you, please don’t fear – you have met your perfect, easy bread recipe. Just read the whole post and the recipe through before you start, so that you’re sure you have a handle on how it goes.
I found this recipe in the newspaper [remember newspapers] many years ago, and we have enjoyed it hundreds of times since then. It’s fast and so simple and so amazingly delicious. it actually tastes like the best English Muffin you have ever eaten, but with a lot less bother.
A favorite when we did Farmer’s Markets
My husband and I did a cozy small-town Farmer’s Market for a few years about 10 years ago. We sold eggs, lots of veggies from our huge garden plus stuff I made, like Blueberry Preserves and Cinnamon Rolls. Those were very popular, but the absolute favorite was this English Muffin Bread. I never brought a single loaf back home with us.
The only thing you may wonder about
The thing you may find to be the most difficult is getting the liquids to the right temperature, which is right around 125°. Now, this is very easy if you have an instant-read thermometer. Which, in my opinion, every kitchen needs to have, anyway.
What if I don’t have an instant-read thermometer?
But if you don’t have a thermometer, you can use the method my grandmother taught me. You should be able to just bear to hold your finger in the liquid. In other words, it should be just at the point where it would be uncomfortable if it were any hotter. If in doubt, let it cool off for a few minutes.
Too cool is better than too hot
Better too cool than too hot. Too cool and it will just take a bit longer to rise. Too hot and you’ll kill your yeast, which gets you back to that scary yeast bread thing. Don’t go there! Just wait a couple more minutes if you think it might be too hot.
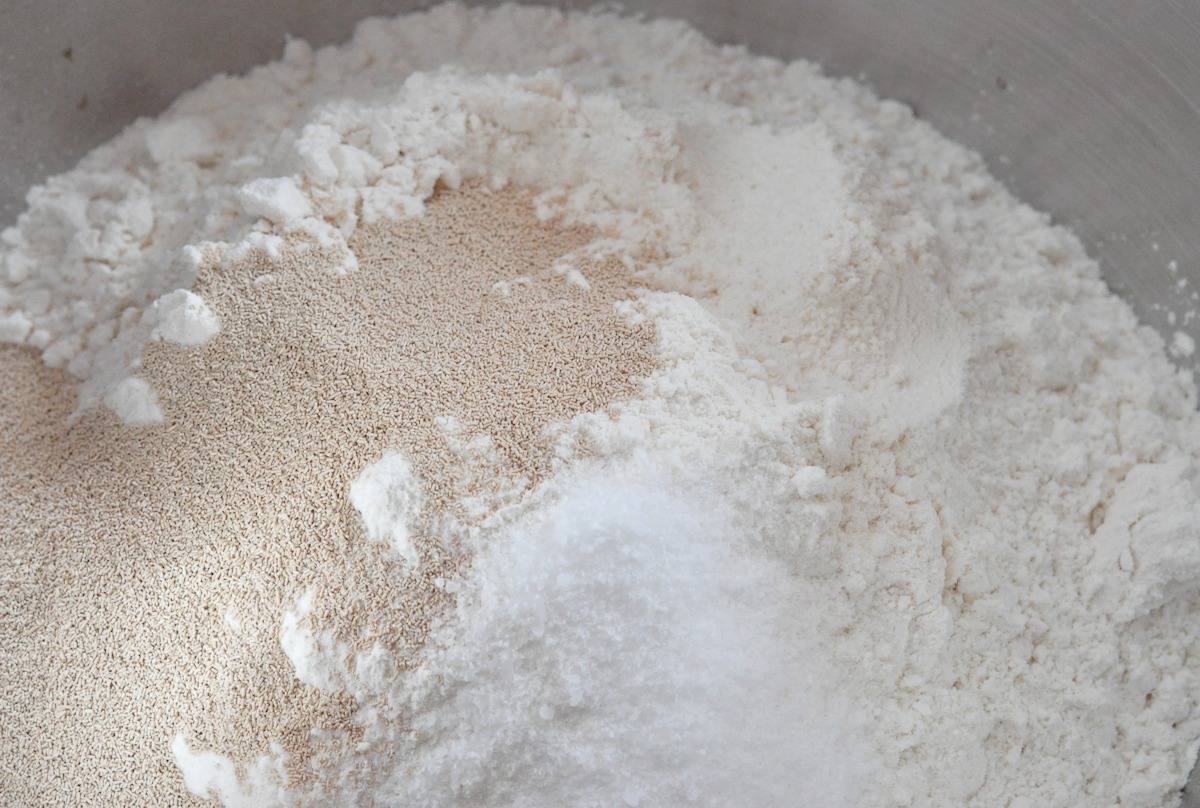
While your liquid ingredients are getting up to the right temperature, mix the dry ingredients. No blooming of yeast or dissolving anything- into one bowl with all of it.
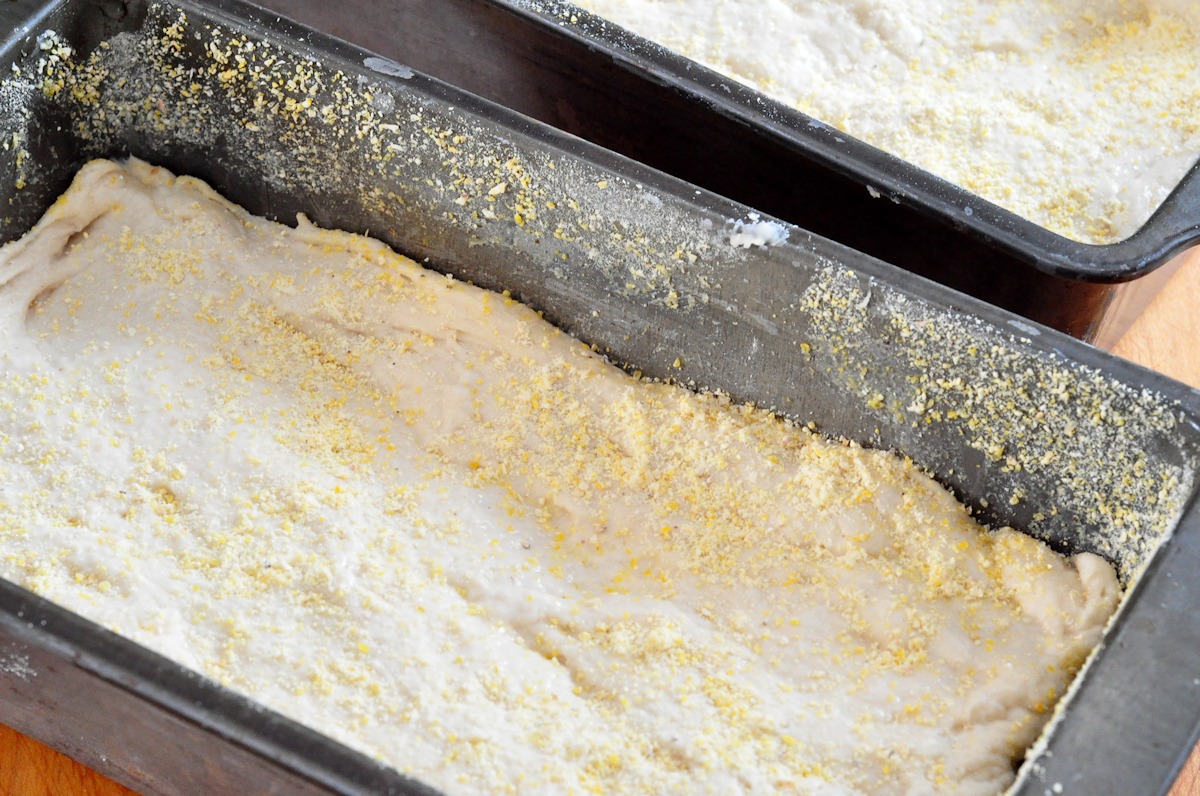
Follow the directions below to get the dough together and ready to go into your prepared pans. This next part is kind of important if you want an authentic English Muffin Bread. Generously butter your bread pans, and then put a couple of tablespoons of cornmeal in there. Tilt the pan every which way to get every side of the inside of it coated with cornmeal.
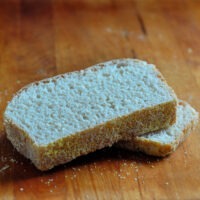
English Muffins have cornmeal on them
You want that extra crunch and flavor on every slice of this bread. After you divide the dough between the two pans. sprinkle to tops with cornmeal too.
How to make English Muffin Bread
English Muffin Bread
Equipment
- Stand Mixer You don't need a stand mixer for this, but this is a nice one
Ingredients
- 2 tablespoons butter and about two tablespoons cornmeal for preparing the bread pans
- 6 cups all purpose flour
- 2 packets instant yeast
- 2 teaspoons salt
- 1/2 teaspoon baking soda
- 2 cups milk - any kind will work
- 3/4 cup water
- 2 tablespoons butter
- 2 tablespoon honey
Instructions
- Very generously butter two 8 x 5 or 9 x 5 bread pans [use whatever size bread pans you have - you can use mini loaf pans and you will need about 5]. Put a tablespoon or so of cornmeal in each pan and tilt the pan from side to side to ensure that the entire inside is coated in cornmeal - tap out excess.
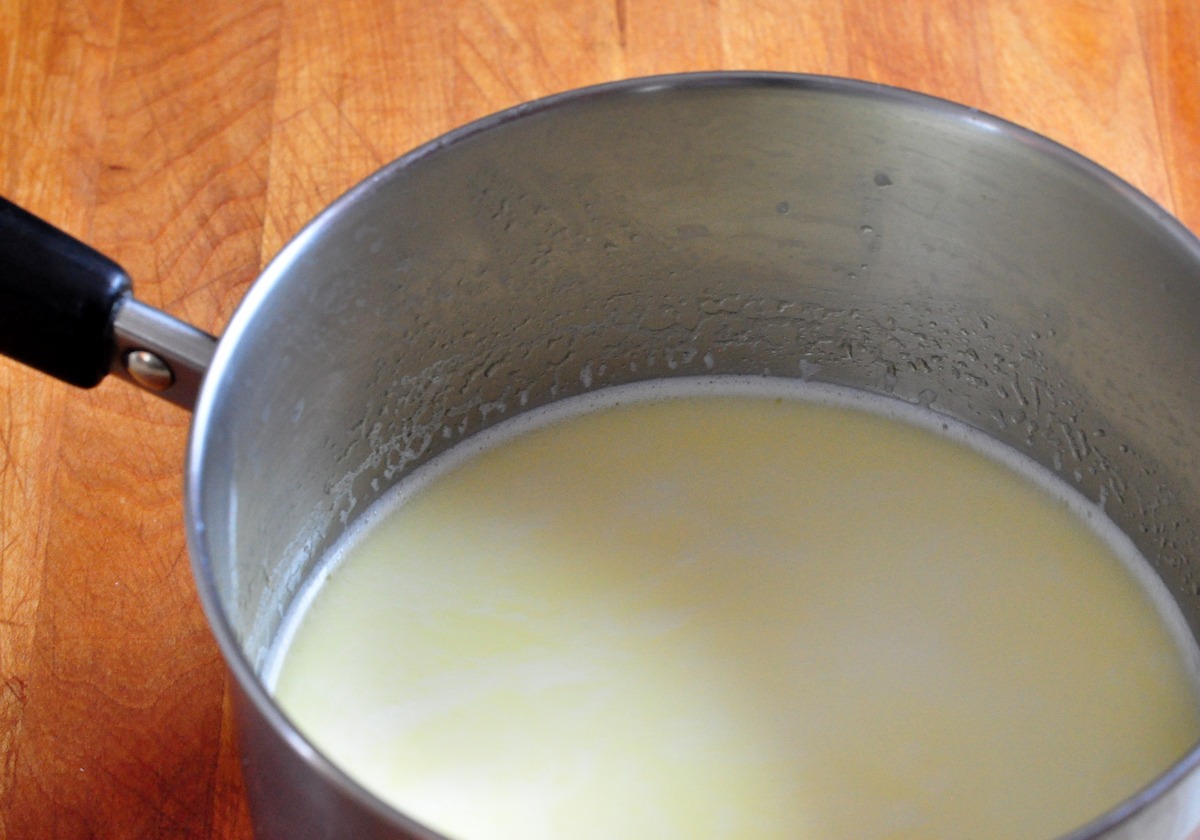
- In a small sauce pan, measure the milk, water, butter and honey, and heat over low flame to between 120º and 130º, or until warm enough that you can just hold your finger in the liquid without discomfort.
- Measure the flour, yeast, salt, and baking soda into the bowl of your stand mixer, and mix on very low speed for a minute or so to get everything combined.
- Add the liquids to the dry mixture in the mixing bowl, and beat on low speed for two to three minutes, until all of the ingredients have formed a very stiff batter.
- Divide the batter evenly between the bread pans.
- Wet your fingers and push the batter into an even layer in the pans, re-wetting your fingers as needed. Try to get the top fairly smooth.
- Sprinkle the tops of the loaves very lightly with additional cornmeal. Cover lightly with a piece of oiled plastic wrap or parchment paper.
- Allow to rise in a warm place for about an hour, until the center of the loaf has risen to just over the height of the pan.
- Preheat the oven to 350º, remove the plastic wrap or parchment paper.
- Bake loaves for 30 to 35 minutes, rotating half way through baking, until they are very nicely browned, and sound hollow when tapped on the tops.
- If you want to check with an instant read thermometer, the internal temperature should be between 195º and 200º.
- Remove the loaves from the pans by turning them upside down over a cooling rack - they should slide right out, but if not, you can loosen the edges with a table knife.
- Cool for an hour or so before cutting.
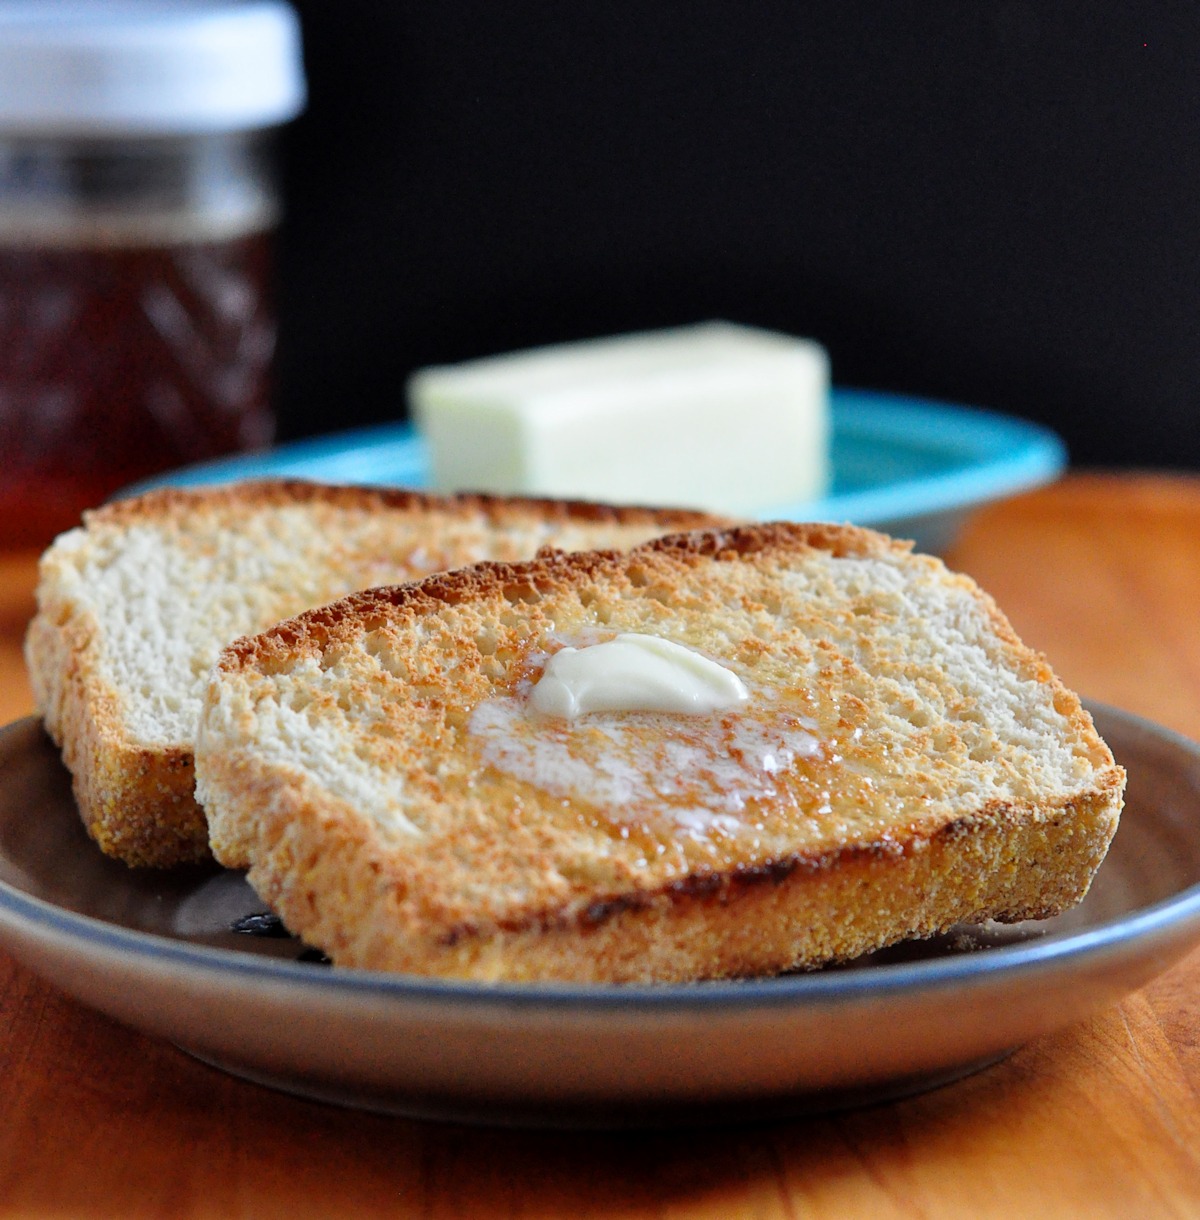
- To serve, cut into generous slices, and toast, topping with butter and jam or honey, as you like.
Notes
You can even make this in a small, electric oven
I have to tell you one little story about this bread. When I first wrote about it, on my old blog, I got an email from some friends, who are missionaries in China. Chinese apartment kitchens are small, with little accommodation for a lot of baking. They didn’t have room for a mixer, and their only oven was a small, electric one. This bread, however, was so easy to make that they could enjoy it every day – a little taste of something like home for them, which made me very happy. For a smaller oven, these mini pans would probably be a better choice, and these loaves will be done more quickly. I would check them after only 20 minutes in small pans.

And while this bread is meant to be a toasting bread, don’t think you have to limit its enjoyment to breakfast. It makes fantastic toasted cheese sandwiches, French toast, or an accompaniment to a bowl of soup or stew. I hope that you give it a try!
If you enjoyed this recipe, you may want to try a slightly more difficult bread. It is still very easy and I give you step by step directions. Check out Anadama Bread!
 Pumpkin Beer Bread
 Lemony Carrot Muffins
 Rhubarb Kuchen
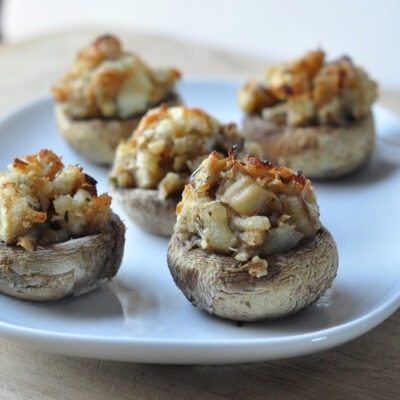 Cheese Stuffed Mushrooms
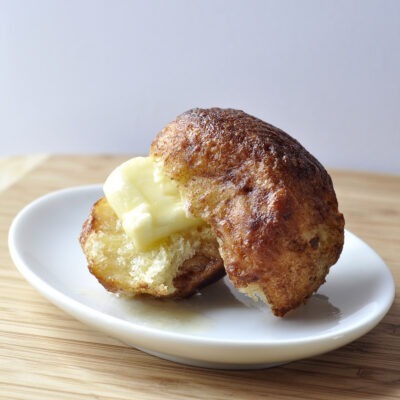 Potato Pull-apart Cinnamon Bread
![Homemade Raspberries Preserves [no pectin recipe] from The Creekside Cook](https://thecreeksidecook.com/wp-content/uploads/2015/08/featured-400x400.jpg) Raspberry Preserves {no pectin recipe}
Raspberry Preserves {no pectin recipe}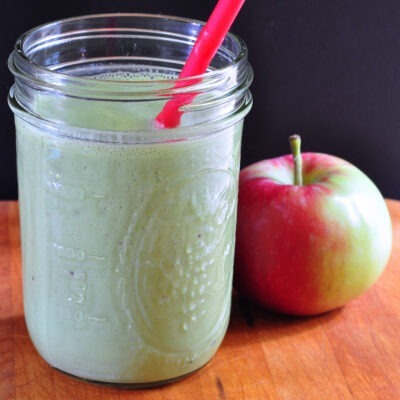 Apple Ginger Green Smoothie
 Dutch Baby
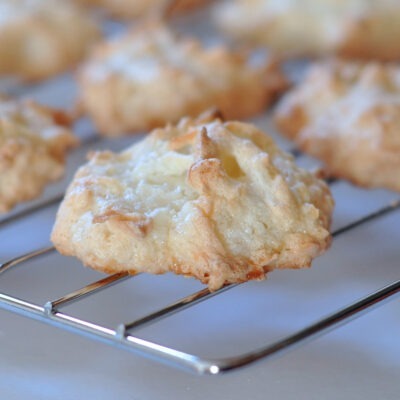 Coconut Macaroons
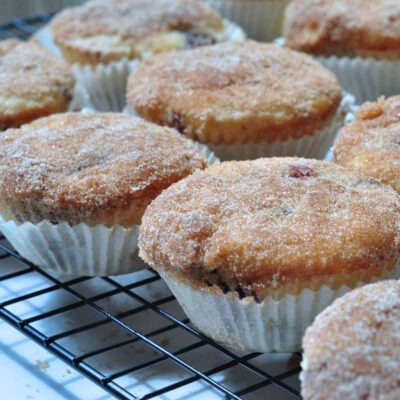 Blueberry Sugar Doughnut Muffins
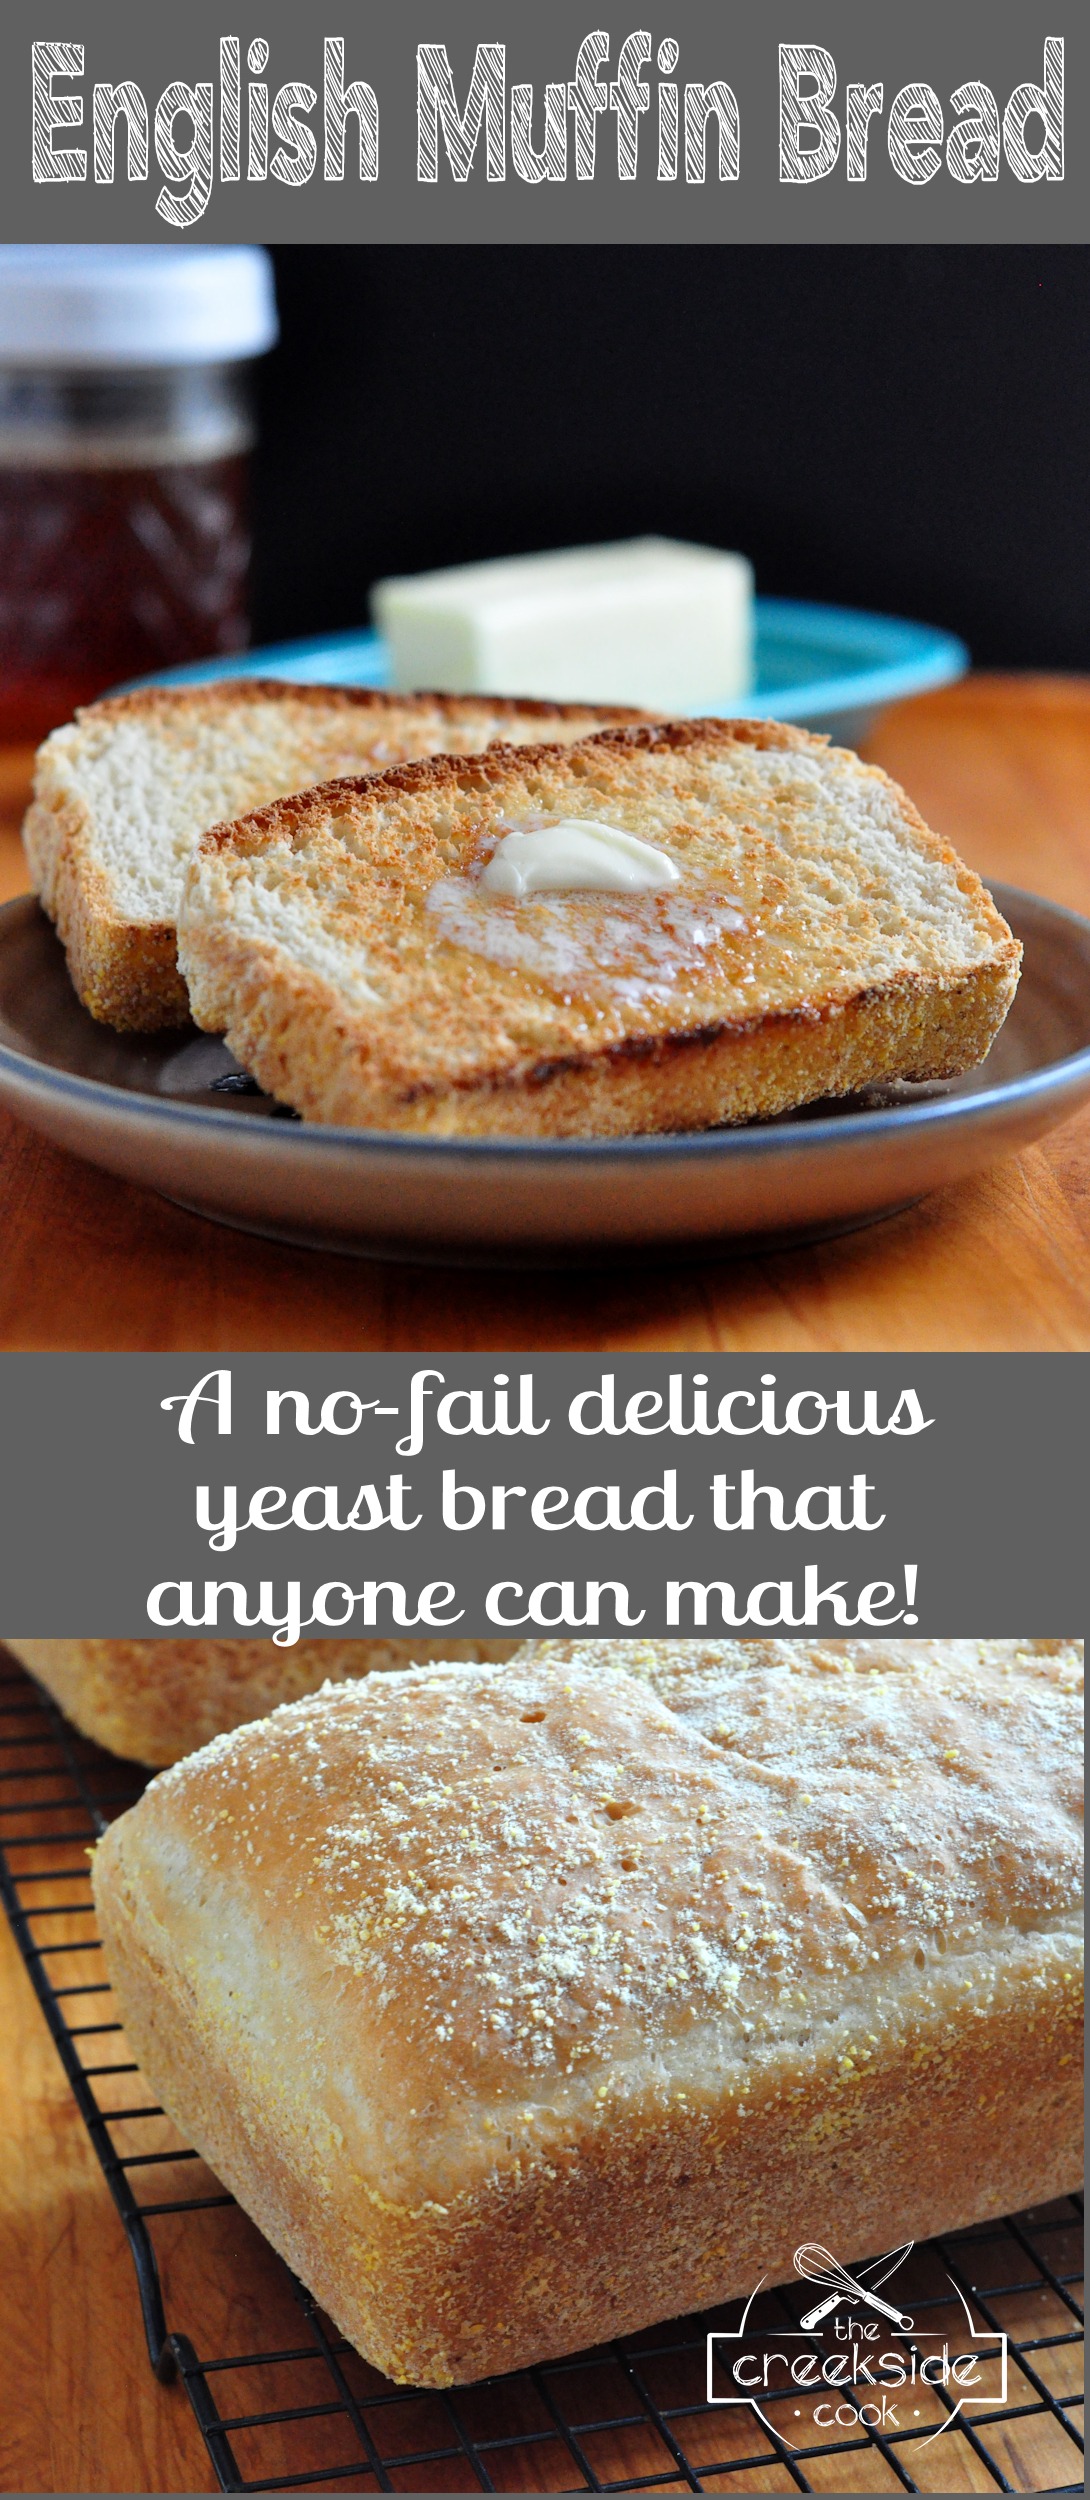
I love these easy and quick bread recipes. They make our lives so much easier!
I agree Katerina – you can never have too many easy recipes!
I’ve seen recipes for English Muffin Bread before, but never made it. We need to sometime — it sounds so interesting. And I agree that once you get to know yeast, it’s quite easy to work with. But one does have to get over the fear factor. Good post — thanks.
I hope you give it a try John – it had kind of slipped off our radar a bit and we are really enjoying it again.
Ok I will give it a try. As long as it’s not too messy! GREG
Hope you give it a try Greg, but I can’t guarantee it won’t be messy at all 😉
i was so so so happy to see this post on your Facebook page!! i want to try to make some bread and this sounds like a pefect way to be starting. thank you donalyn!
You are welcome Erinn – hope that you love it!
This bread looks just perfect. I love english muffins so I have no doubt I would be over the moon with this bread version! Thank you for sharing!
Thanks Monet!
Guilty! I have a terrible case of yeastaphobia, Donalyn. It all began when I had an allergic reaction to yeast as a young girl baking bread by my mother’s side.
That said, I do want to try it again one day. It’s high time I over come this fear. I’m hoping 2014 is the year. You make it sound so easy. Thank you for that:)
I will be saving this recipe. I have such a longing for “real” English muffins. I sure these were heavenly. Thank you so much for sharing, Donalyn…
P.S. I have a wonderful cookbook titled the Lottie Moon Cook Book. Charlotte Digges (Lottie) was a missionary who spent most of her life in China. I did a post about her and the book on my blog. If you or your friends are interested in seeing the post, just let me know and I will send you the link. Lottie Moon eventually became known as The Cooky Lady in rural China:)
I would be very interested in that post Louise – will shoot you an email about it! Thanks so much 😉
This is looking like another winner, Donalyn. Now on my “must make!” list!
Thanks Sallie – hope you enjoy it!
I just got a bread maker so I have no more excuses not to make homemade bread. Love the idea of English Muffin in bread form.
Thanks Jeanette -bread makers have changed the intimidation factor I think Jeanette. I don’t have room for one in my kitchen, but I know a lot of people who really love theirs.
If you have been making this recipe for years, that is all the recommendation this bread needs. I love English muffins, they are my favorite at breakfast time so I know I would enjoy the bread.
I have indeed Karen, without a single failure! Thanks for stopping by!
Mmmm! I can smell it cookin’!
You have a good smeller!
I love baking bread and this is one I’ve always wanted to bake. You just reminded me of this. I am pinning this for hopefully a rainy or snowy day!
Have fun with it Abbe!
Dear Creekside Cook,the english muffin recipe says BAKING POWDER, The directions say BAKING SODA, which ingredient should I be using? Thanks for sharing the recipe.
So sorry Joan – it is baking soda – typo fixed now.
Donalyn do you think buttermilk would work in this bread?
Hi Daricelynn – I think it would, so long as you don’t heat it up – heating buttermilk tends to make it break, or curdle. [Unless you have made your own cultured buttermilk] Heating the milk is not strictly necessary – it just kind of speeds things up, so using room temperature buttermilk will mean the bread needs a longer rise time. Come back and tell us how it came out, okay?
Hi again Donalyn. I made the English Muffin Bread with buttermilk and I love it! I always like the tang of buttermilk in recipes. I did as you suggested and did not heat the buttermilk but used at room temperature. Thanks for the tip.
Now, I’m going to have to try it this way – thanks for the variation! 😉
This turned out wonderfully delicious! I’ve been looking for a good English muffin bread recipe & this is it. I had a grilled cheese sandwich with sharp cheddar: yummy. Next I will try it in the English muffin tins I bought years ago.
Thank you for the post!
Thank you Mary – I am so glad that you enjoyed it!
Hello,
Is there anything I can substitute the cornmeal with? Thanks.
You can leave it out, AJ – it just adds the same texture that is on the outside of an English Muffin.
Thank you!
Can buttermilk be used in this recipe?
Scroll up a bit in the comments to see a discussion about using buttermilk! 😉
I’m so glad to see this recipe up at the front of your blog again. It’s one of my favorites and this was just the reminder that I need to make it again!
Thanks Sallie – so glad to see you and glad that you like the recipe ♥
I bet you don’t remember me, but I bought this bread from you every week at the Farmer’s Market. I came looking for the recipe, because I found your card in some stuff on my desk. I was so glad to see that you are still blogging and that now I can make this myself. It is every bit as easy as you told me it would be and we loved it!
Hi Janine – I am pretty sure that I do remember you and I’m so happy to hear from you. And very glad you had success with this bread – thanks you for letting me know!