This post may contain affiliate links. Please read my disclosure policy.
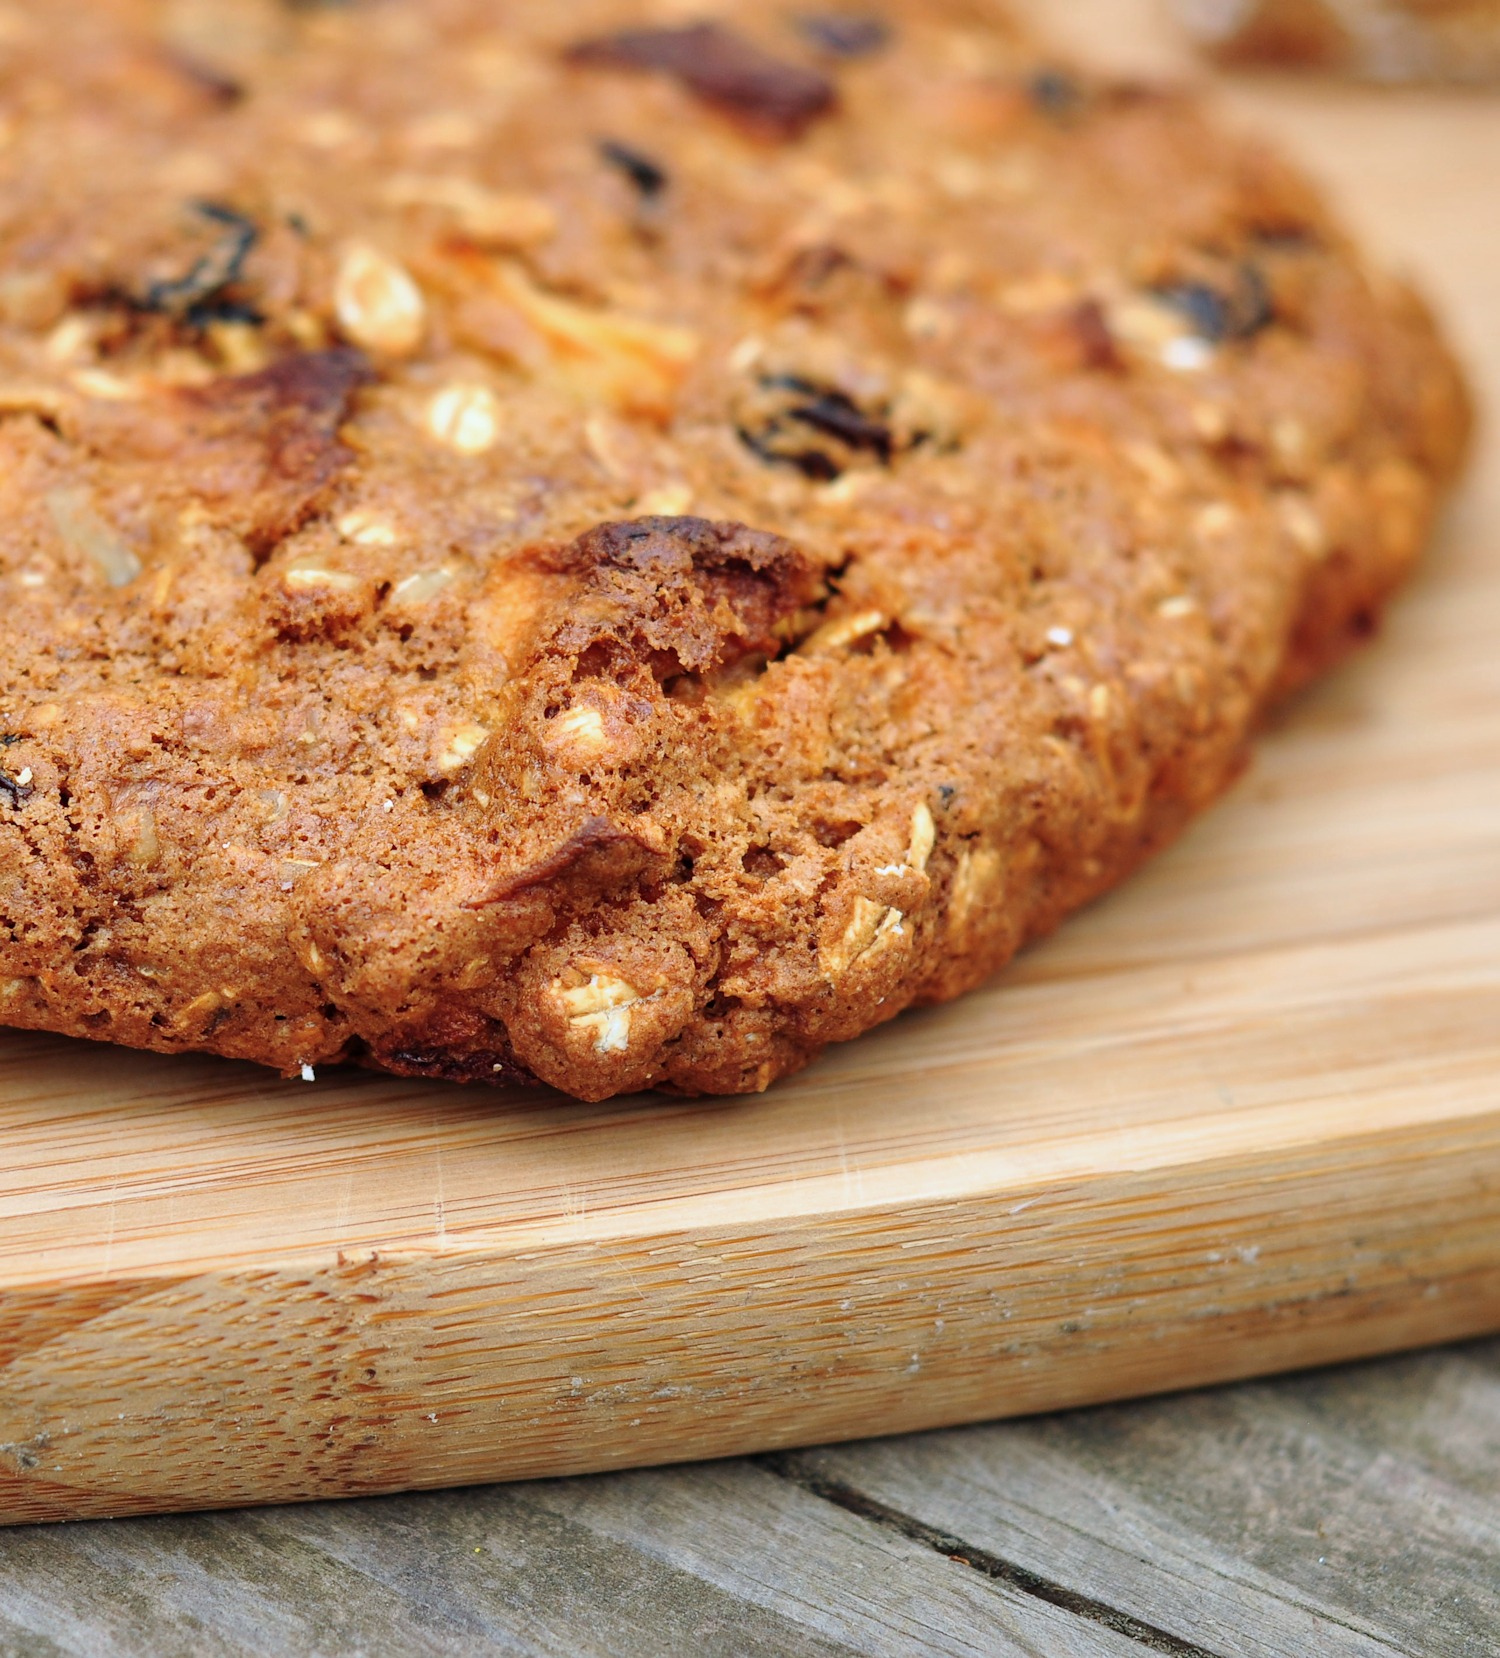
Fruit and Nut Oat Bars are an easy, wholesome treat
I am not going to claim that these Fruit and Nut Oat Bars are exactly health food. But, they are definitely better than a lot of snacks you could have. They have plenty of fiber, some good nutrition from the fruit and nuts, and they are fairly low in refined sugar. And, did I forget to mention how yummy they are? Very yummy, as you will see when you make them yourself.
 These are bars, not biscotti

Yes – they do look a bit like biscotti. In fact, the idea for this recipe got stashed away on my list a couple of Christmases ago, when I was making biscotti. I thought that biscotti just baked one time [usually they are baked as these bars are, and then cut and baked again until they get crunchy] might be nice. After a couple of tries, it turned out that this works really well, so here it is.
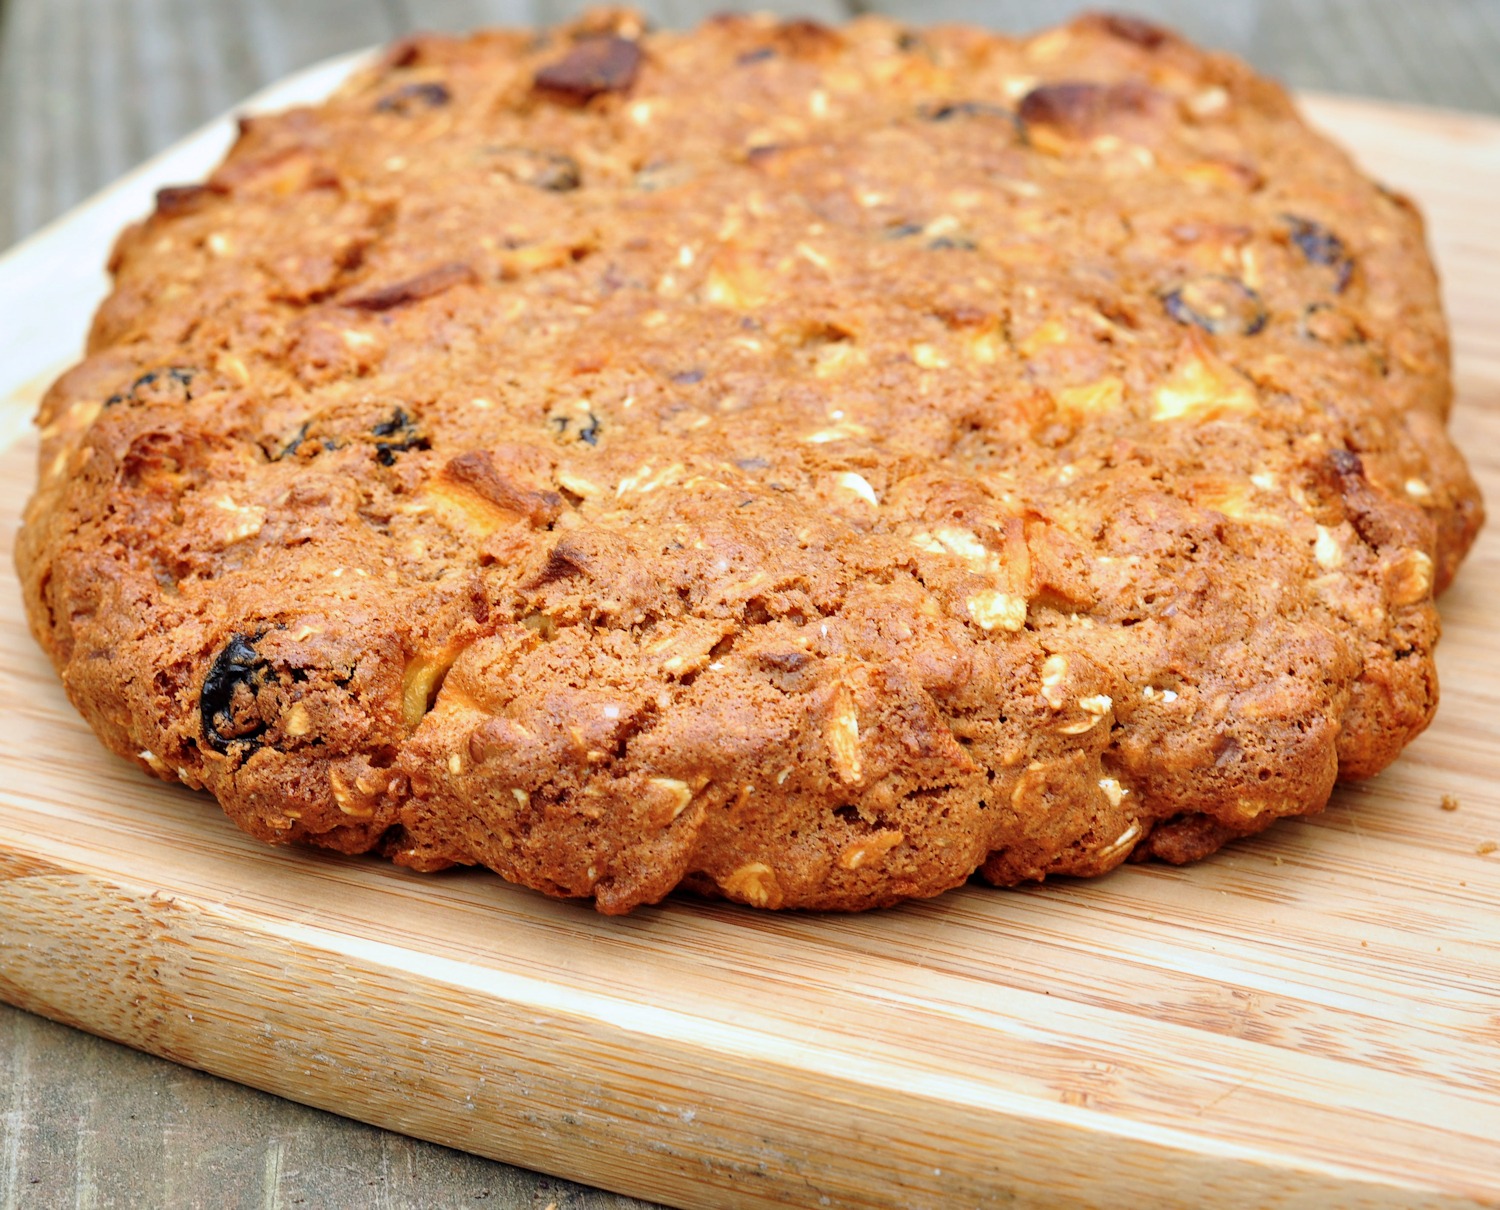
This is a flexible recipe – use what you like
When I first began working on the idea, I used regular oats rather than quick oats. But quick oats work just fine, and if you’re baking for kids, they might prefer the tender texture you’ll get with quick oats. You can also change up the kind of nuts. I used walnuts, but pecans, chopped hazelnuts or chopped almonds would also be great choices. Just make sure to toast them. Toasting ensures that the nuts will stay crunchy, and it amps up the flavor as well.
What kind of fruit is best in Fruit and Nut Oat Bars?
Honestly, just about any dried fruit will be wonderful. I used 1/2 raisins and 1/2 dried apples in this batch. You could try craisins, cut up dried plums, or even something more exotic like dried pineapple or mango. You can also increase the amount of fruit a bit, if you would like them a little sweeter. I really like this particular blend, but you might find something you prefer more locally.
Fruit and Nut Oat Bars
Ingredients
- 1 1/2 cups all purpose flour
- 1 cup oatmeal
- 1 cup toasted chopped walnuts
- 1/2 teaspoon salt
- 1 teaspoon baking powder
- 1/2 teaspoon baking soda
- 1 teaspoon ground cinnamon
- 1 teaspoon ground ginger
- 2 large eggs
- 3/4 cup brown sugar
- 1/4 cup molasses
- The zest from one orange
- 2 tablespoons avocado oil
- 1 cup dried, chopped fruit [I used raisins and dried apples]
Instructions
- Preheat the oven to 350° Line a heavy baking sheet with parchment paper and set aside.
- Measure the flour, oatmeal, toasted nuts, salt, baking soda, baking powder, cinnamon, and ginger into a large mixing bowl. Using a sturdy wooden spoon or something similar, stir until well combined.
- In a smaller bowl or 4 cup glass measuring cup, whisk the eggs to break them up.
- Whisk in the brown sugar, molasses and avocado oil until well combined.
- Pour the egg/sugar mixture, and the dried fruit, into the dry ingredients, and mix until completely incorporated. This does take a bit of effort, but a sturdy wooden spoon helps.
- Divide the dough into two roughly equal amounts, and place the halves side by side on the parchment-lined baking sheet.
- Using dampened hands to prevent sticking, shape each half into a flattened oblong "loaf". Each loaf should be about 12 inches by 10 inches or so - no need to be exact. They should be about 1 inch thick in the center.
- Bake in the preheated oven for 30 minutes, until the outsides are nicely browned all over. Remove the loaves to a cooling rack
- Cut the loaves into about 20 bars each. I like to cut them right before serving, because they are chewier that way.
Notes
Nutrition

Can these bars be made into Biscotti?
They absolutely can – after all, that is where the idea for these bars first occurred to me. You don’t have to change anything about the recipe at all. Let the loaf shapes cool for about 15 minutes, cut in thin strips, and then return to the oven for another 25 minutes, until they are crunchy.
How should I store these Fruit and Nut Oat Bars?
These will keep well at room temperature for several days, but after that you should pop them in the fridge. For maximum freshness, slice them into bars as you need them. This is the kind of recipe that improves with sitting for a couple of days, so feel free to bake them a bit ahead of when you need them. The whole loaf shapes can be tightly wrapped and frozen for later as well.

![Find the recipe for Concord Grape Preserves [no pectin recipe] from The Creekside Cook](https://thecreeksidecook.com/wp-content/uploads/2016/10/gp_feat-400x400.jpg) Concord Grape Preserves {no pectin recipe}
Concord Grape Preserves {no pectin recipe}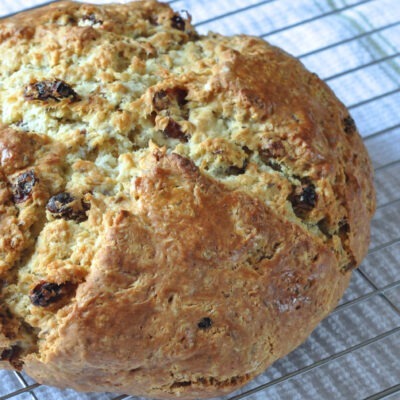 Irish Soda Bread
 Homemade Hummus
 Almond Shortbread
 Maple Walnut Rhubarb Crisp
 Bourbon Pecan Pie
 Blueberry Cheesecake Mousse
 Poached Apples with Caramel & Greek Yogurt
 Chocolate Chip Pound Cake
 Blueberry Ginger Buttermilk Cake
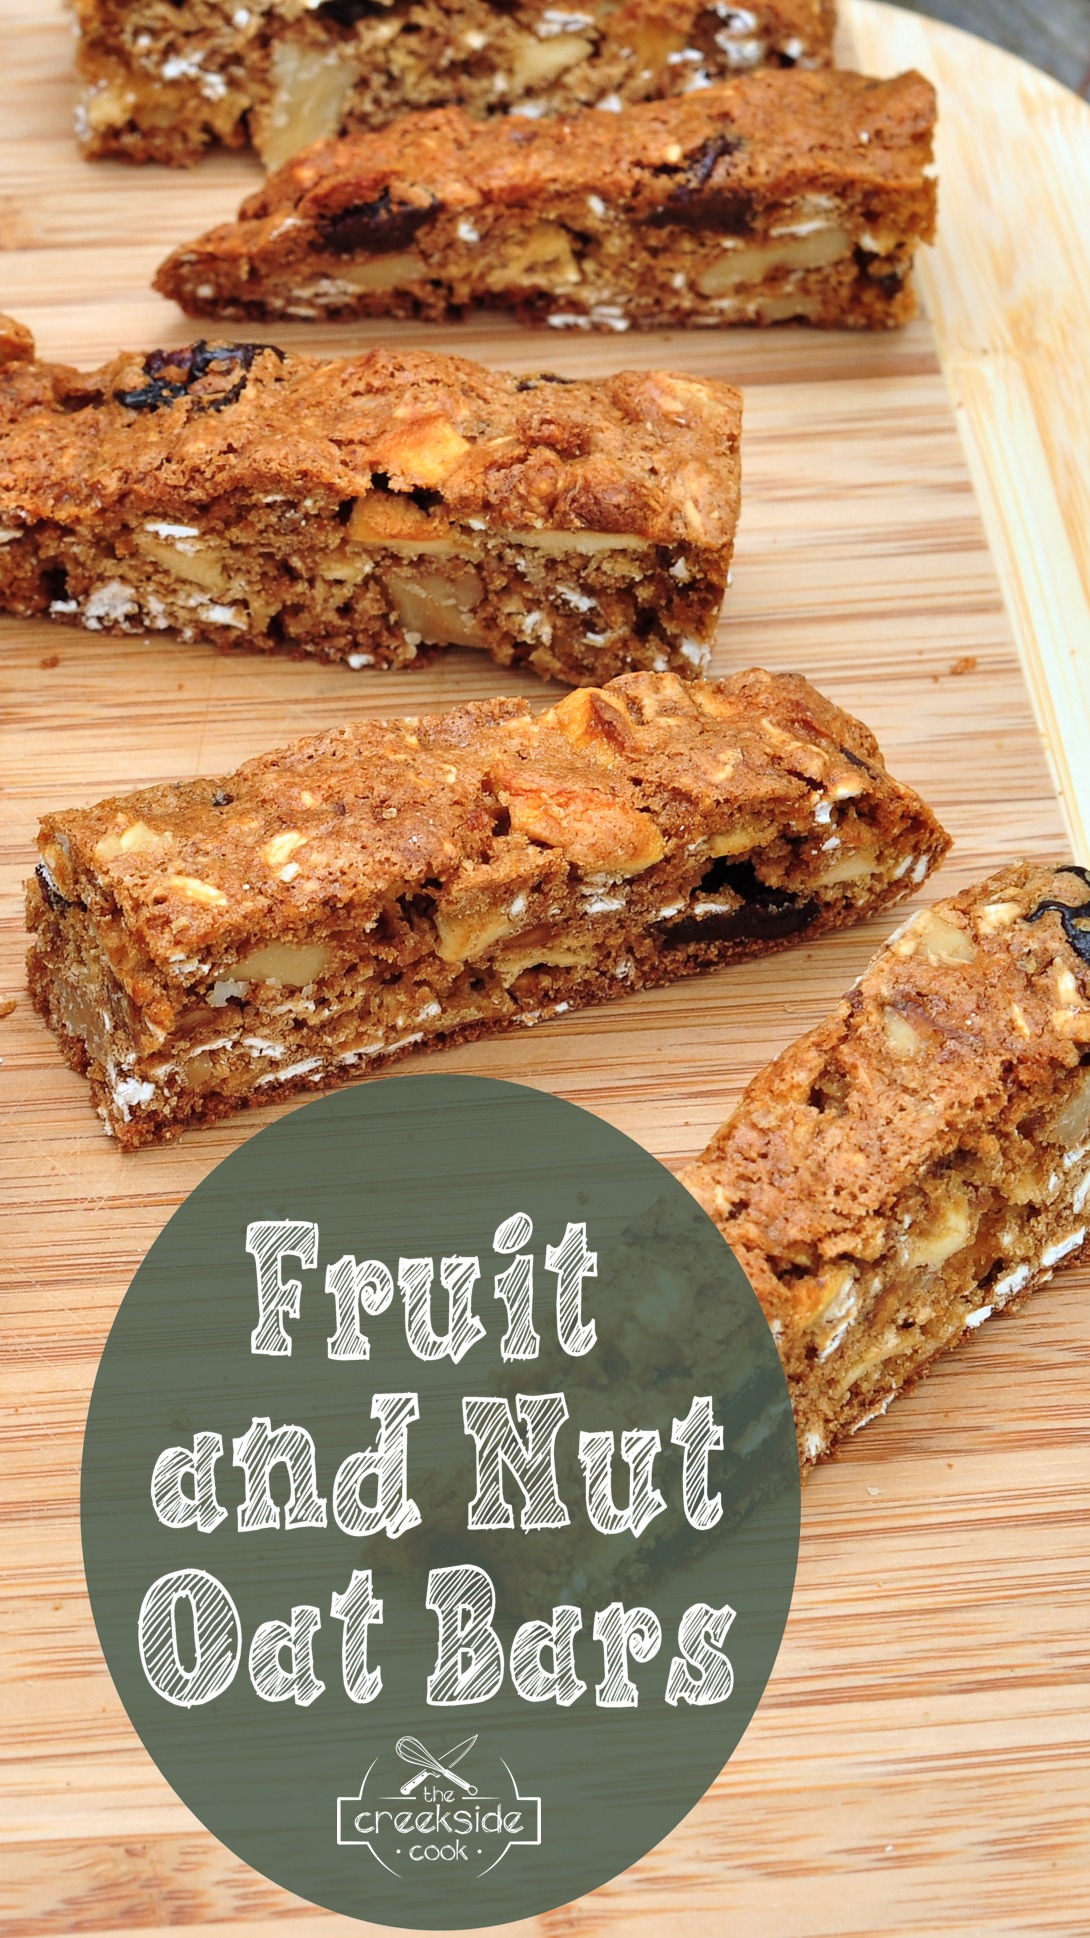
My first visit to your site, but for sure not my last. My daughter and I made these last night and they were really easy and so good. We loved them and plan to make some of your other recipes soon.
It makes me happy to hear that Milo – welcome and thank you!