This post may contain affiliate links. Please read my disclosure policy.
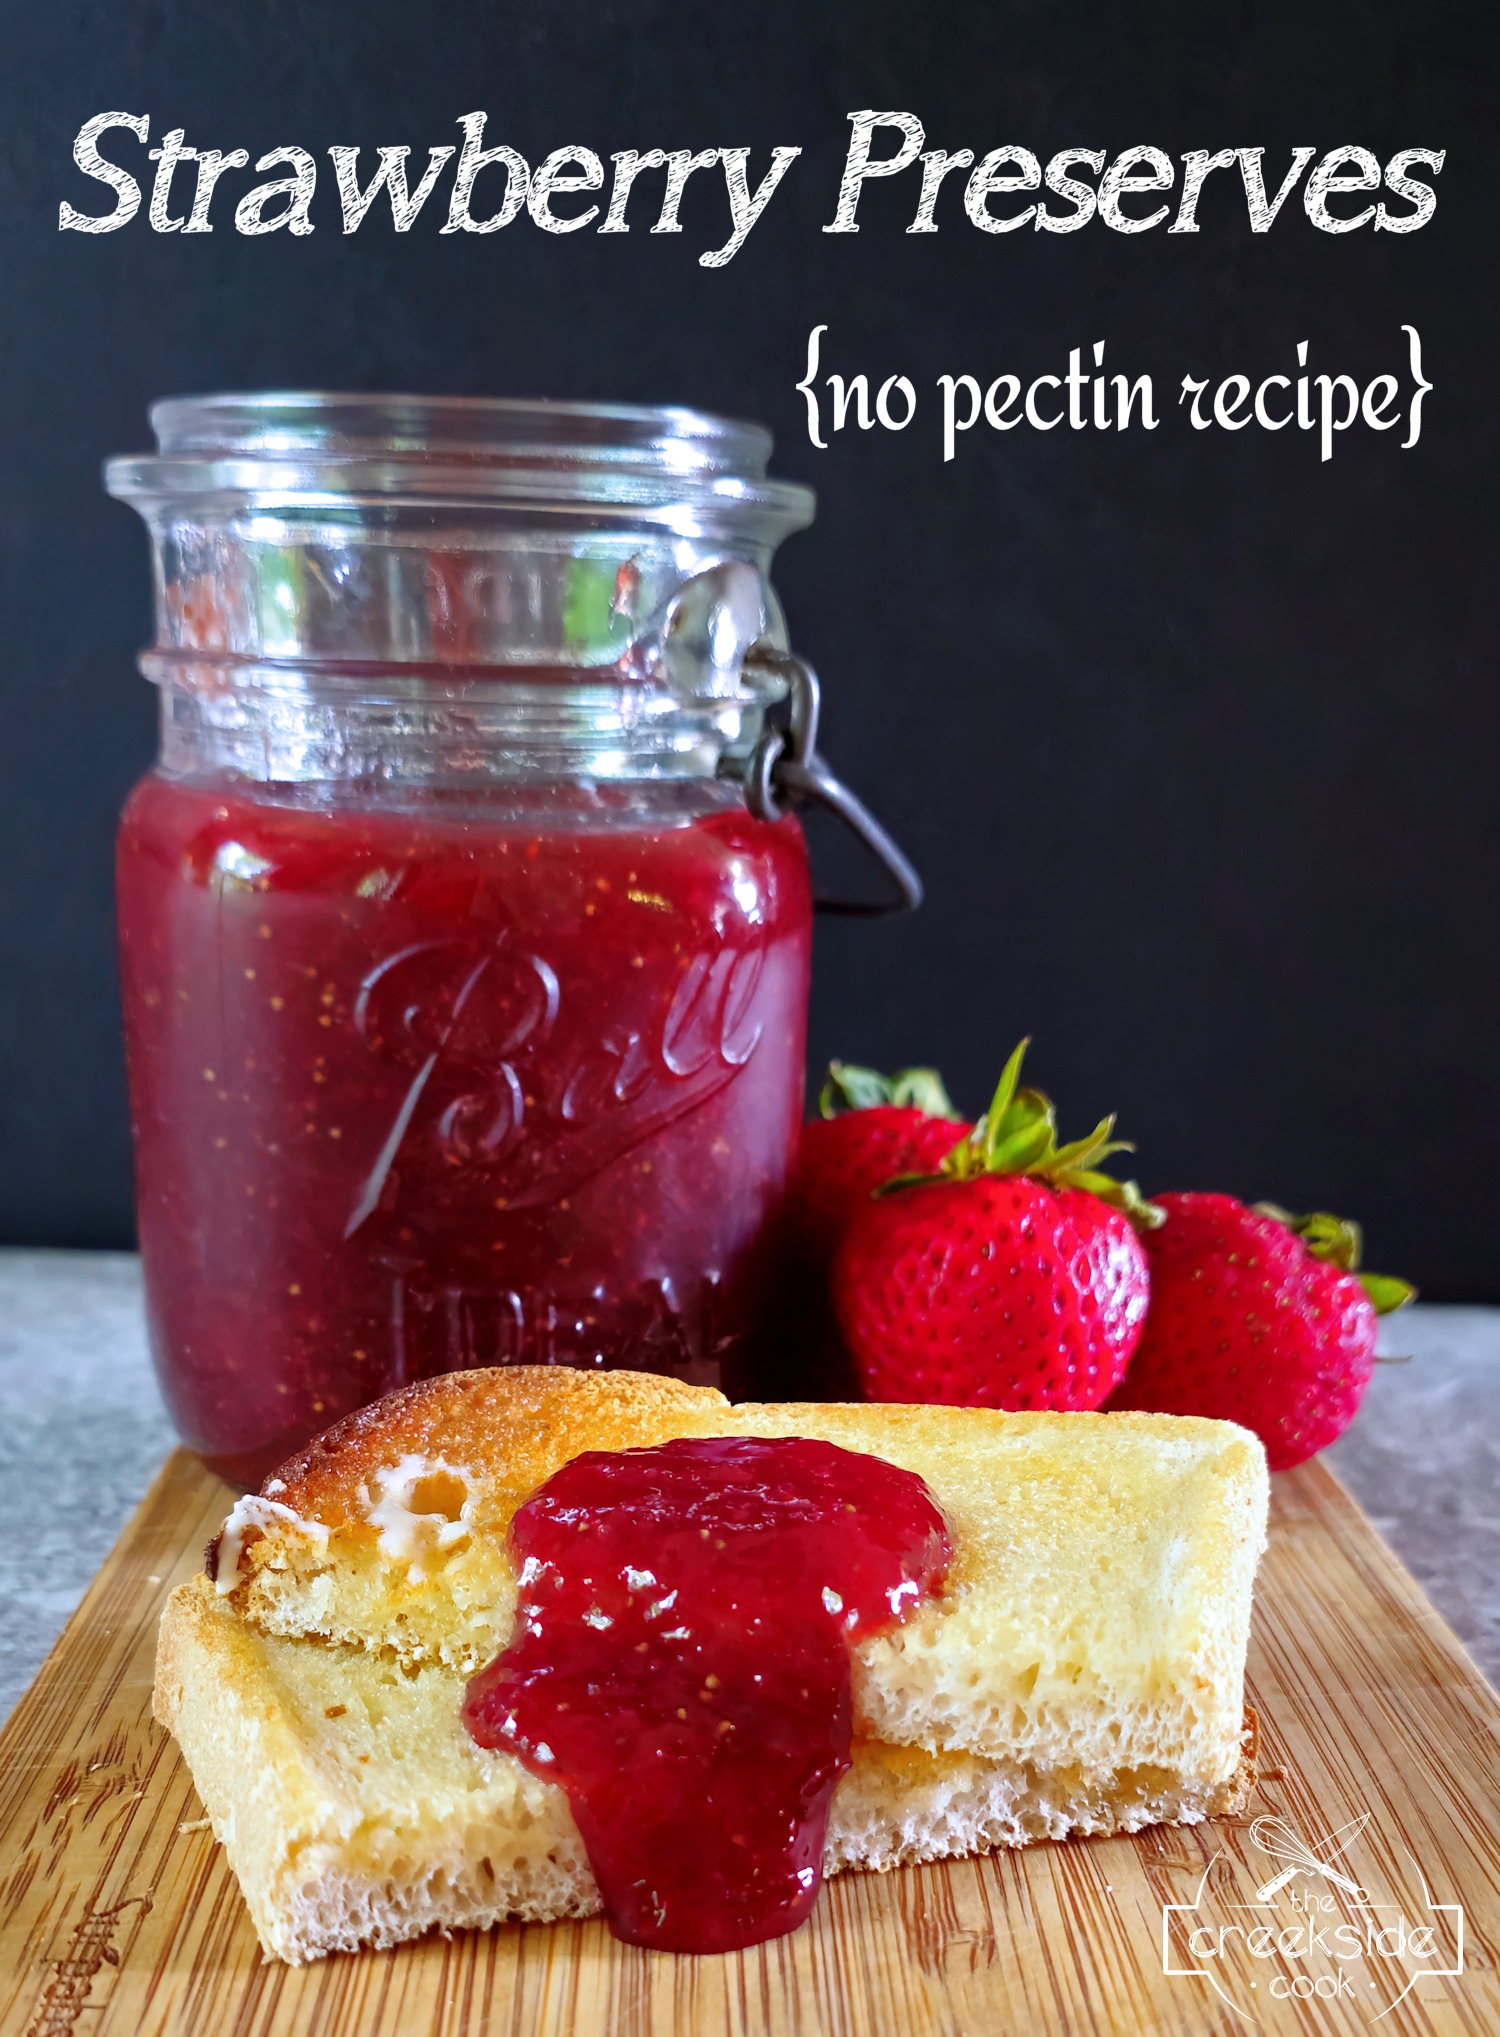
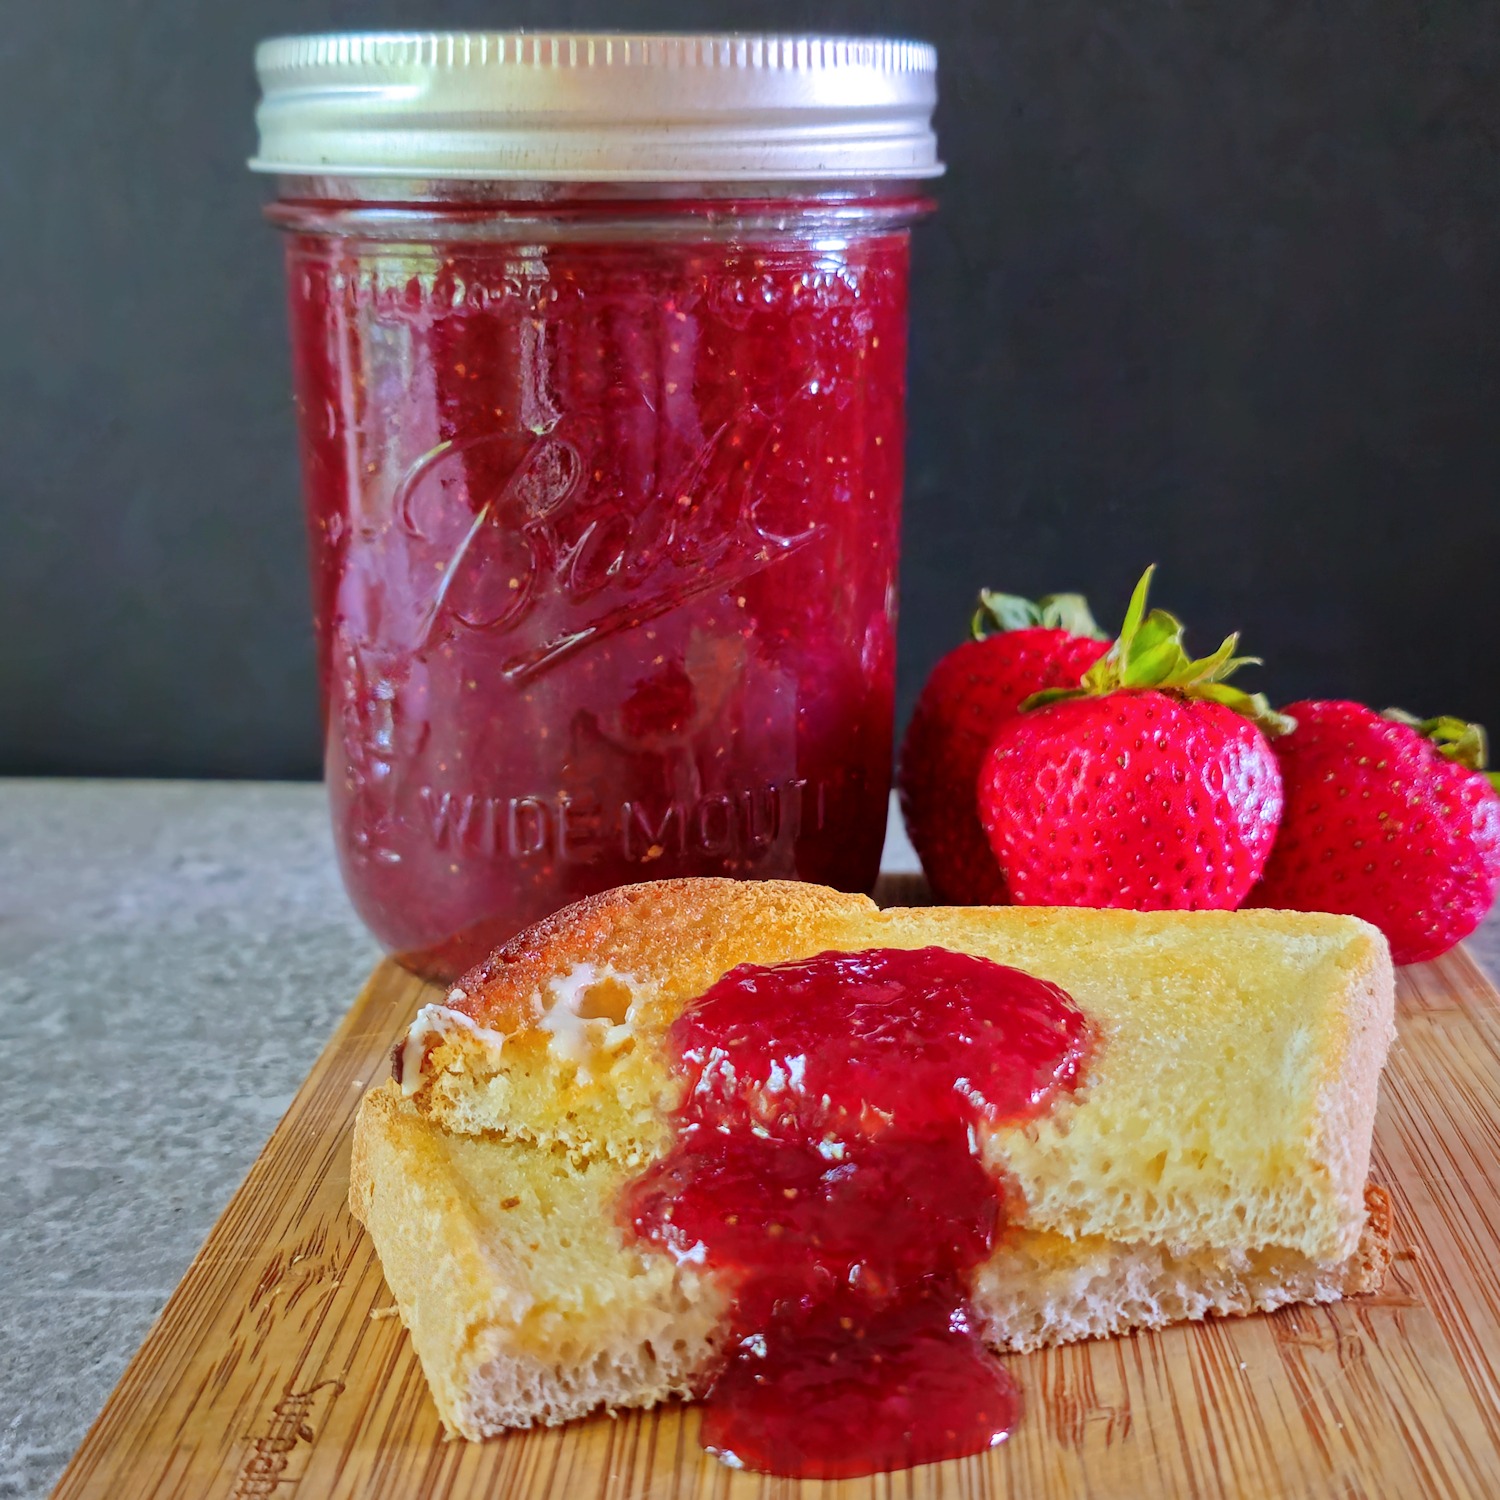
Strawberry Preserves do not need pectin to be thick
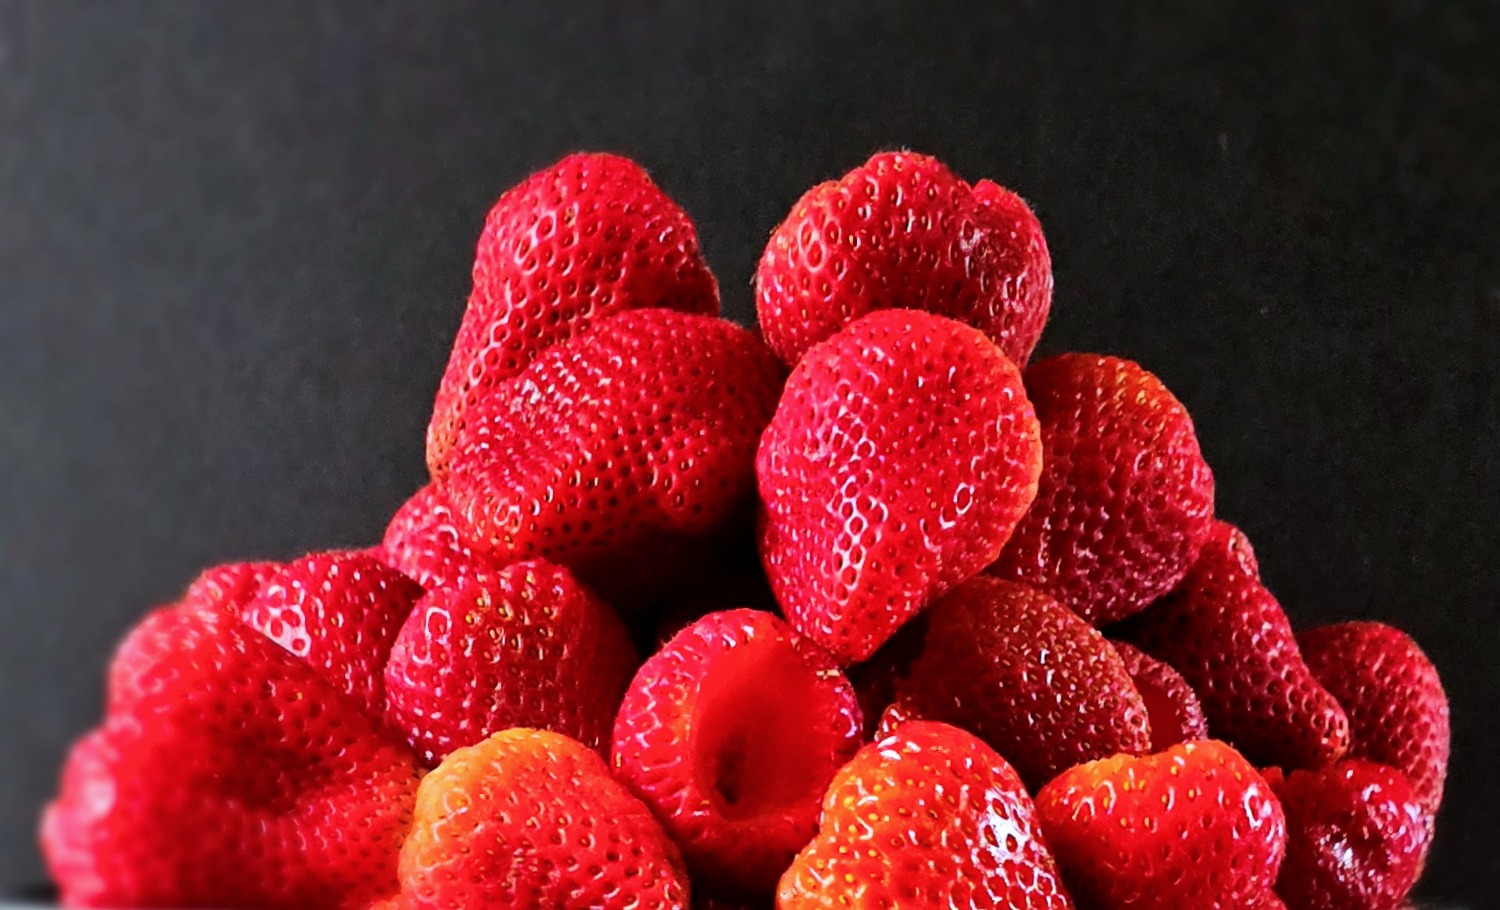
You can have thick, sweet, and fruity Strawberry Preserves with just 3 ingredients: Fresh Strawberries, Sugar, and Lemon Juice.
Why not use pectin?
If you prefer to use pectin, then I’m not here to tell what to do. But – there are a few reasons to try this method. Making Strawberry Preserves with pectin requires more sugar. Using pectin to thicken jams and preserves involves a chemical process that needs a certain percentage of sugar to occur. While you do get a higher yield from using pectin, you’re also getting more sugar.
Pectin can fail
I belong to a few homesteading, canning and recipe groups on Facebook and it is a very common thing to see someone post that their pectin-thickened jam didn’t actually get as thick as they expected. They have no idea why, and honestly, neither does anyone else in the group. Sometimes it just doesn’t work. The proportions have to be pretty precise and you have to follow the directions exactly or you may end up with syrup instead of jam. The only way to fix it is to re-process using even MORE pectin. Which brings me to the ultimate reason to make preserves without using pectin – the flavor.
It just tastes better to me
I’m sure there are people who would disagree with me, but I honestly don’t care for the flavor of preserves made with pectin as well as I do without. Using only sugar to thicken preserves lets the flavor of fruit really shine. The longer cook time allows the sugar almost to get caramel undertones – a deeper, richer flavor.
Why make your own preserves?
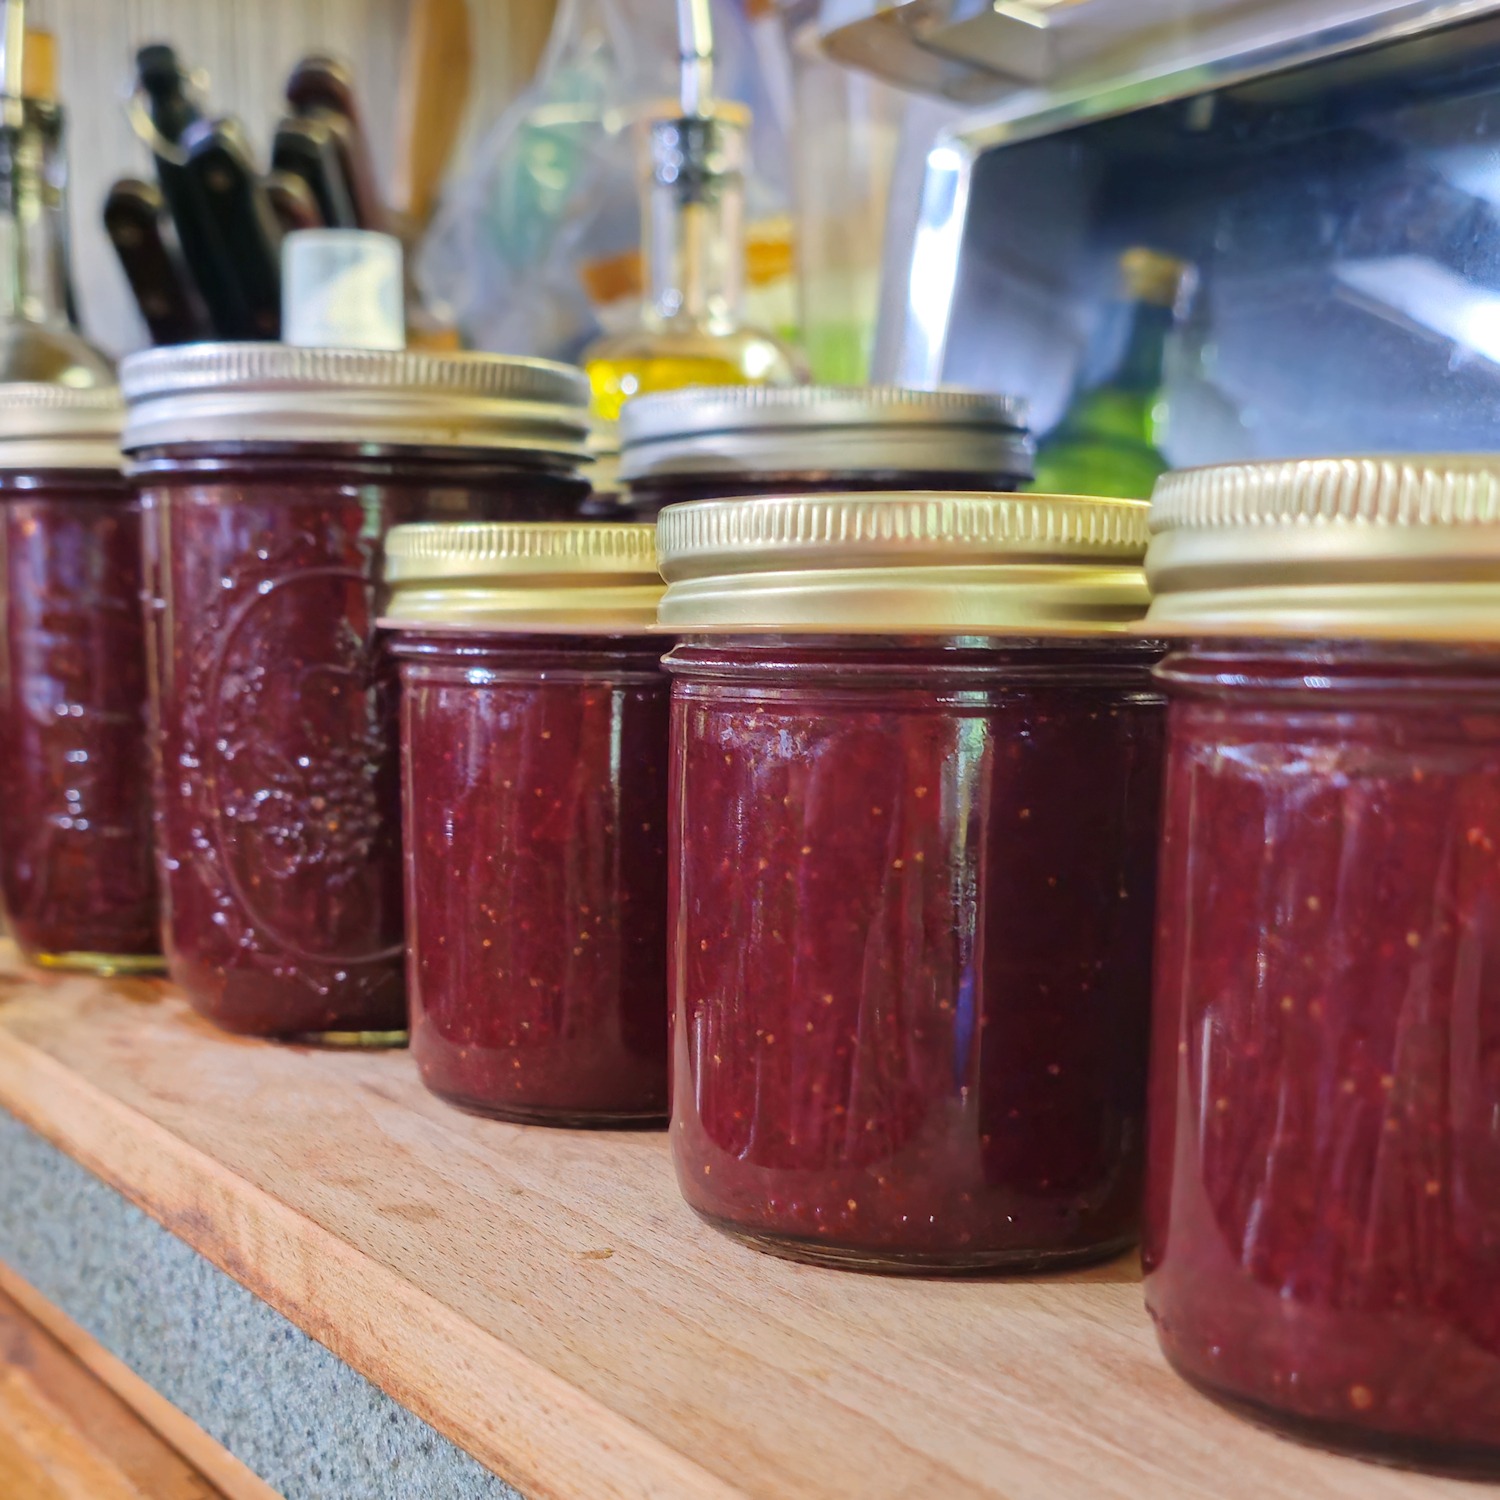
My main reasons for making preserves myself are cost and quality. If you buy 6 lbs of strawberries at the supermarket, you’ll be paying anywhere from about $10 for regular berries and $25 or more for organic. My berries were on sale for $12 for the 6 lbs I used, which was a real bargain. I used organic cane sugar for these preserves which came out to about $4.50 for the whole batch. 3 organic lemons were $2.50. That comes out to less than $20 for 8 pints of preserves. 8 pints of organic preserves in the supermarket would be around $45.
I know exactly where all the ingredients in my preserves came from and how they were handled and processed. No matter how you look at it, jams and preserves aren’t exactly health food. They are all made with a pretty high concentration of sugar. But, at least I know everything in here is organic and handled to ensure the best quality I can manage.
No pectin preserves take a little longer
Making jam or preserves without using pectin is not any more difficult. It just takes longer. The rest of the process is exactly the same. The first thing to do is wash the berries. Whether you picked them up at the Farmer’s Market, the supermarket, or if you picked them yourself, they are going to be at least a little dirty.
Put them in a sink of cold water with a tablespoon of salt, and leave for 10 minutes or so. The salt will get rid of any little buggies that may have hitched a ride on your berries. Swish the berries in the water, and drain them. Fill the sink again with clean water, and swish around a bit more, and then drain.
Hull the berries
The only picky part of making Strawberry Preserves is hulling, or taking out the little core that is attached to the leaves. You can do it with a paring knife, but you’re going to lose a little bit of each berry that way. There are little scooping-type tools too, but I had mislaid mine, so I went looking to replace it and found something new that I really like.
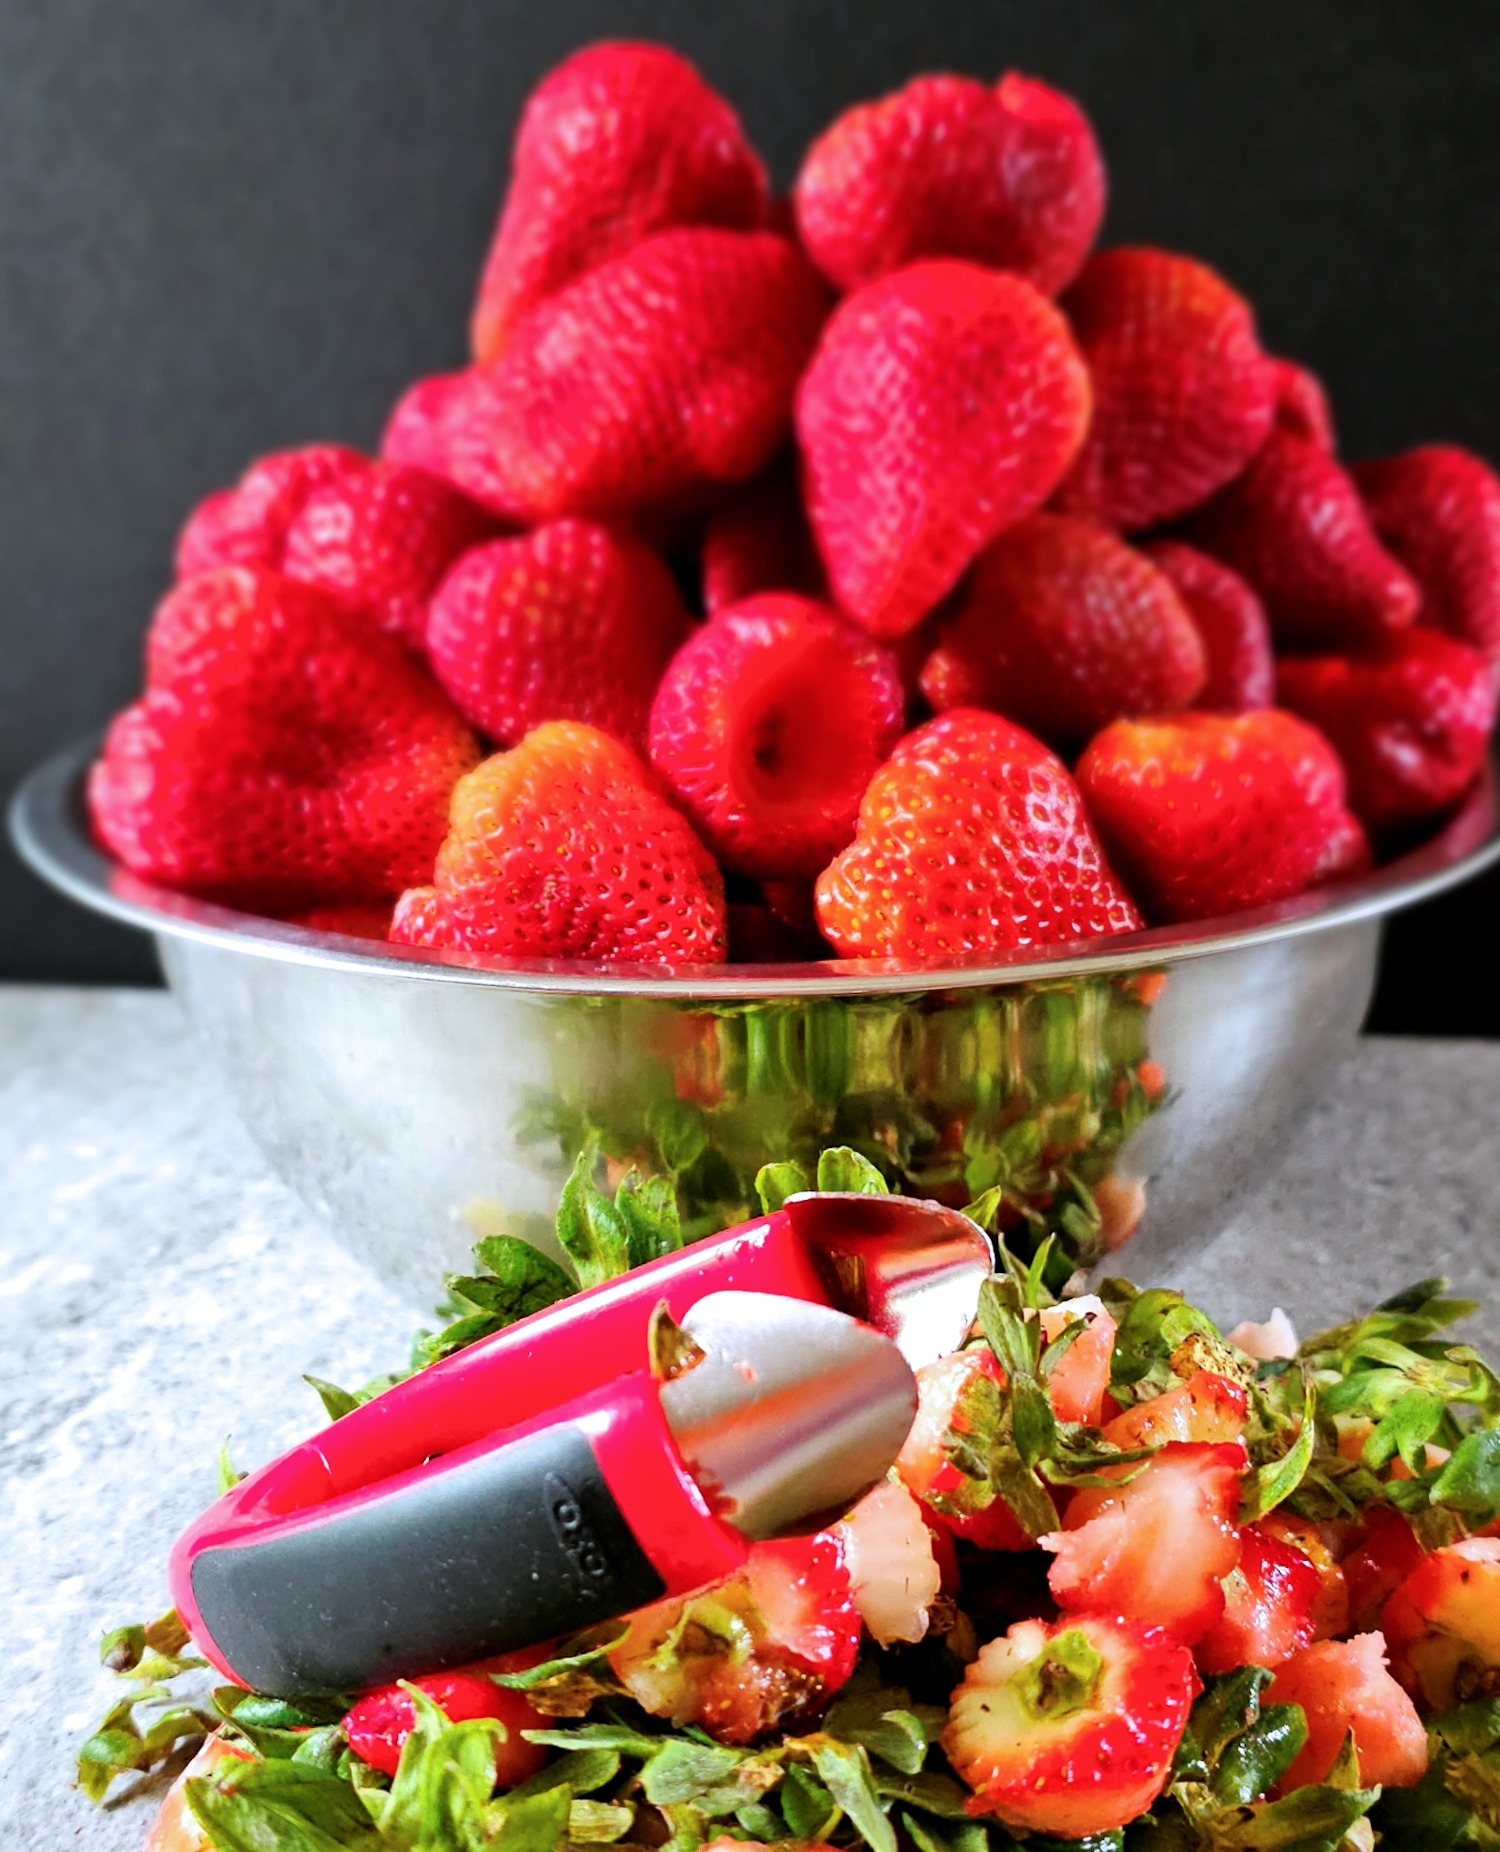 I am not too fond of a lot of gadgets, but I am really glad that I grabbed this one. It’s an Oxo Good Grips Strawberry Huller. It’s not cheap and there are less expensive ones around, but this one is very sturdy, and sharp, so it does a good, efficient job. [not sponsored – I just like it] There are also a lot of others on Amazon if you want to look for another option. Anyway – hull your berries!
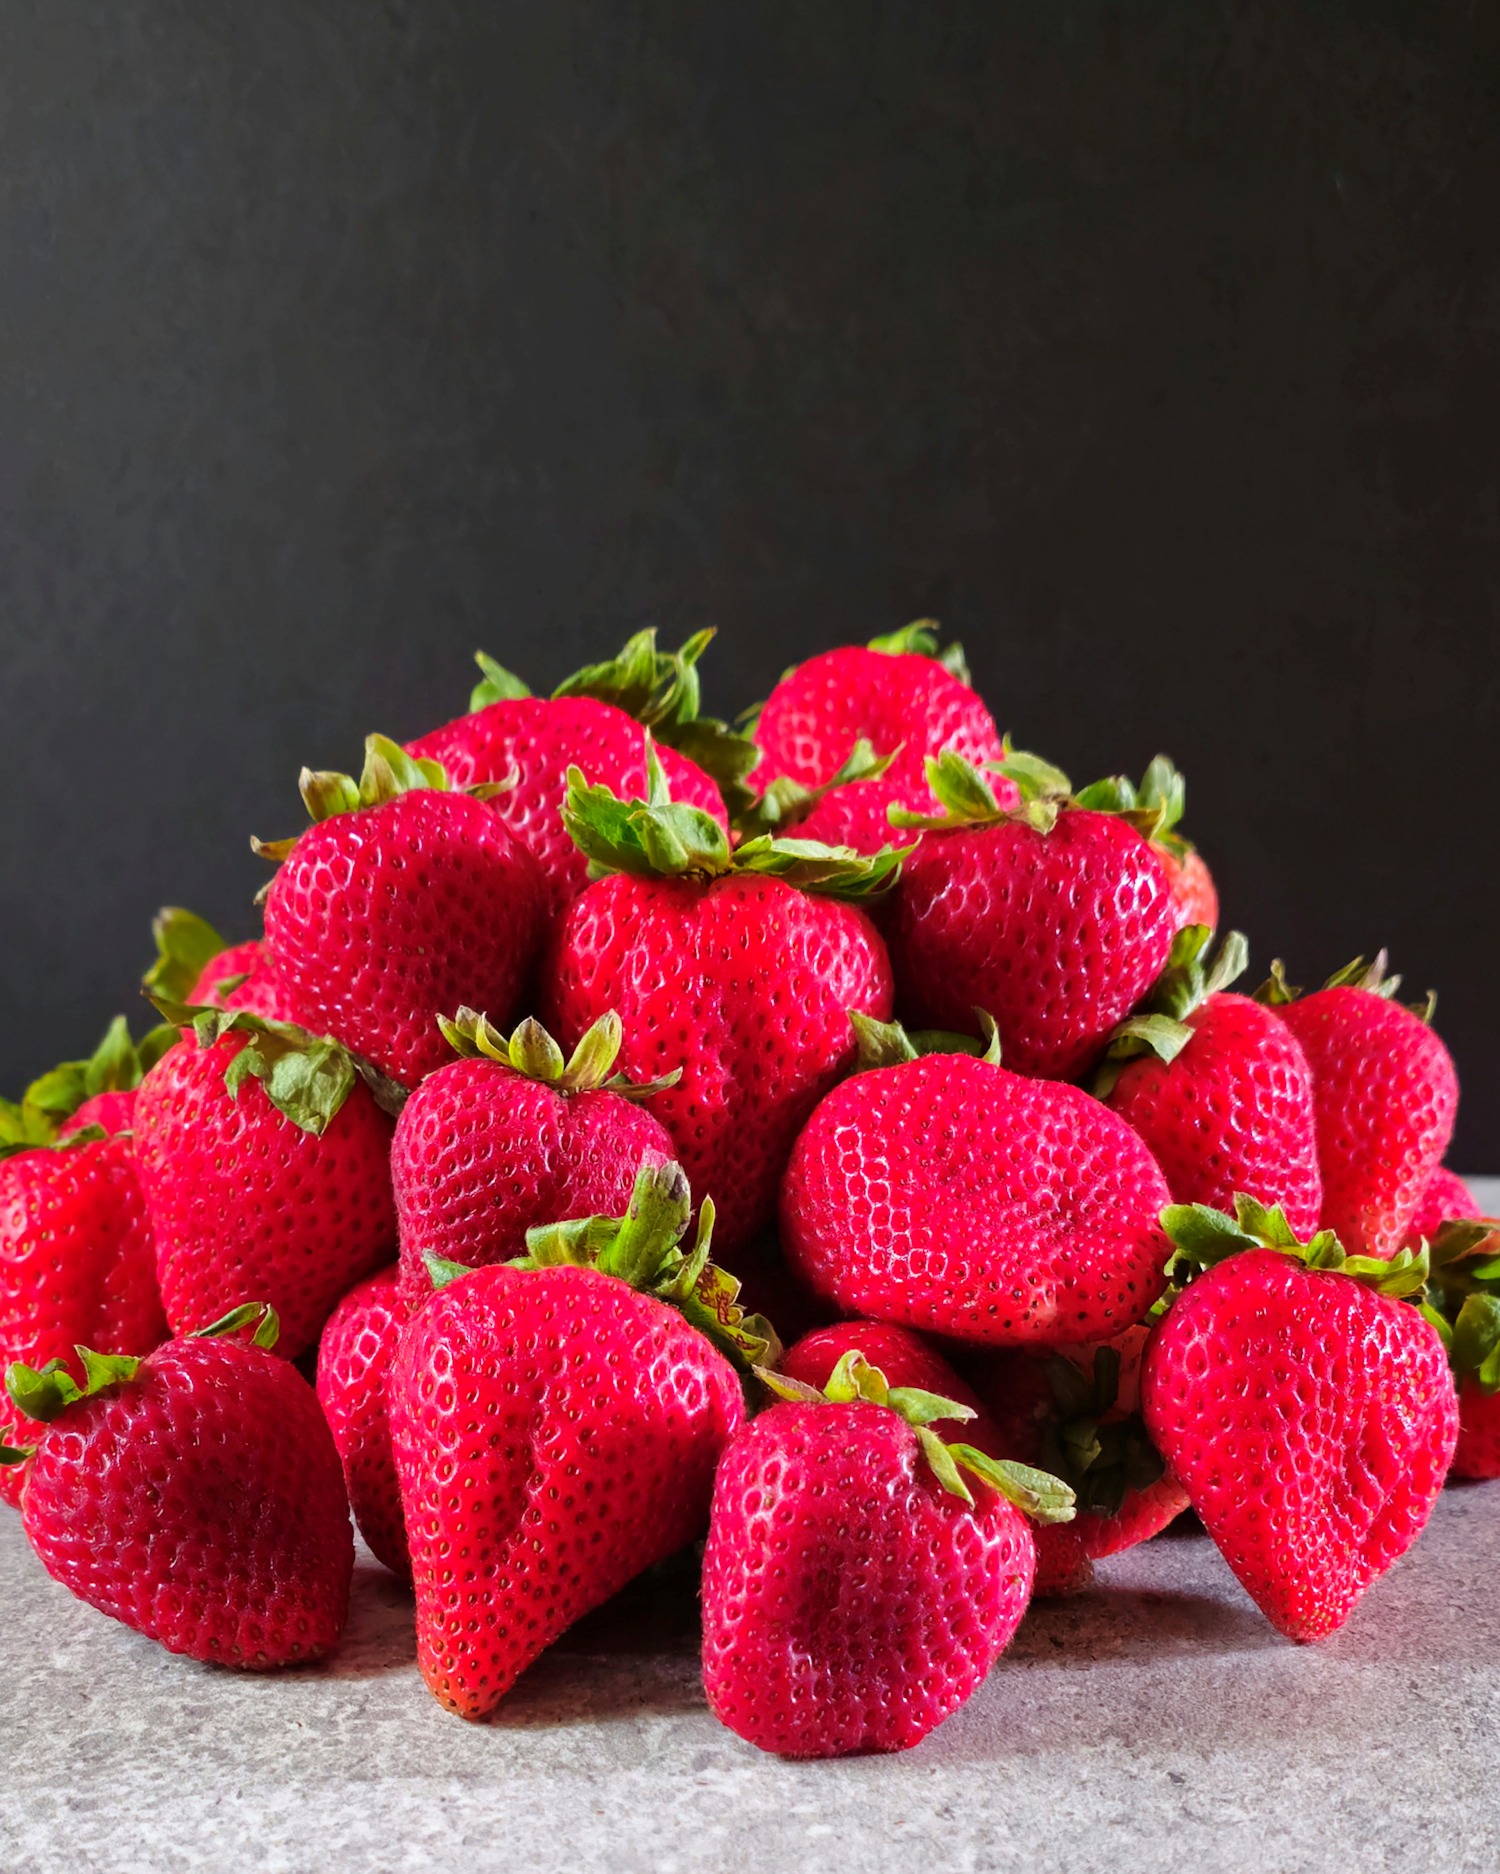
It’s ok to use a little bit of under-ripe fruit
The more ripe strawberries get, the less pectin they contain. So, it is actually a good idea to use some berries that aren’t totally ripe. Using over-ripe berries will work, but you will need to cook them down quite a bit more to get the preserves as thick as you might like. You don’t want green berries by any means, but a little bit of green or white on some of them is a good thing. No need to risk them becoming too ripe because you are waiting for all of them to be completely bright red.
You need a heavy pot
No matter what kind of jam or preserves you are making, a big, heavy pot is a necessity. Thinner metals are more likely to scorch and ruin your preserves, because the thin metal will not distribute the heat as evenly. [See the recipe card for some suggestions.] How big a pot depends on how big a batch of preserves you plan to make, so lets talk about that.
How much sugar in proportion to strawberries?
I am not going to give you a precise recipe, because I don’t know how many strawberries you have. You can scale this recipe to suit how many berries you have on hand, and how much preserves you want to end up with. A lot of recipes will tell you to use a 1:1 ratio of sugar to berries, but I find that to be much too sweet for us.
I prefer a 4:3 ratio, or 75% as much sugar by weight as I have of strawberries. As you will see on the recipe card, I had 6 pounds [96 ounces] of berries. So I needed to use 4.5 pounds [72 ounces] of sugar. That is about 9.5 cups of sugar for a batch this size. I ended up with about 8 pints of preserves.
To figure this out for smaller batches, weigh your berries and multiply the weight by .75. This is probably easier to do if you figure out how many ounces of berries you have. 2 pounds of berries is 32 ounces and 75% of 32 is 24 ounces of sugar to 32 ounces of berries. 24 ounces of sugar is about 3 and 1/4 cups.
Weight is probably the most accurate way to measure, but I realize not everyone has a kitchen scale. If you buy a 2 pound package of berries at the supermarket, you will need around 3 cups of sugar, allowing for the reduced weight from removing the hulls. It sounds complicated, I know, but there is not really an easier way to figure it out. If you weigh the berries, the weight will be the same whether they are whole or sliced. A cup of whole berries is very different in amount compared to sliced berries.

Why is lemon juice important?
Lemon juice serves 2 vital purposes. It helps balance out the flavors – lemon and strawberry complement one another. You won’t taste it much, if at all. It’s more like “what is missing?” if you leave it out. It rounds out the flavor of the berries. More importantly, fresh lemon juice enhances the natural pectin in the fruit and helps thicken the preserves. We’re relying entirely on the natural pectin in the fruit, so it’s important to boost that up where we can.
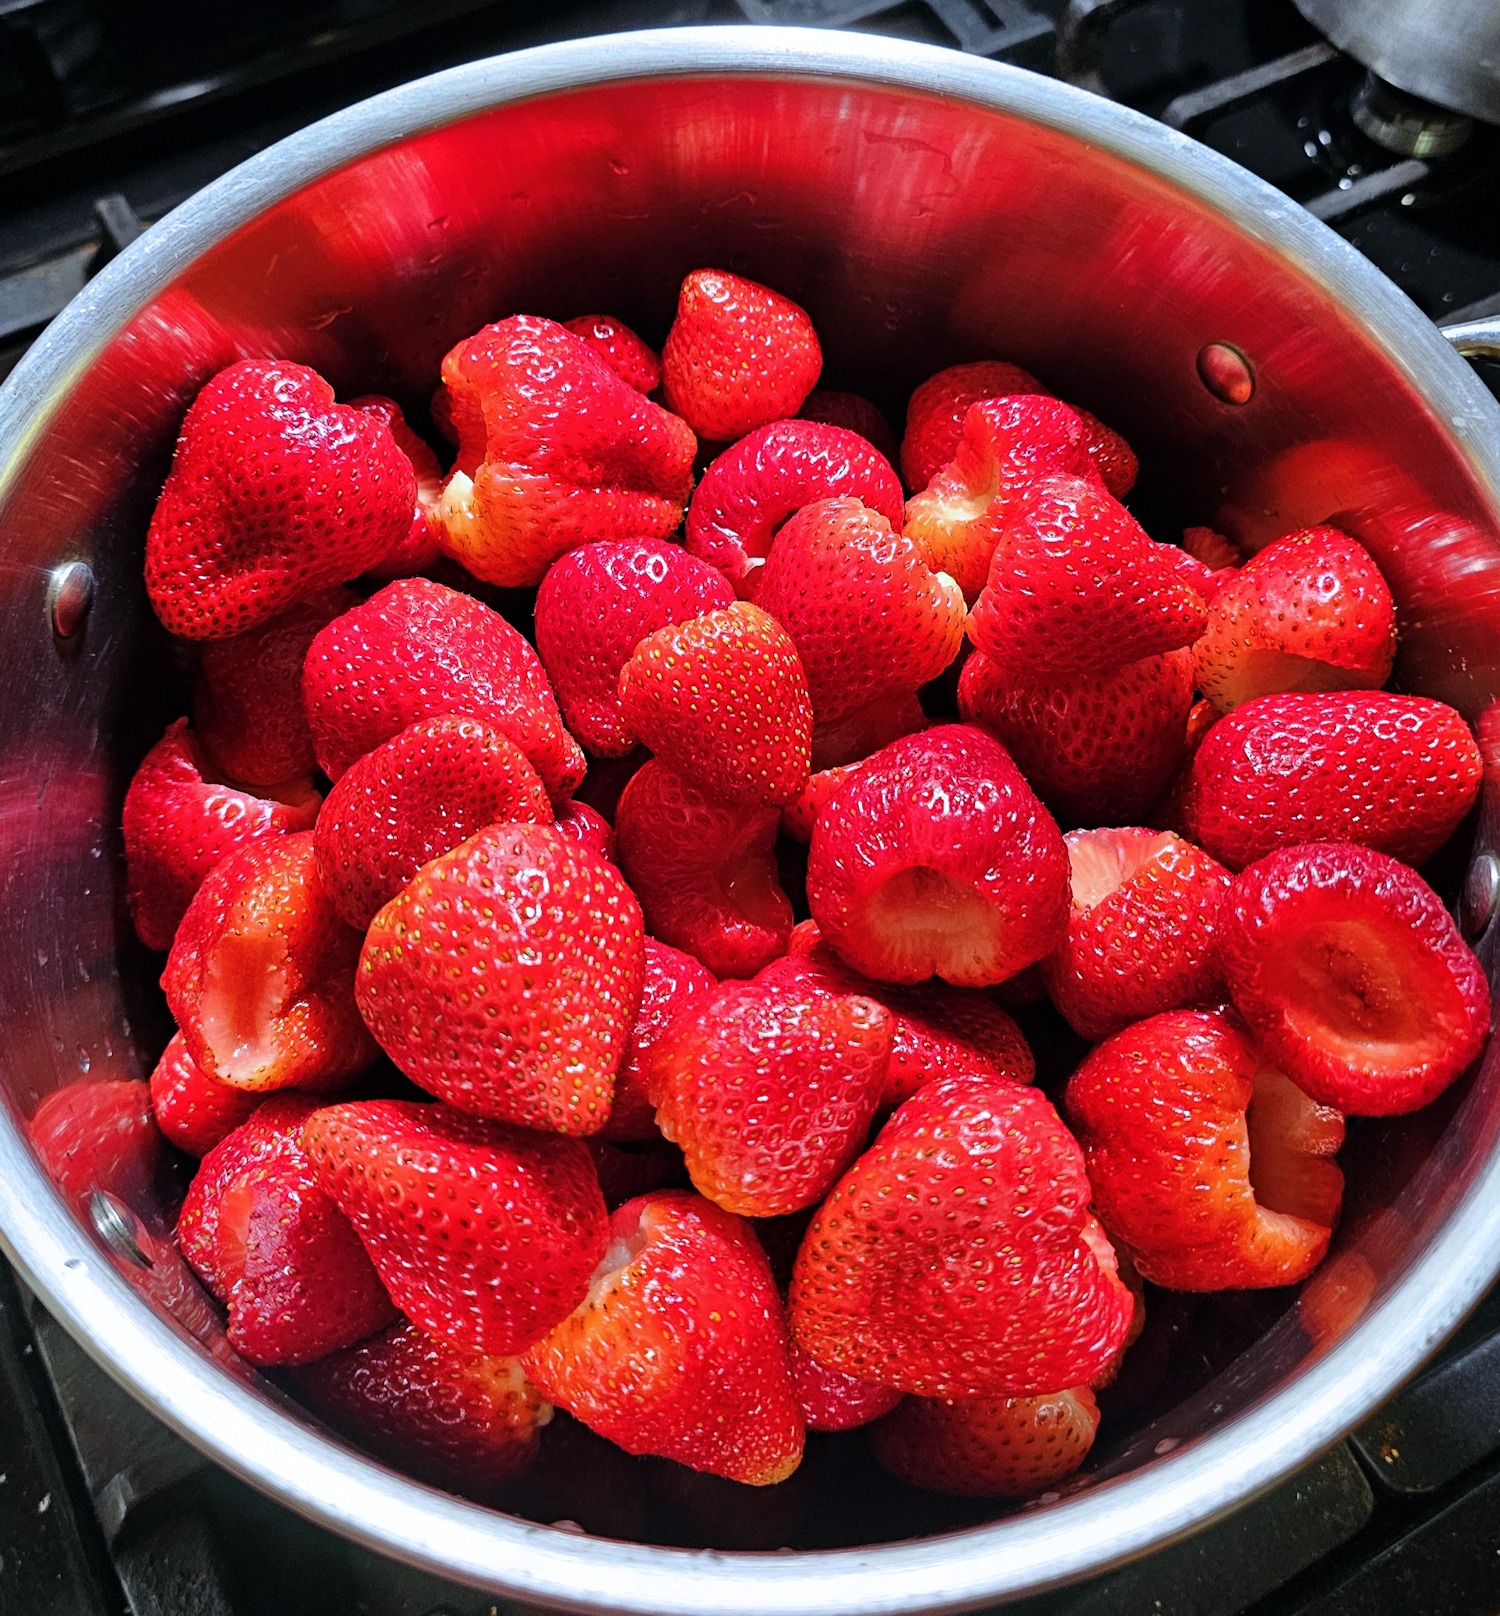
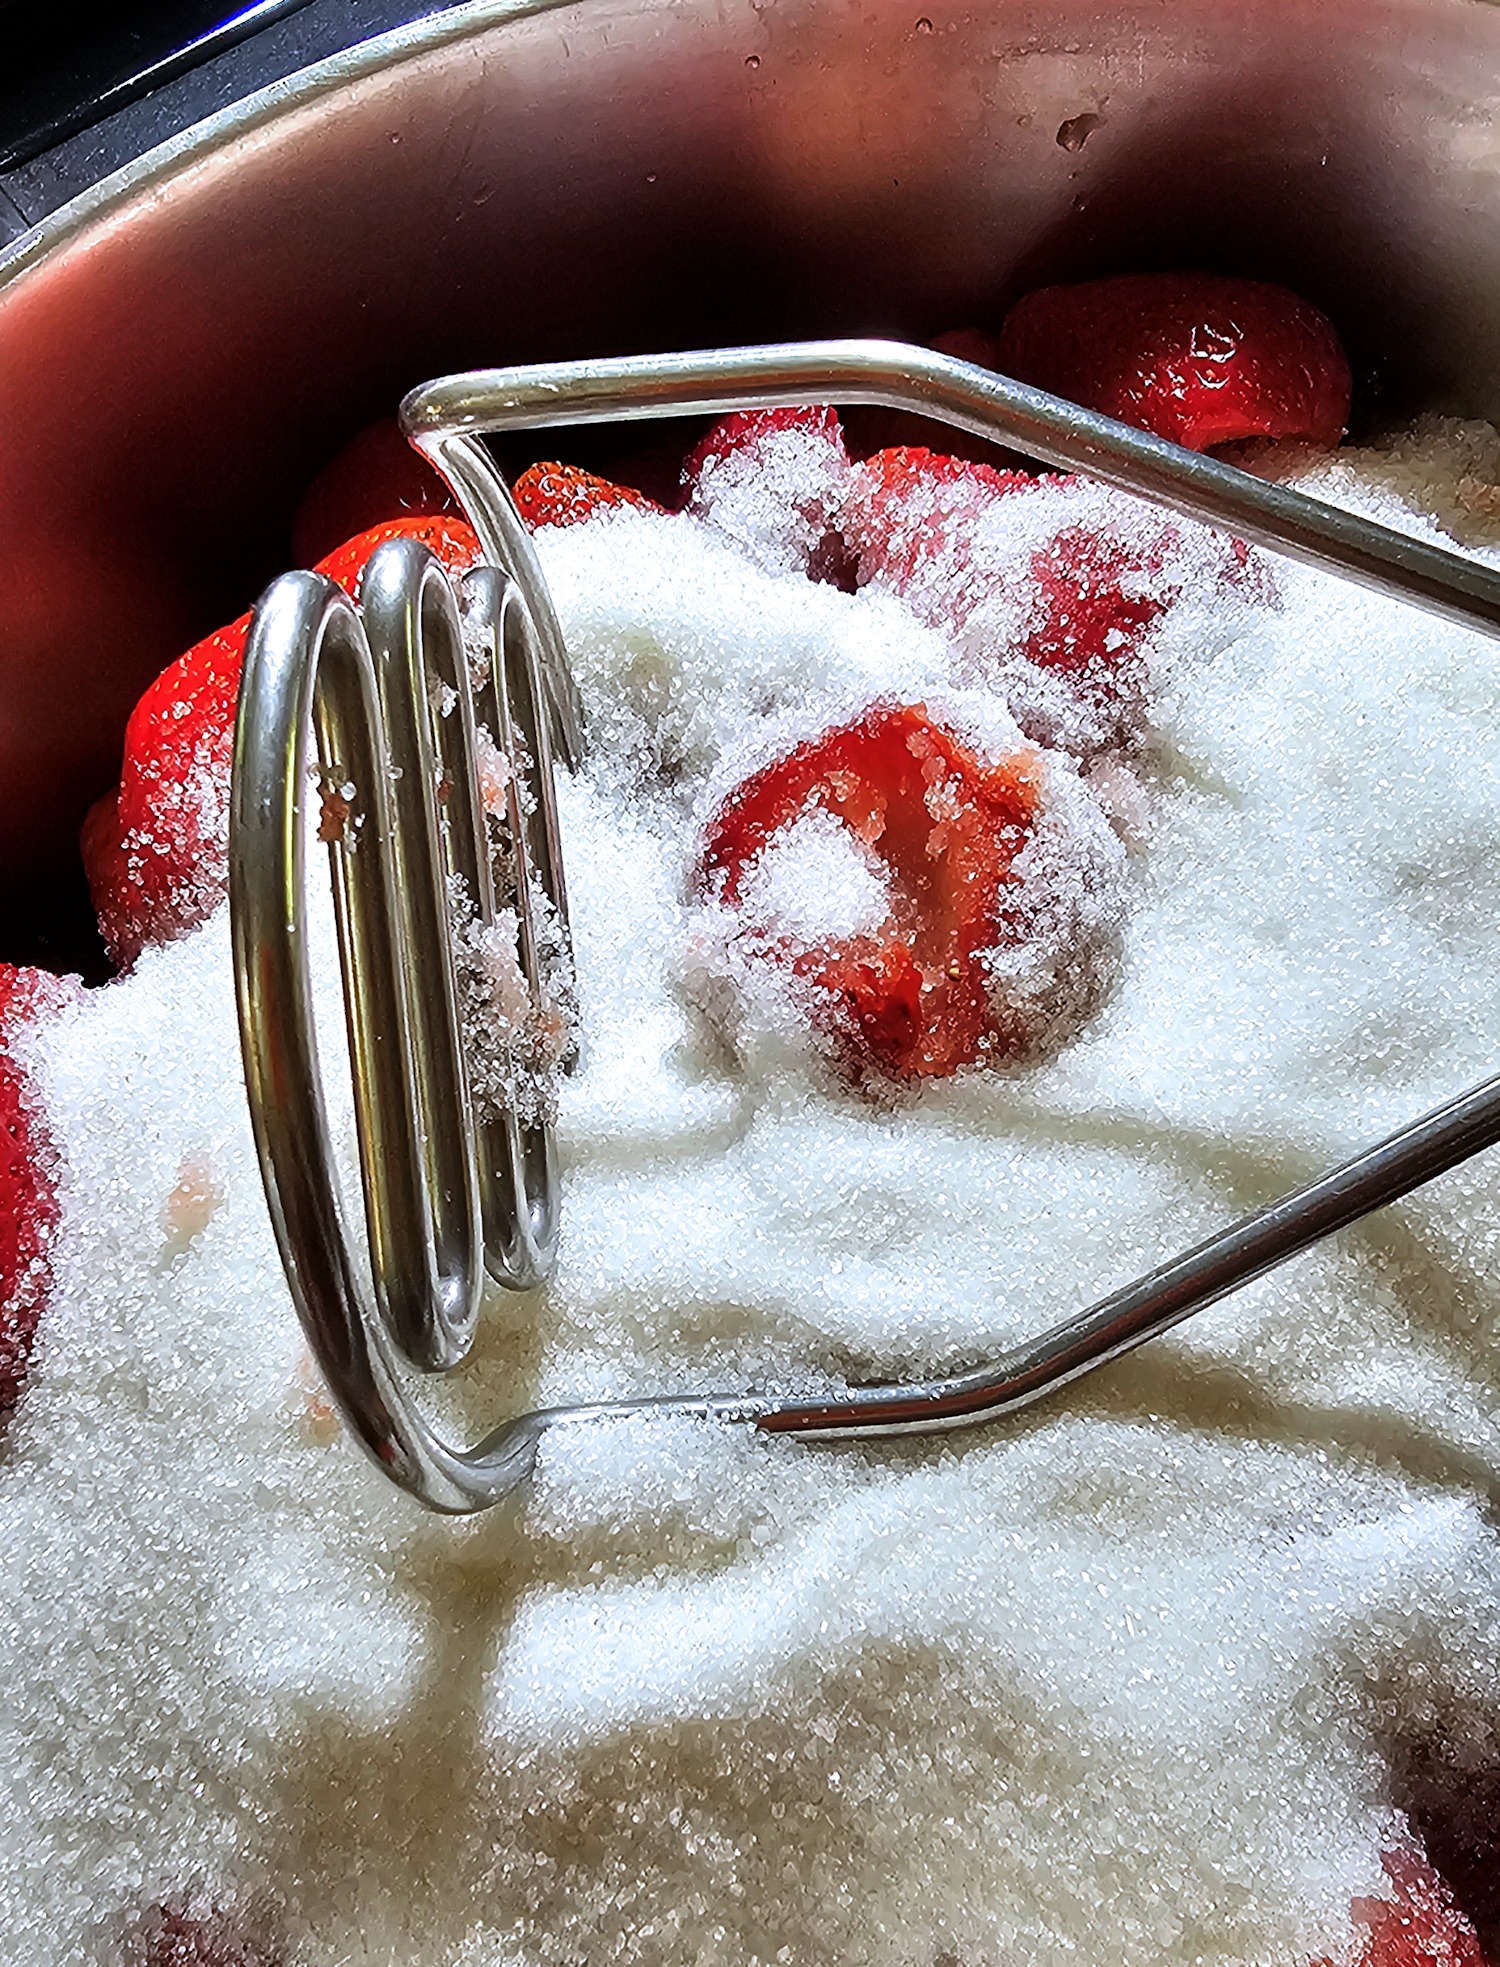
Get everything into the pot
For the size batch that I made, I used an, 8-quart pot. Put in the berries, and mash them up a bit. You can use a potato masher for this. I used my immersion blender this time, because I messed up my shoulder, and the blender is easier. You can do whichever works better for you. Either way, it’s a good idea to do half at first, and then add in the second half, plus the lemon juice and sugar. I like to leave the second part on the chunky side, so that the preserves keep a little bit of texture.
Cooking the preserves mixture
Start out with the heat under the pot at just over medium and keep stirring every couple minutes, until everything begins to liquify together. It will be a little difficult at first, but be sure to get all across the bottom and into the corners continually. If you’re doing a big batch like this one, you need a heavy, sturdy spoon and for me that is a wooden spoon. [the edge on this one really helps get into the corners of a large pot.]
Lower the heat
Once the sugar has dissolved and you have a more or less liquid mixture, turn the heat down to the lower side of medium. This is no time to lose track of what you’re doing. Preserves and jams can start sticking and scorch [see the recipe card notes if that happens] without you realizing it if you forget to keep stirring. I use my kitchen timer, set at 10 minute intervals to ensure that I remember to keep coming back to stir it.
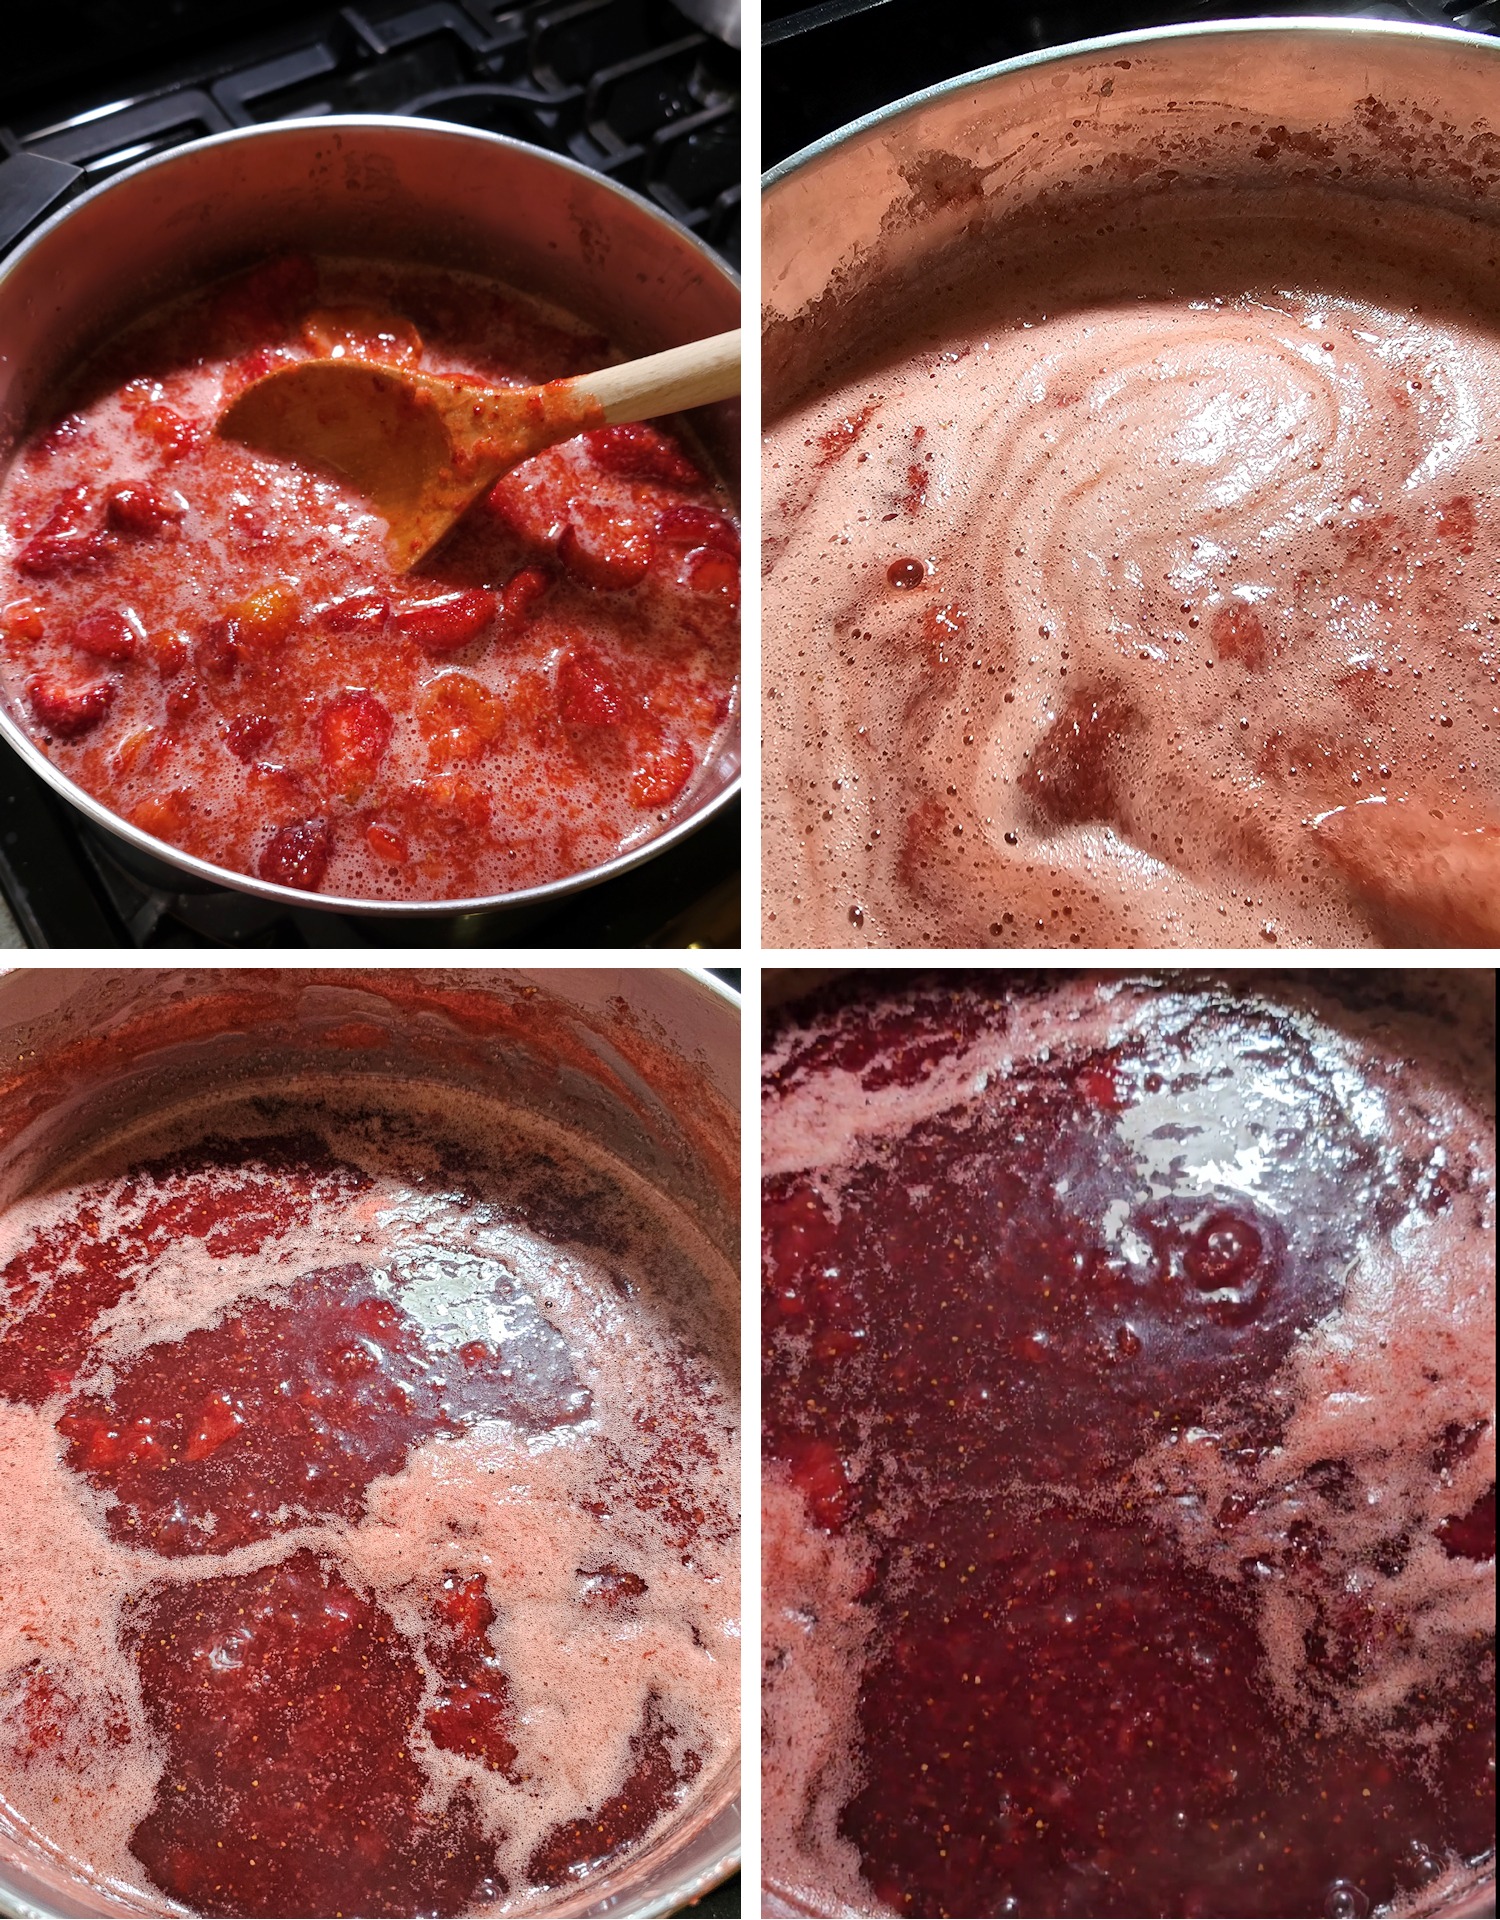
The stages of cooking down strawberry preserves
How long does it take to cook the preserves?
There are a lot of factors involved in answering this question. How juicy your berries are is probably the biggest element. Strawberries contain a lot of water, and to have your preserves turn out nice and thick, you have to cook off a large part of that moisture.
Cooking also draws pectin out of the fruit. And finally, the sugar needs to reach a certain temperature to thicken the mixture when it cools. The short answer is anywhere from 30 minutes to an hour. This is a huge batch of preserves and it took right around an hour.
Do I have to skim off the foam?
I maintain that there is no reason to skim the foam that rises to the top of the preserves while they are cooking. It is pretty much standard advice to do so, but to me, it’s a waste of time, and of the preserves. Most of it will cook off anyway. You can see in the photos above, that by the time I had finished cooking this batch completely, most of the foam was gone. If there is a bit left and it bothers you – pop a tablespoon or so of butter in there and stir it in, and the rest of the foam will dissipate. That’s a trick I learned from my grandma, and it works. Honestly though, I don’t usually bother.
Go by temperature, not time to determine when it’s done
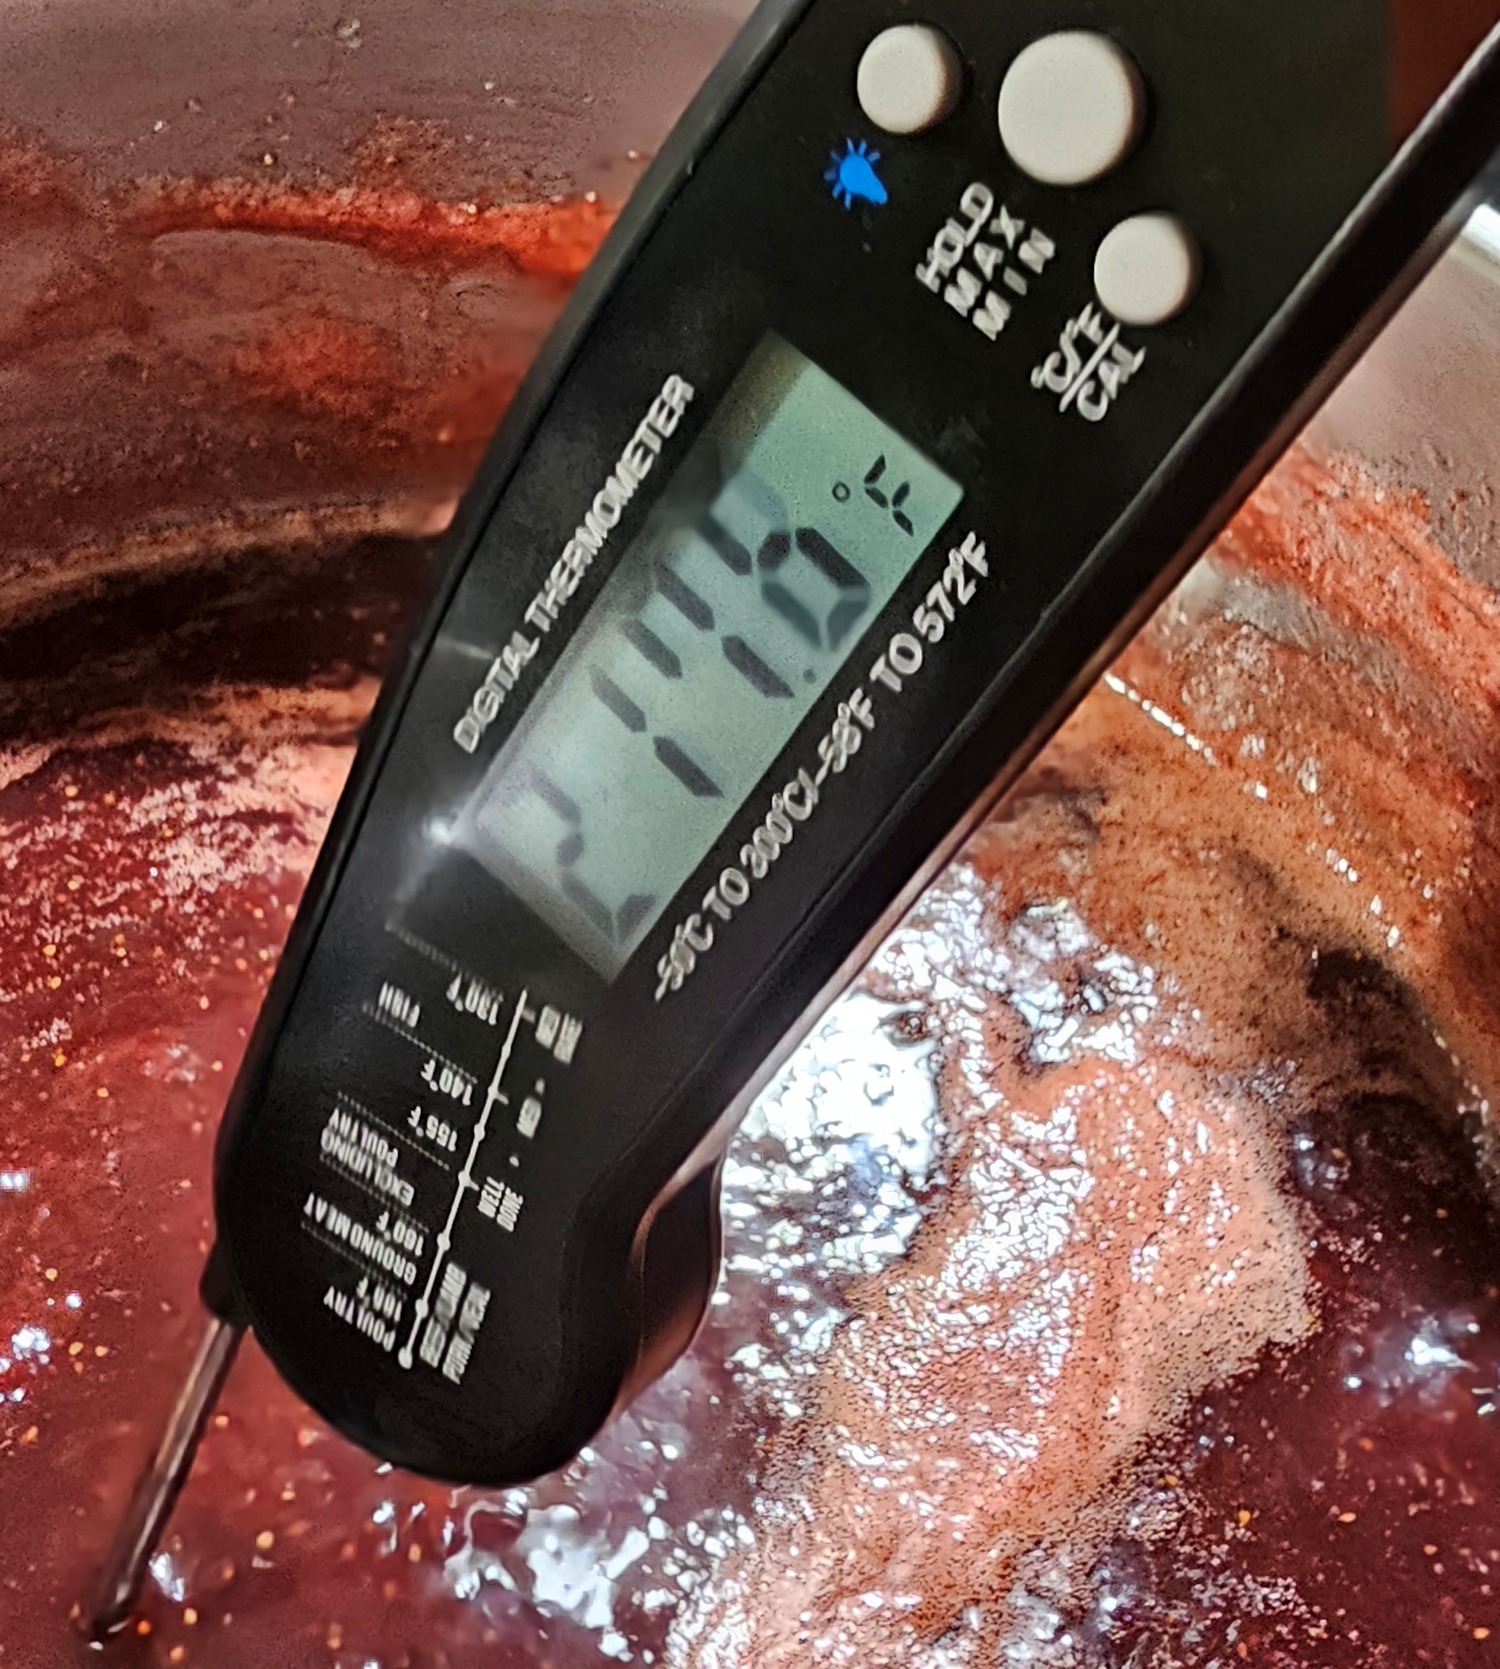
You have an Instant Read Thermometer, right? I have to admit, I have an embarrassingly high number of Instant Reads. They’re very shiny, and I do like shiny. They’re a necessity in my opinion and for sure if you want to make sure your preserves will be thick once they cool off. You can’t tell how thick they will be when they’re still hot. Preserves should be in the range of 216°F and 218°F.
The above is not a great photo and I apologize for that. It’s not easy to get a good shot of a thermometer you’re holding in a vat of something approaching the temperature of boiling hot lava. A lot of steam rolling around makes it hard for the camera to focus.
How to make Strawberry Preserves
Strawberry Preserves {no pectin recipe}
Ingredients
- 6 lbs washed, hulled fresh strawberries
- 4.5 lbs sugar [9.25 cups]
- 1/2 cup lemon juice
Instructions
- As detailed in the post, wash and hull the berries - this recipe takes 6 lbs of berries
- Place helf or the berries in an 8 quart stainless steel pot. and mash with a potato masher, or make a rough puree with an immersion blender.
- Add the other half of the berries, the sugar and lemon juice.
- Mash everything a little more or run the immersion blender through until you have a chunky mixture with plenty of liquid. No need to get it completely smooth.
- Set the burner under the pot to a medium-high level, and stir the mixture VERY frequently until it has become liquid, with all of the sugar dissolved.
- Once you begin to see some bubbles around the edge of the pot, lower the temperature to the higher side of low.
- Don't walk away! You need to thoroughly stir this at least every 10 minutes, scraping over the entire bottom and into the corners. The more it cooks down , the more often you need to stir it.
- After about 25 minutes, check the temperature with an instant read thermometer. You will find it pretty easy to get to 215°F, and after 25 minutes over medium heat, it will likely be right about at that temperature.
- Getting to your target temperature takes a bit of patience at this point. It's a good time to reduce the heat under the pan a bit. If you are going to stand and stir it constantly, you don't need to turn it down much, but if you might get distracted, don't risk leaving it too high.*
- This proportion of berries and sugar will be nicely thick when it cools, if it gets to a target temperature of 216-218°F. It might take longer than you think it should, but don't take it off the heat too quickly.
- I recommend canning these preserves, especially if you make a full batch.I refer you to my recipe for Blueberry Preserves for canning instructions, because I have a very detailed method there already.
Notes
This post has gotten long enough
I’m not going to add in the instructions for canning these preserves. Preserves and jams are the easiest thing to can, especially if you’re just starting out. I’m planning to do a whole post on canning in a few weeks. For now, I detail how to can preserves in my Blueberry Preserves recipe, so I will refer you to that for instructions. You should totally try it if you’ve never canned before.
Looking for more no pectin preserve recipes? I have you covered!
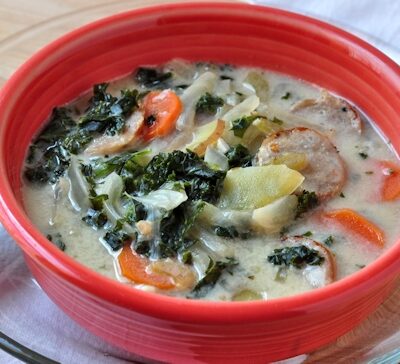 Kale & Spicy Sausage Soup
 Margherita Roasted Potatoes
 Creme Fraiche – Homemade
 Banana Oat Bread
 Easy Rhubarb Cake
 Fresh Corn Fritters
 Beet and Horseradish Relish
 Fresh Apple Cake
 Cranberry Eggnog Bread
 Mediterranean Orzo Salad
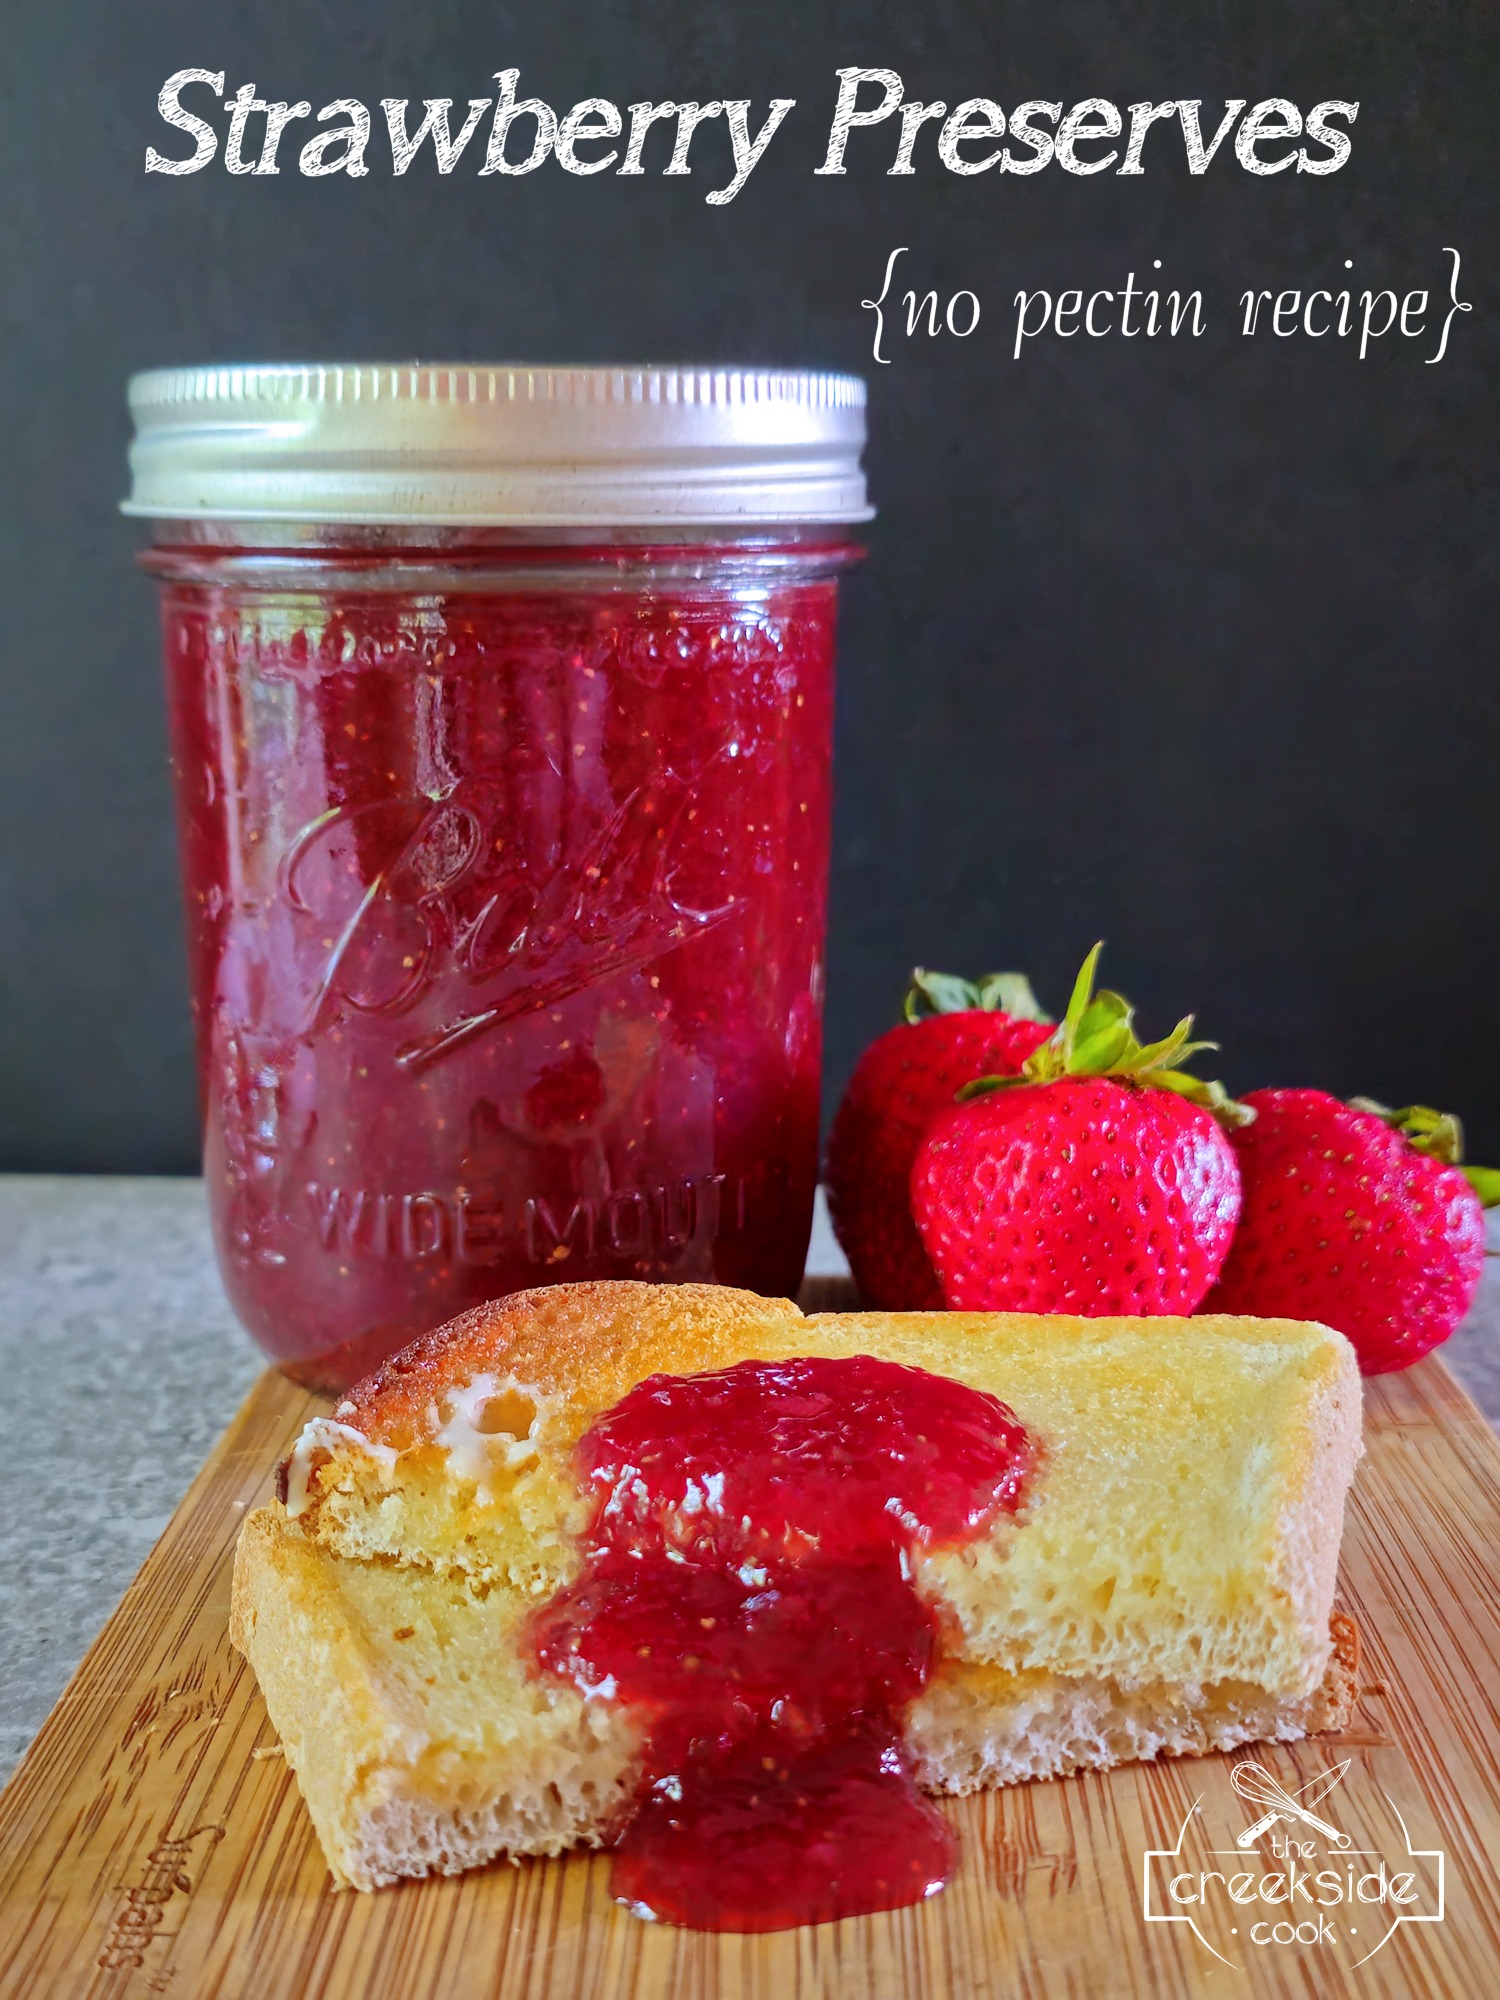
When I saw that you had added this recipe, I could not wait to try it! I’ve made several of your other jams and they all came out perfectly. This is no exception! You explained it so well, and broke down how to do it in a very easy to understand way. It is perfect, and everyone who has tried it loved it. Thanks for another great post!
Neala, thank you so much for your kind words. I am very glad to hear that the recipe came out well for you. Thank you for coming back to tell me!
Wow, this is really really good! I love that I don’t have to use pectin! Thank you!
Thank you Ned – so glad that it went well for you!
This recipe was delicious! Quick and easy!
Thank you Kelley ♥
Easier than I thought it would be and absolutely delicious, thank you! Saving this one.
Thanks Lana – I am so glad to hear that!
Just whipped up a batch of these strawberry preserves and they were delish! So much fruity goodness without the pectin hassle – this recipe is a real keeper! Can’t wait to spread this love on everything!
Thanks Vicky – I am so glad to hear that.
Can’t wait to try out these strawberry preserves it looks so delicious
Thank you Imsen – I hope that you enjoy them ❤️
These strawberry preserves we so tasty! I’m amazed I was able to make it myself!
Thanks Paula – I am really glad it went well for you!
Very clear and easy directions. Great tip on hulling, made all the difference!
Thanks, Erik!
This actually checks all the boxes for me – homemade, less sugar, and delicious!! I don’t mind if it takes time since it yields such delicious results!
I am glad that you like it Sharon!
My daughter wanted to make strawberry preserves so we found this recipe and made them together. I hadn’t canned preserves without pectin before, and this was my daughter’s first time canning. I appreciated the clear and easy directions, my girl was able to do most of the work with minimal guidance from me! Thanks so much for the great recipe.
Lisa, I am so glad that it worked well for you both – cooking with our kids is so much fun!
i am so glad I stumbled on this one. – i had a ton of strawberries and no pectin and using your recipe I made a delicious bacth of strawberry preserves! I’be been eating it with dairy free ice cream!
Shashi, that sounds amazing – I am so glad you are liking it!
This looks wonderful!
Thanks Kitty – hope you give it a try!
I was so happy to see this recipe, because I just received a gift of a huge basket of berries. The jam is really good, and I did my first ever canning, thanks to you. Thanks!
That is great to hear – thanks for letting me know!